Click to Watch the Coptic Stitch Binding Video Tutorial
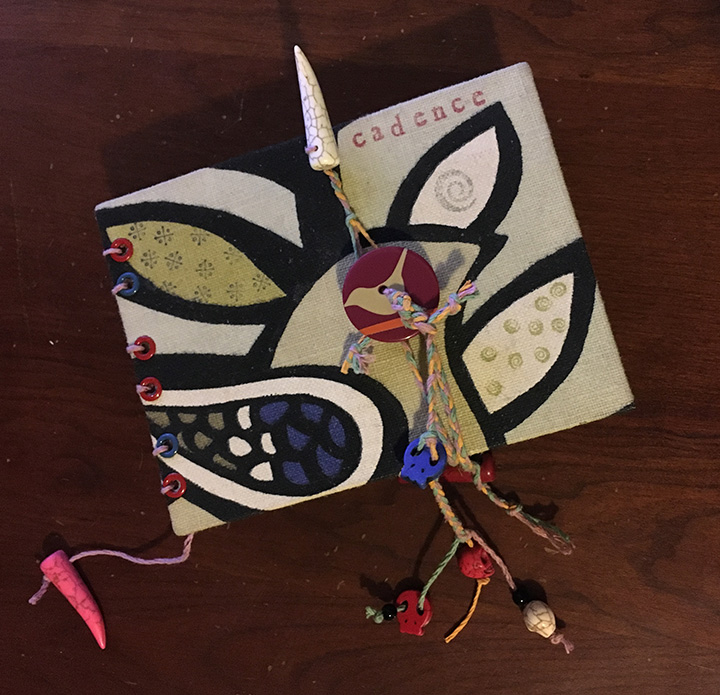
Coptic Binding Part 1 – Creating the Cover
The Coptic Stitch is a decorative stitch, so it’s something that you would do only for a book with an open spine. There’s no point in going to the trouble of sewing this stitch if you’re just going to cover it up. It has the appearance of a chain stitch once its finished.
Advantages of the Coptic Stitch Binding
For this binding you’ll want to use a heavier thread so that the details of the stitch show. I use a heavier paper, as well, to support the use of the thicker thread. One of the primary advantages of the Coptic binding, besides its decorative qualities, is that it allows your book to lay flat when it’s open.
The first thing you’ll want to prepare is the cover.
Gather Your Materials
The materials you’ll need for the covers vary depending on what you want to do, but for the example I’m using here I used an archival bookboard called Davey board, but you could just use chipboard for this if you don’t care how long your book lasts or whether the pages eventually turn yellow.

I have some decorated paper for the inside and I am also using regular fabric for the outside that I have backed with rice paper to strengthen it, as well as to keep glue from seeping through. There are a couple of quick videos on my website that show you how to make your own bookcloth (“Making Bookcloth”) and also how to print your own bookcloth (“Printing Your Own Bookcloth“), but you don’t need to use fabric – you can also just use paper to cover the bookboard. The process is the same.
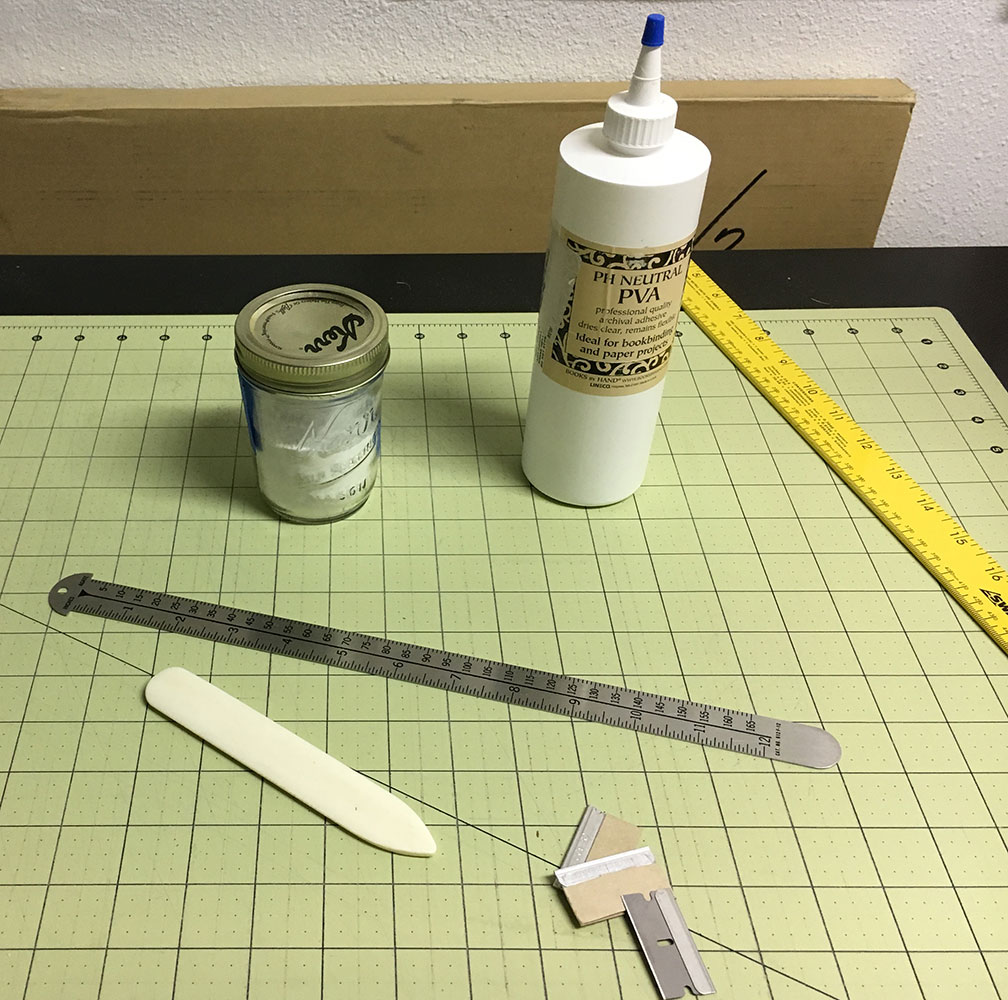
You’ll Need Glue
You will also need some glue – you can use PVA glue or wheat paste. Actually, if you don’t care if the book is archival, you can use just about any glue. You’ll also need a straight edge and something to cut with, like an X-Acto knife. I prefer to use a razor blade, but that’s just me. A bone folder is also very useful, but not absolutely necessary.
 Determine the Size of Your Book
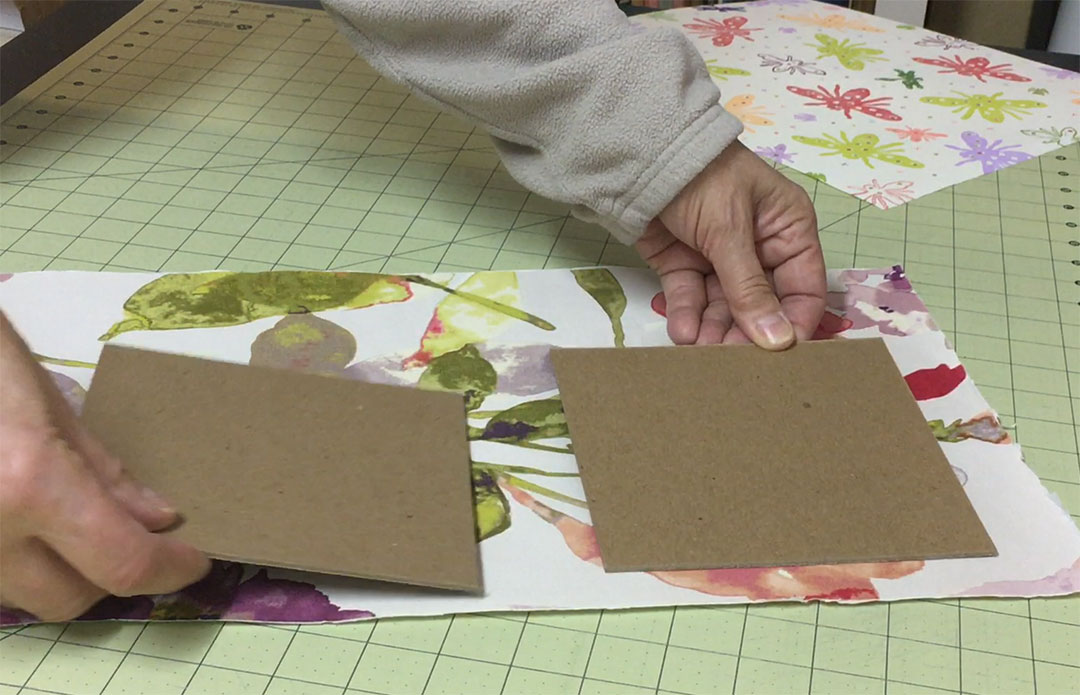
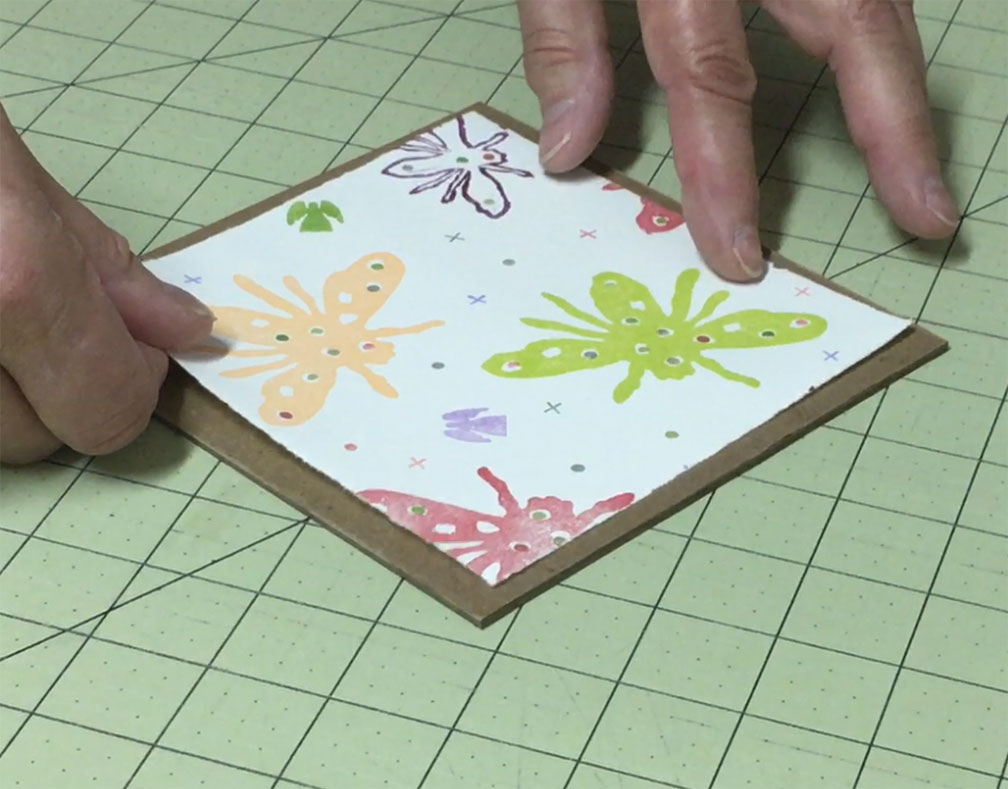
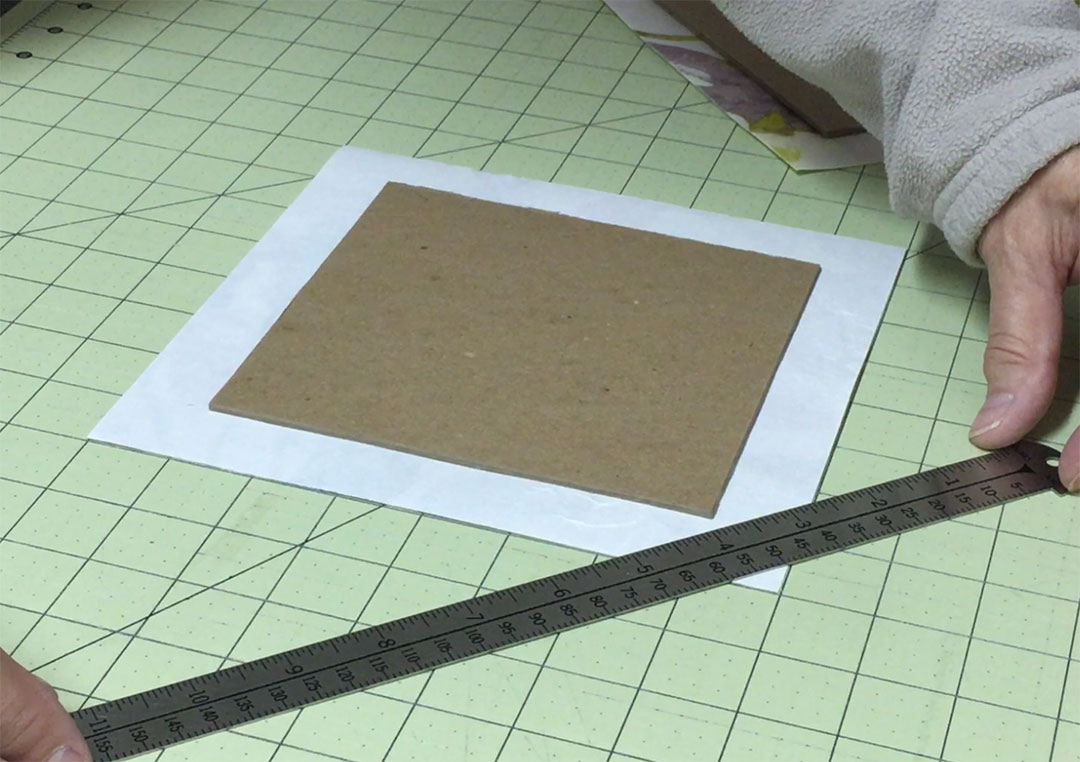
First determine the size of your book and cut two boards to size. Then cut the fabric and inner liners to size. For the inner liners you will want them to be at least a quarter inch smaller than the cover board. I like to tear my paper because I prefer the look of the rough deckled edge, but you can cut them if you prefer. That’s all just a matter of what kind of look and feel you’re after.
Cut the cover fabric about one inch larger on each side. So, if your cover is going to be 6 by 6 inches, you’ll want to cut your fabric to 8 by 8 inches, giving you an extra inch on every side.
Start with the First Cover
Now that you have all of the parts ready, start with one piece of the cover fabric face down and place one of the bookboards on top. Center it. This doesn’t have to be perfectly exact, just eyeball it as best you can. I like to line this all up on my cutting mat and use the underlying grid to cut the corners.
The next step is to cut off the corners of the fabric. You’ll be folding the fabric over onto the board, and cutting the corners helps lessen the mass of fabric build-up there.
Don’t cut the fabric right up to the corner of the board. You want to leave a bit of fabric there – maybe an eighth of an inch – to help cover the corner. If you cut it too close the cardboard will poke through. Cut all four corners. (You can also cut these corners after you have glued the bookcloth to the bookboard.)
Set Up Your Gluing Station
Next you’ll want to set up an area for gluing. You can do this on a scrap piece of paper, a sheet of glass or even right on your cutting mat, as long as you clean it up while the glue’s still wet.
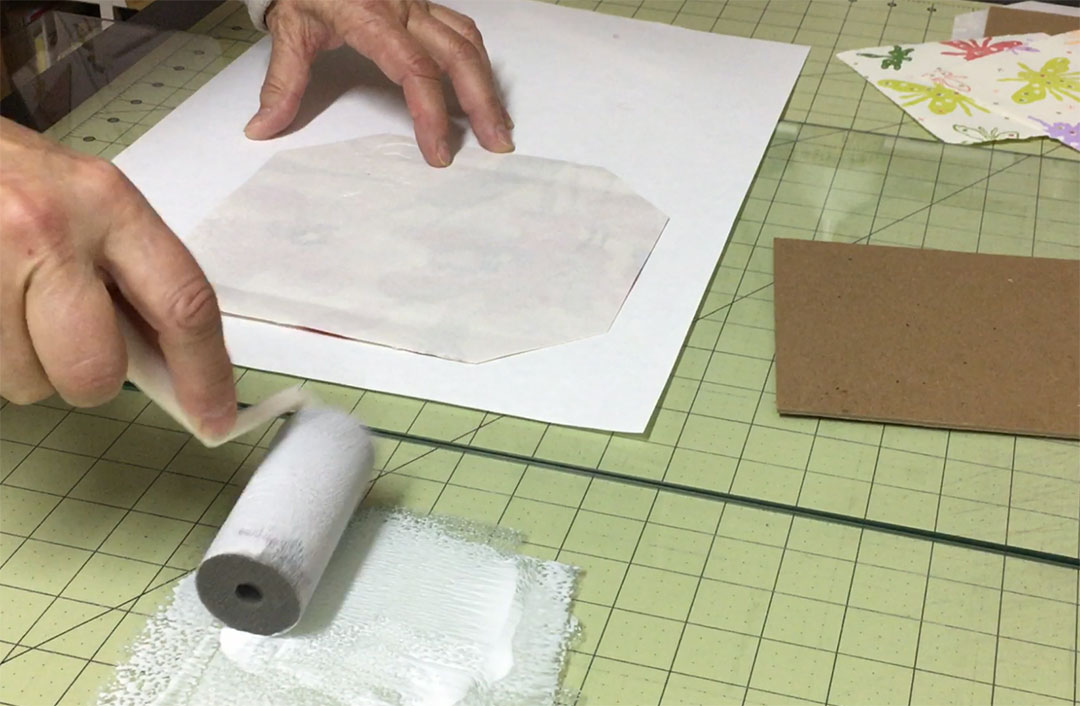
For this next step I find it faster and easier to roll the glue on, but you can also use a brush. Try to get the glue as even as possible. Be careful not to let the fabric slide around or you risk getting glue on the outside and this will ruin the look of your book.
Glue the Two Pieces Together
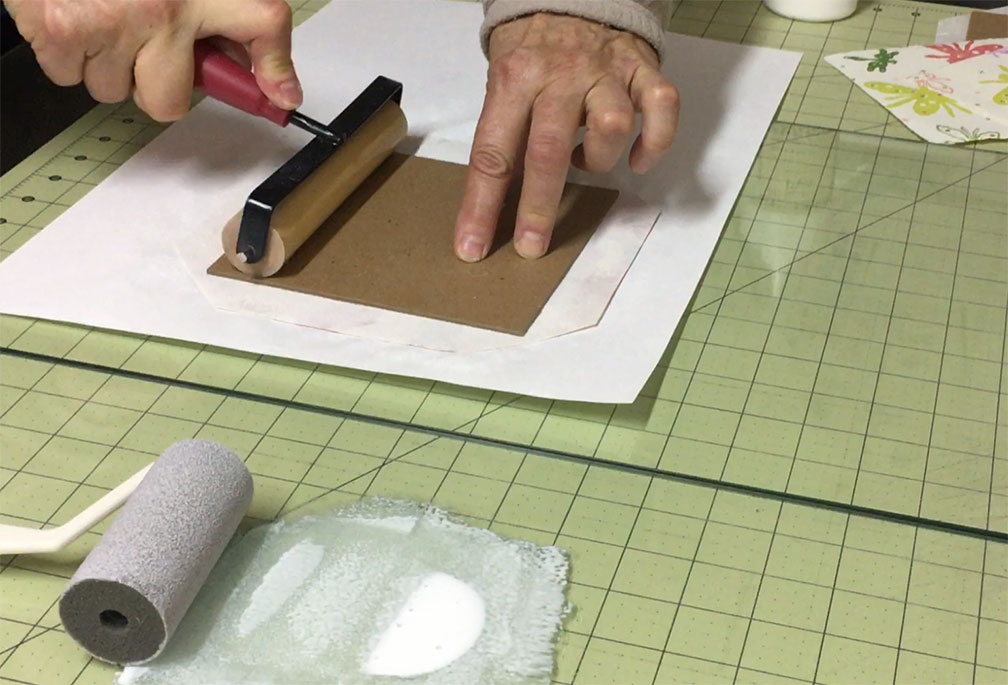
Once you have good even coverage with the glue, carefully place the bookboard in the center of the fabric and press down. I use a clean roller to make sure all parts of the bookboard are sticking to the fabric.
If you’re gluing on a piece of scrap paper remove that now and put the fabric and board on a clean work surface.
Start folding the fabric edges onto the board. Use the ball of your thumb to push the fabric onto the board to make sure it’s tight. You can use a bone folder or your hand to smooth it down.
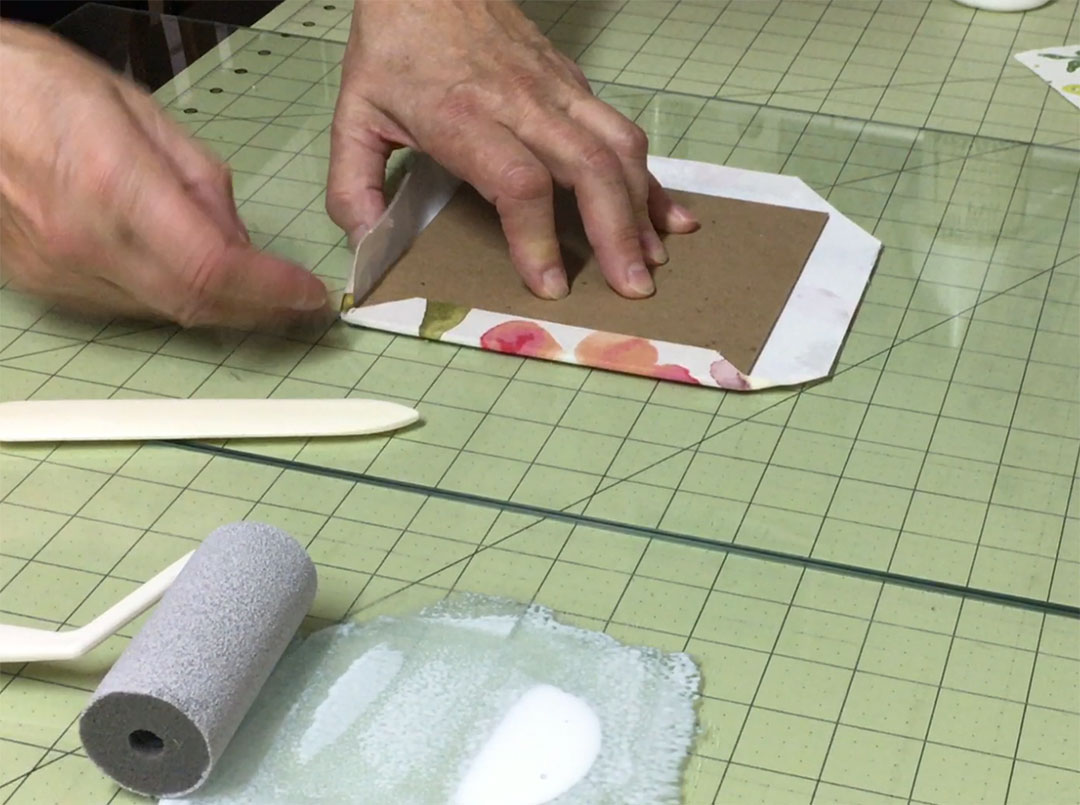
Be Careful with the Corners
Fold the little extra piece of the corner fabric over onto the corner of the board and then smooth the next fabric edge onto the board, pressing it down to make sure it’s tight. Do this process all the way around the board. Use a bone folder or your hand to burnish down all of the edges to ensure that they’re sticking, and then set this piece aside.
You can see my short video on creating the perfect book corner here: Perfect Corners
Add the Endpaper
The next step is to apply glue to the wrong side of the paper that you’re using as the liner on the inside of the cover. Use the same process of laying this on a scrap piece of paper or on a surface that is easy to wipe clean and apply glue the same way you did to the bookboard.
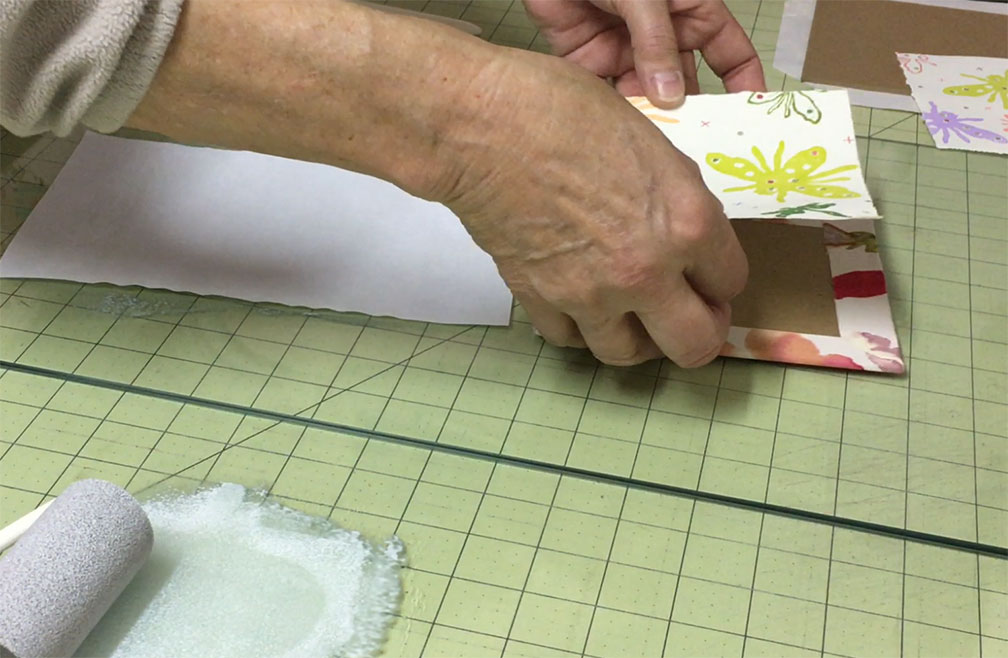
Carefully pick it up, being careful not get glue on the good side, and center it on the back side of the bookboard, covering up the fabric edges. Press this down with a brayer or with your hands and place it under a weight, such as a fabric covered brick or heavy book, while you work on the second cover.
Continue this Process with the Second Cover
Create the second cover in exactly the same manner. Once you have them both finished you’ll want to put them under a heavy weight to let them dry thoroughly.
Thoroughly Dry Both Covers
Separate them with blotters or something else to absorb any residual moisture. Paper towels will work, if that’s all you have. Just be absolutely sure you don’t have any small bits of glue seeping out from any of the edges or you will accidentally glue your cover to the barrier paper.
Take a well wrung out sponge or damp paper towel and wipe lightly around the edges first, if you aren’t sure. This probably won’t be necessary if you rolled the glue on because you should end up with a smooth even layer of glue, but you might have an issue if you brushed the glue on.
Measure the Holes for the Cover
The last step in preparing the cover pieces is to measure where you will want your stitches and then poke the holes in the cover.
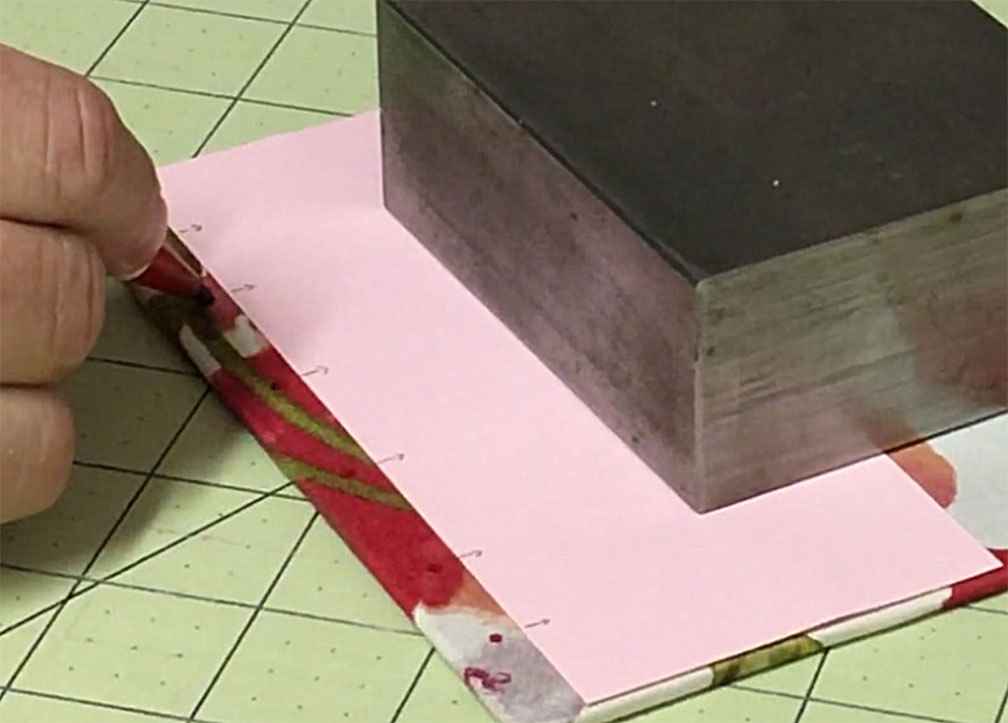
It helps to create a template for this step, so you can use the same template to measure the holes for the signatures, since you want these to be exactly the same.
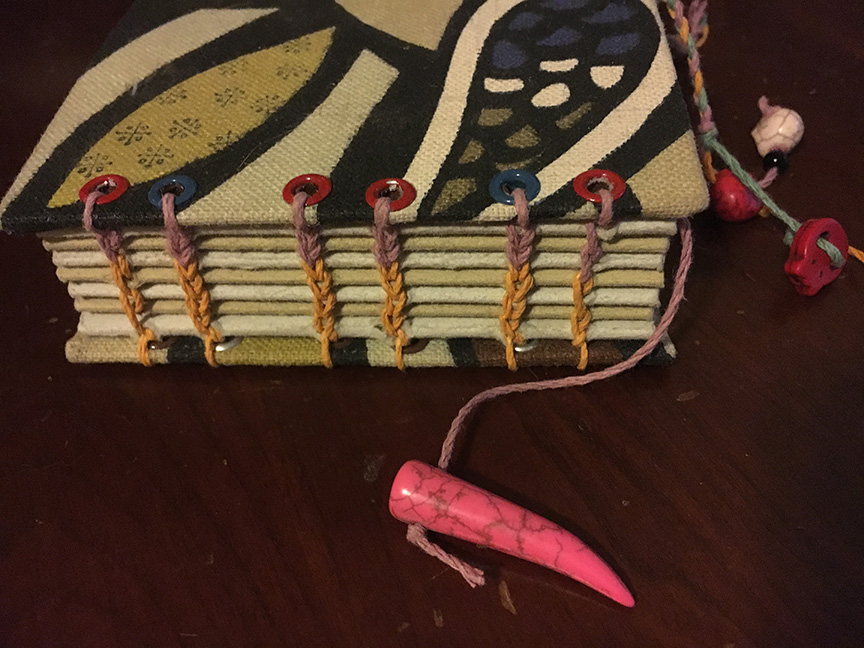
For this Coptic stitch it doesn’t matter if you have an odd or even number of holes, and they don’t have to be spaced evenly. You can be very creative with the spacing, if you want, you just have to make sure the holes in the cover and the holes in the signatures match.
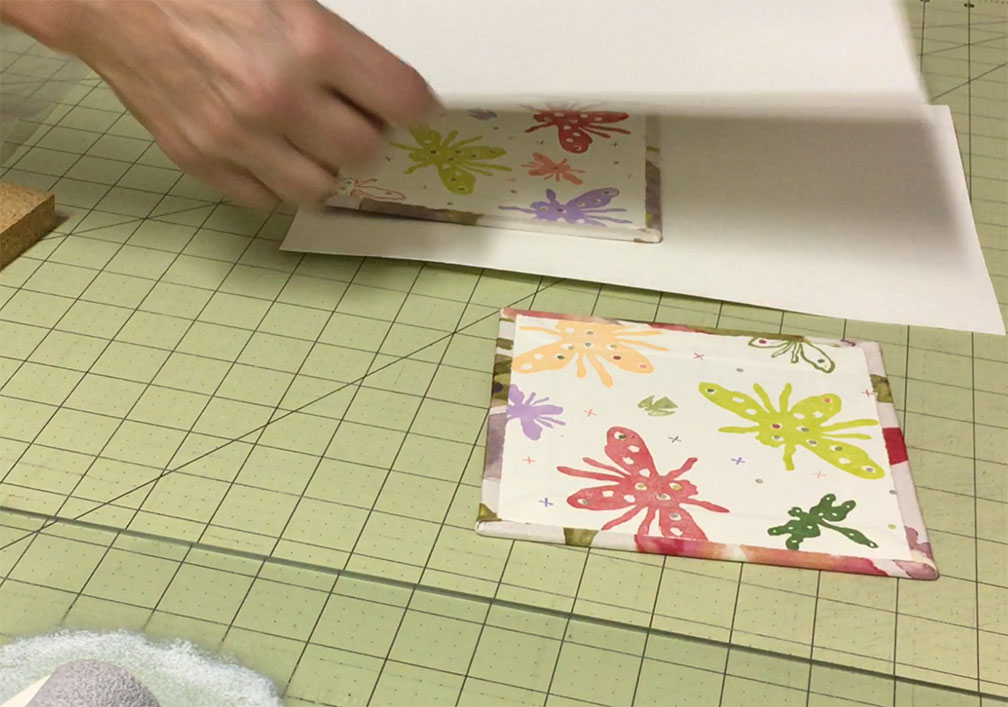
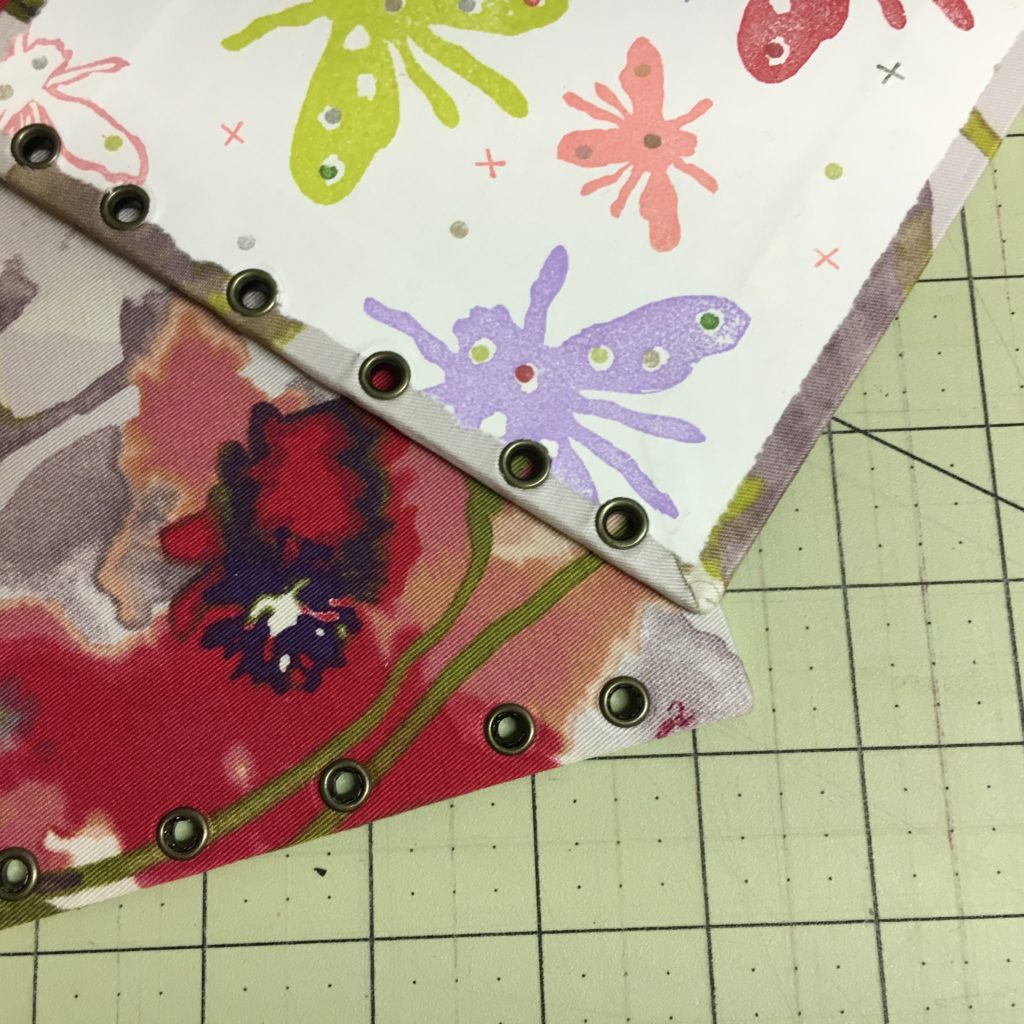
Add Eyelets for Decoration
In this example I have also added eyelets. This isn’t necessary but adds a nice decorative touch, in addition to strengthening the holes.
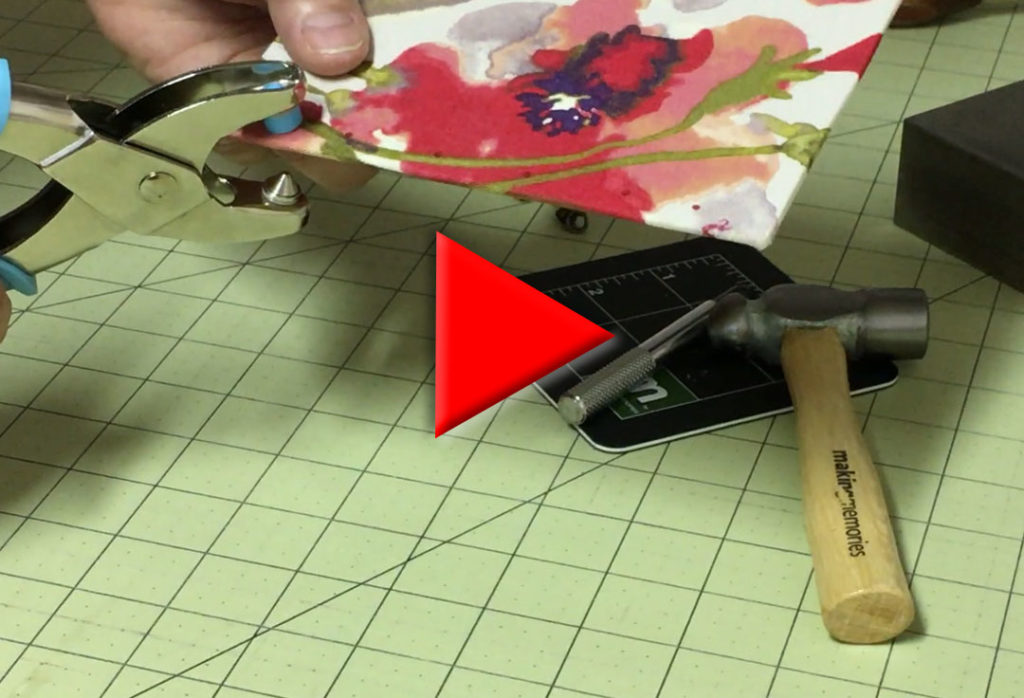
There are a variety of tools that you can use to punch the holes. You’ll want something thicker than a needle because a needle probably won’t be strong enough to pierce the bookboard.
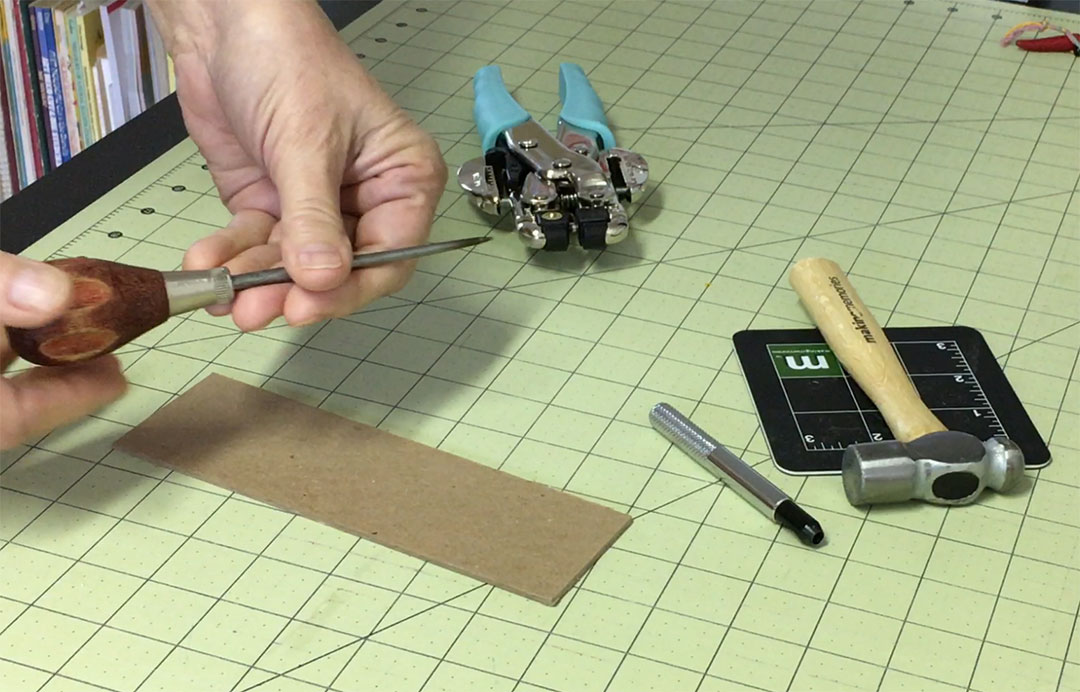
Special Tools for Adding Eyelets
An awl is probably the simplest tool for simple holes, but if you want to add eyelets you’ll probably need a few specialized tools. These come in many different flavors at many different price points. You can buy separate hole punches and eyelet crimpers, which is what I used for the rest of this video, but I have recently purchased a tool I like even better.
It has built in punches that are quick and easy to use, and the eyelet part of it does two different sizes of eyelets, with or without the backing ring. It’s a very versatile tool and I was a fan the first time I used it. It’s called a Crop-a-Dile and is probably available at any craft store. You can also buy a wide variety of colorful, decorative eyelets.
If you are adding eyelets, just follow the directions of whatever tool you have. Again, you can skip this step entirely if you don’t have the tools, and just poke holes with a simple awl.
Watch the second video here to see how to sew the covers and your signatures together to finish this book:
Coptic Binding Part 2 – Sewing It All Together