Coptic Stitch – Part 2 – Sewing It All Together
Click to Watch the Coptic Stitch Binding Video Tutorial
Watch Part 1 – Creating the Cover here
Coptic Stitch – Part 2: Sewing it together
At this point you will have created the covers for your book. The next step is to create the signatures and then sew it all together.
Prepare the Paper for the Signatures
First you will need to measure, and then cut or tear the paper for your signatures. You’ll want the pages to sit inside the cover with about a quarter inch margin on three sides, but the folded part of the signatures will butt up right against the spine of the covers, so measure accordingly.
So, for instance, if your book cover is 6 x 6 inches, you’ll want your paper to be 11 and a half by 5 and a half inches. When folded each folio would then measure 5 and three quarters by 5 and a half inches, giving you that quarter inch margin on three sides.
You can cut or tear your paper. If I’m using a light, text weight paper I will usually cut it but when I’m using a heavy art paper, as I am here, I like to tear it, because I prefer the look of the deckled edge.
Construct the Signatures
Fold your paper and gather the folios together into signatures. How many folios you use per signature will depend on the weight of the paper. Since I’m using heavy paper I am making signatures using just three folios.
Once you have all of your signatures made you’ll need to measure and pre-punch holes in them. Pre-punching the holes will make sewing this all together much easier.
Make sure the holes in the signatures line up with the holes you created in the covers. If you made a template for the covers, use this same template to measure the holes for the signatures.
Pre-punch the Signature Holes
Stack all of the signatures together, with the measuring template on top, and weight them down with something so that they don’t move around as you mark them. Using a straight edge of some kind – I’m just using a piece of bookboard here – line up with the marks on the template and draw a mark across all of the signatures, leaving a tick on each one.
Next you’ll want to punch holes through those marks. I use a couple of pieces of foam that I’ve glued together to punch through. This isn’t absolutely necessary, it just makes the process a little easier, giving me something to hold the paper against.
I’m using a needle to punch the holes – a needle that is a little larger than the needle I’ll be using to sew with. I’ve pushed the eye of this needle into a cork just to make it easier to handle. Try to keep your needle perpendicular to the fold in the signatures to make sure the needle is going through in the same place in all of the folios. Punch all of the holes in all of the signatures.
Be Careful to Note the Orientation
I always mark the signatures in some way so they stay in the correct orientation throughout the sewing process. You will be turning the book all different ways as you sew, so it’s easy to get confused, and it’s very important that your signatures stay aligned the way they were punched.
I would normally make an extra, asymmetrically oriented tick on the edges of the signatures, but for books that have an open spine, like this one, I don’t want that mark to show. So, in this case I just mark everything with post-it notes, covers included.
Get Ready to Sew
Time for the needle and thread. For the Coptic stitch, using a curved needle will make your life much easier.
It’s not absolutely necessary, though, so if you don’t have one, don’t worry about it. I am using pre-waxed thread, but you can wax your own using beeswax. Also, for this kind of binding where the sewing takes on an important decorative role, you’ll want to use a thread that is somewhat thick, so it has some presence.
Start with a length of thread that is about the height of the book times the number of signatures that you have. I always add one extra length because I seem to run out just as I get close to done. You don’t want to use way too much thread because it will tangle and make your life miserable.
Start with the Top Cover
Start with the top cover and the first signature. Sew in through the inside of the signature in the top hole and out through the fold, leaving about a three inch tail inside. Then sew into the top hole of the cover.
The very next step, sewing back through the loop, is optional, but if you decide to skip it then you need to skip it on every stitch, so that your sewing looks consistent. If you sew back through this loop all of your stitches will have a twist to them. If you skip this step they will all look like this – a straight chain stitch. In this tutorial I have sewn through the loop each time.
Be Careful About How Snug You Make Your Stitches
Either way you will want to snug up this stitch. For this particular binding method you want all of your stitches to be snug but not overly tight. It’s easy to get carried away and pull them too tight, but your book won’t close correctly and it won’t lay open either if you make them too tight.
Once you have sewn through the hole in the cover and sewn back through that loop, if you’ve chosen to do that step, you need to sew back in through the same hole in the signature that you originally sewed out through. Be careful not to sew through the thread that’s already there. This will be less of a problem if you’ve waxed your thread.
At this point you should be back inside the signature. Tie a knot with the tail that you had left behind. You can’t cut off the extra thread at this point.
Continue Sewing into the First Signature
Now you’ll sew out through the next hole and around and through the hole in the cover, bringing the needle back out between the cover and the signature. Next is that optional step of sewing back through the loop, then sew back into the same hole in the signature that you just came out.
Sew out through the next hole in the signature, out and around the hole in the cover, back through the loop, if you’ve chosen to do that step, then back in through the hole in the signature you just came out of.
Be Patient
Repeat this process until you reach the last hole. By the way, this first series of steps will be made more difficult because your thread is so long. Just be patient and carefully untangle the thread each time as you pull it through the holes.
When you get to the last hole in the cover and signature, do everything as usual except don’t go back in through the signature. The thread should be on the outside of the spine.
Continue with the Second Signature
Place the next signature, being careful that the orientation is correct. Sew into the new signature from the outside, then sew out through the next hole. Again, remember that you want these stitches snug, but not super tight.
Here’s Why You Want a Curved Needle
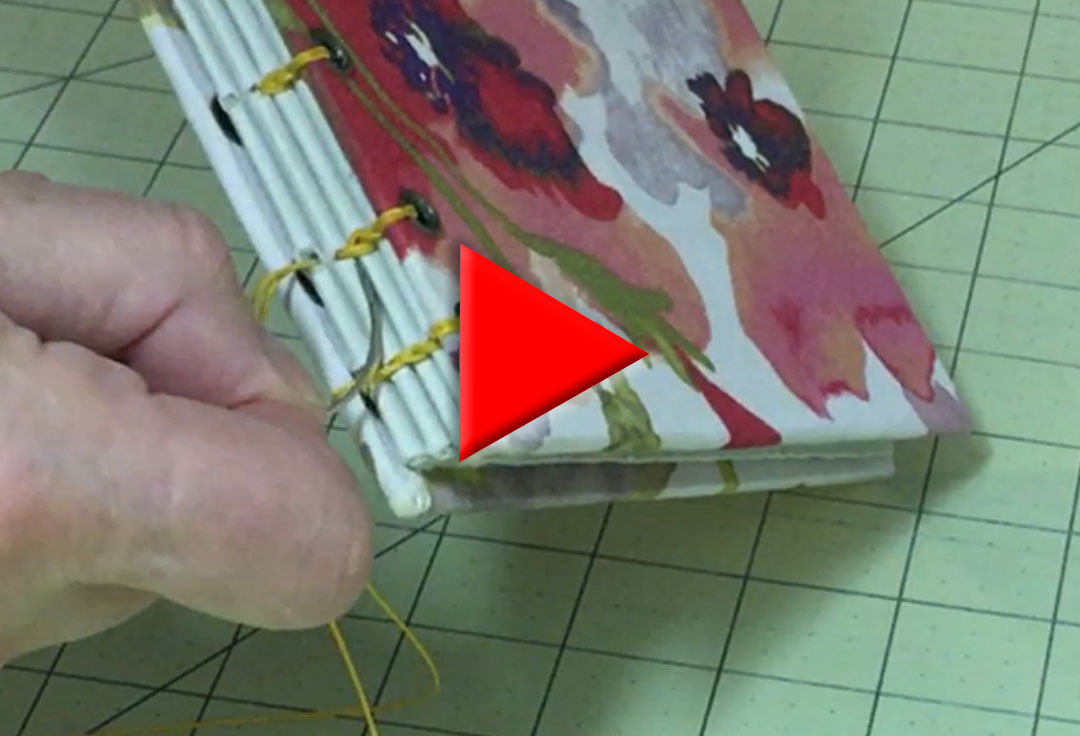
The next step is where you’ll see the true advantage of the curved needle. Pass the needle between the cover and the first signature, allowing the thread to wrap around the first stitch. This step is what links each signature to the previous group, and is really the critical piece of this binding method. Be careful not to gouge the paper or the cover.
Pass the thread back through the loop, if you’ve been adding this step, and then back in through the hole in the signature you just came out of.
Go back out through the next hole in the signature, loop around the previous stitch, now the optional step of passing the needle back through the loop, then back into the hole in the signature that you came out of.
Repeat this Process
Continue this process with the remainder of the signatures. When you get to the last hole of the signature do everything the same except for going back into the final hole of the signature. You always want the thread to be on the outside of the spine at the end so you can go into the next signature.
The sewing becomes easier as you go because you get into a rhythm with the sewing pattern, but also because your thread is becoming shorter.
The Second Cover is Trickier
But now for the trickiest part of this binding stitch. Once you reach the last signature you need to sew that signature and the cover on at the same time. It’s a bit of a juggling act getting this started, but just be patient and go slowly until you get it right.
Place them both in position on the rest of the signatures. Start by sewing around and into the hole in the cover.
Sew back through the loop, if you’ve been doing that up until now, (I think I forgot and skipped this step in the demo) and then in through the first hole in the signature. Snug up this stitch.
Take Your Time
Snugging up this stitch is a little tricky – you can’t just yank on the thread and pull it all tight. You have to finesse each part of this stitch so it is snug, but not overly tight. Spending a little time here to get this just right will pay off when the book is done.
Go out through the next hole in the signature and bring the thread to the outside, between the signature and the cover. This is easy since there aren’t any stitches that you have to sew around.
Once you’re outside you need to link around the corresponding stitch in the previous two signatures, just as you have been doing all along to link the new signature to the rest of the book, and pass the needle through the loop, if you’ve been doing that step up to this point. Then bring the needle around the outside of the cover and through that hole in the cover, then back in through the hole in the signature that you came out of.
In Summary
So, in summary, the process for this final signature and the cover is first go out through the hole in the signature, Then around the corresponding stitch in the previous two signatures, the optional step of passing the needle back through the loop, snug this all up then pass the needle through the hole in the cover from the outside, and finally, pass the needle back through the hole in the signature that you came out of.
Do this for the remaining holes. Once you are done you should end up on the inside of the last hole of the last signature. Tie a knot around that last stitch and cut your thread.
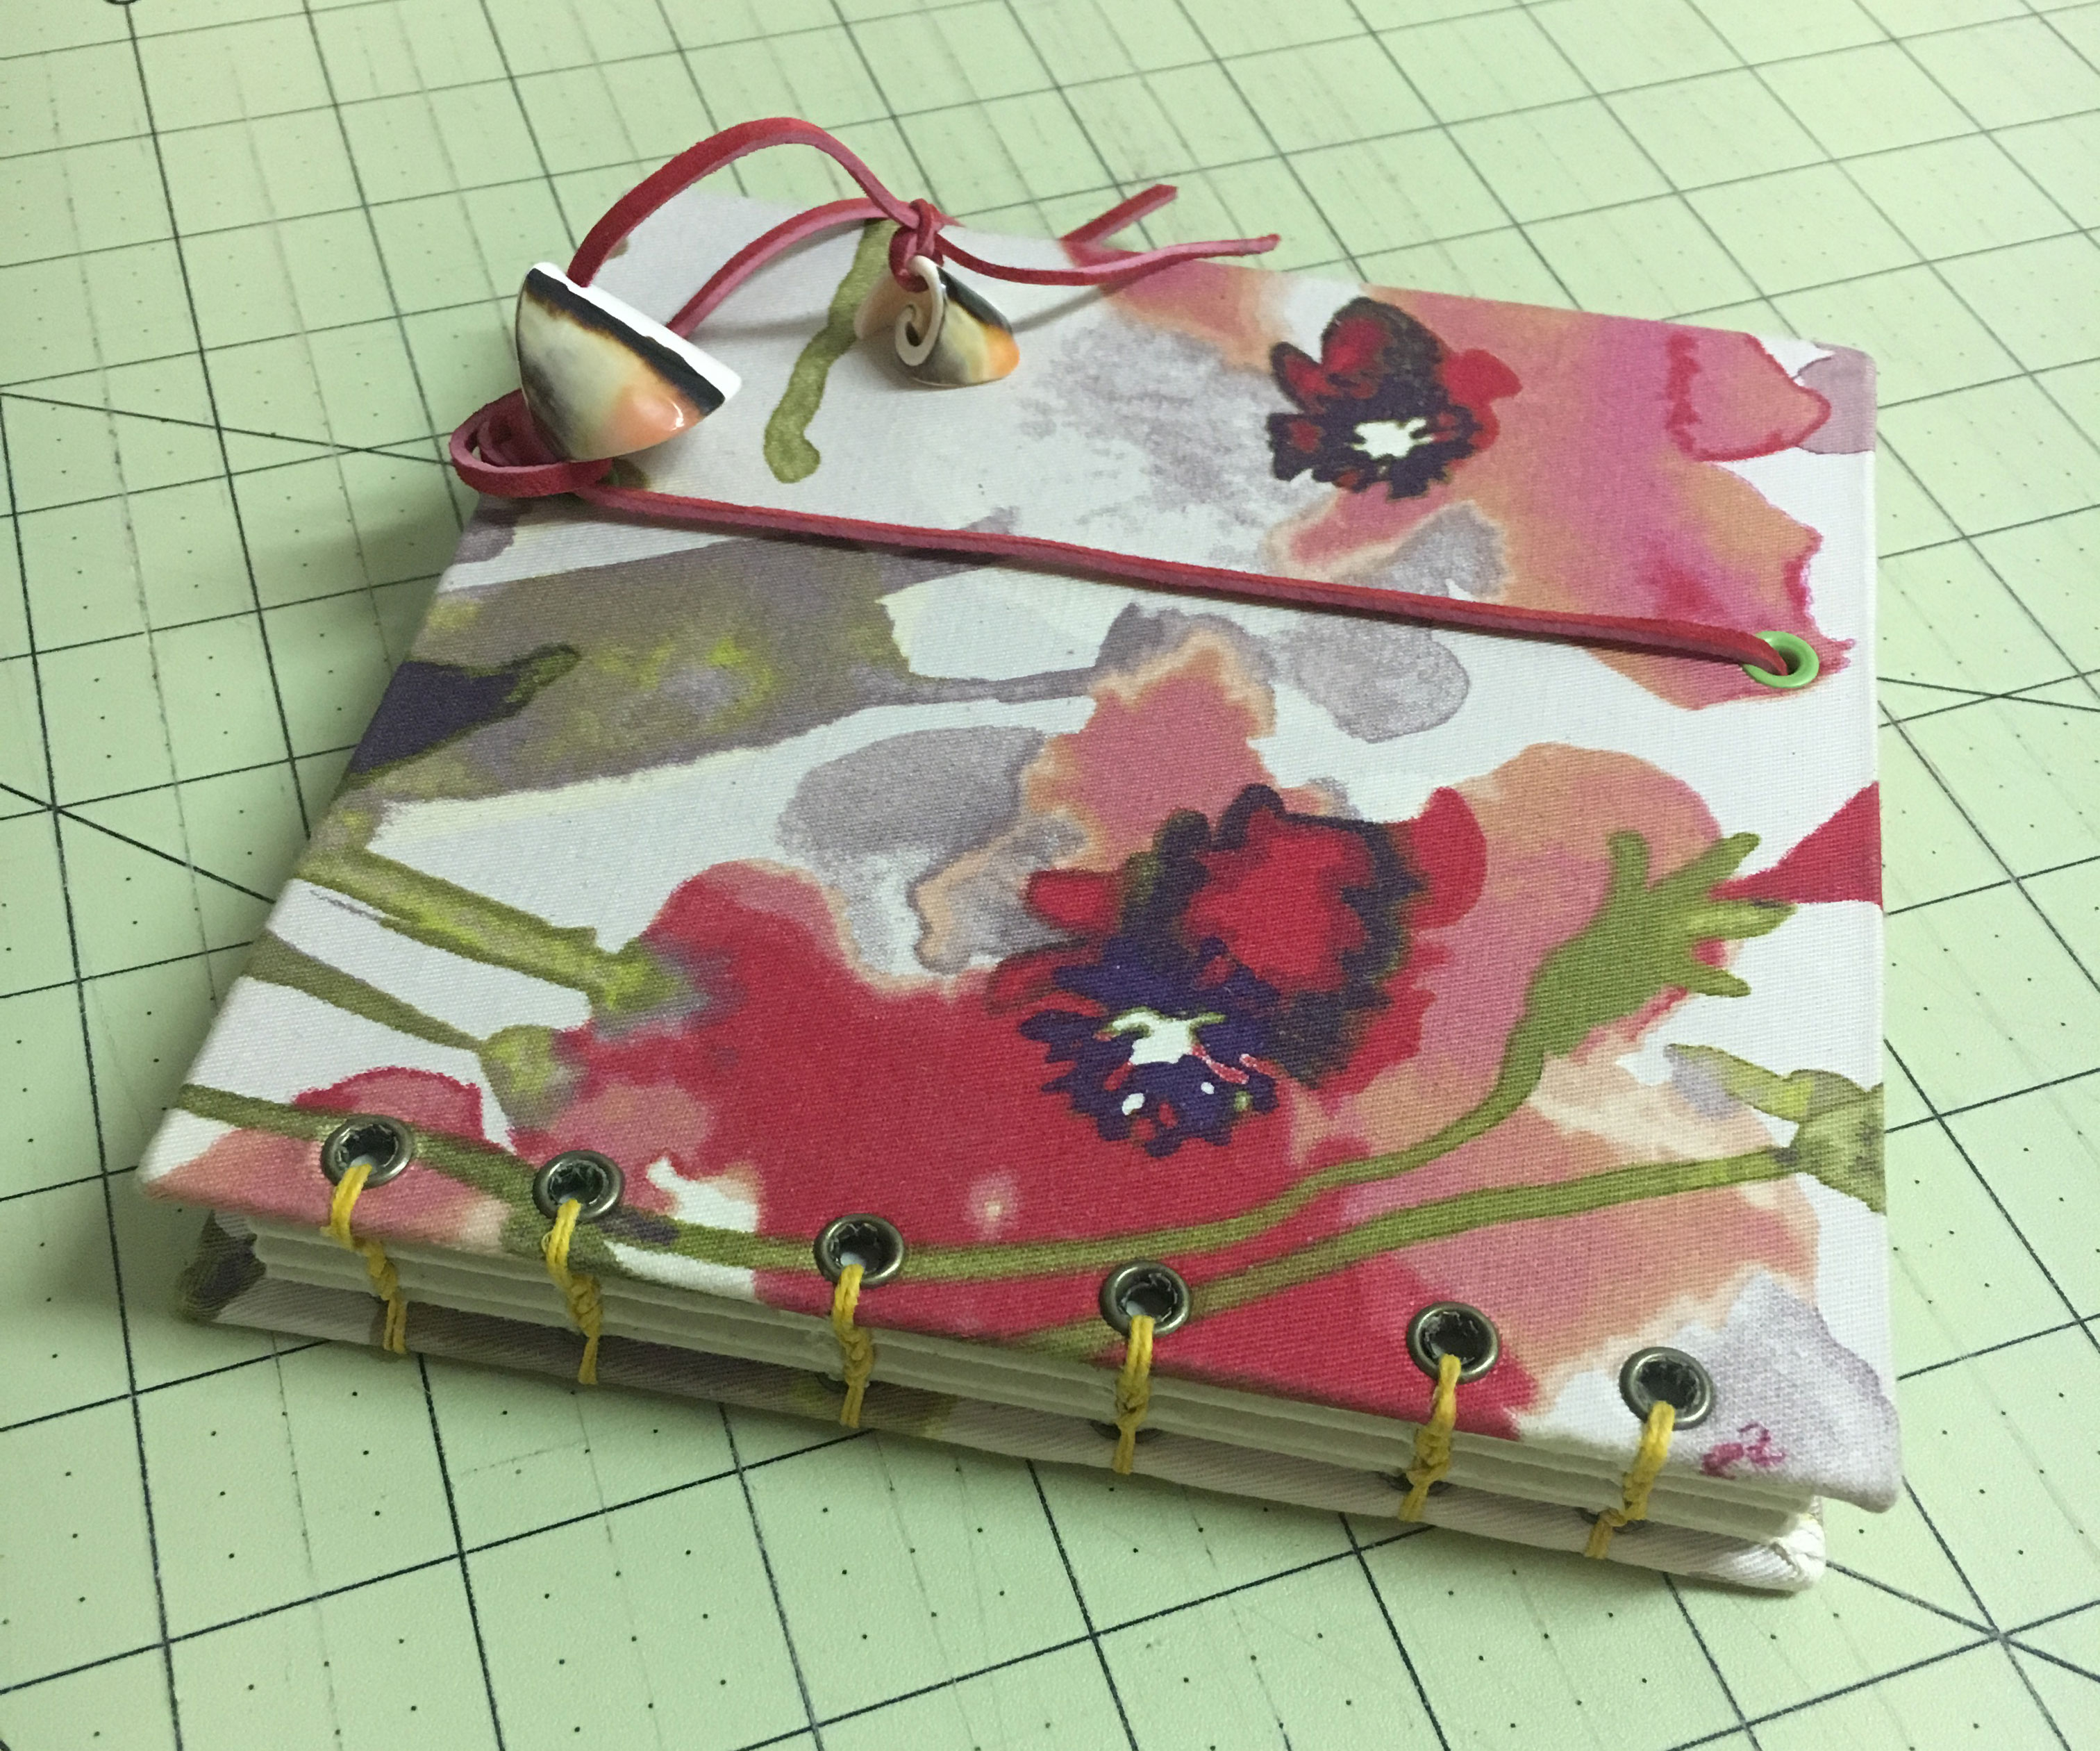
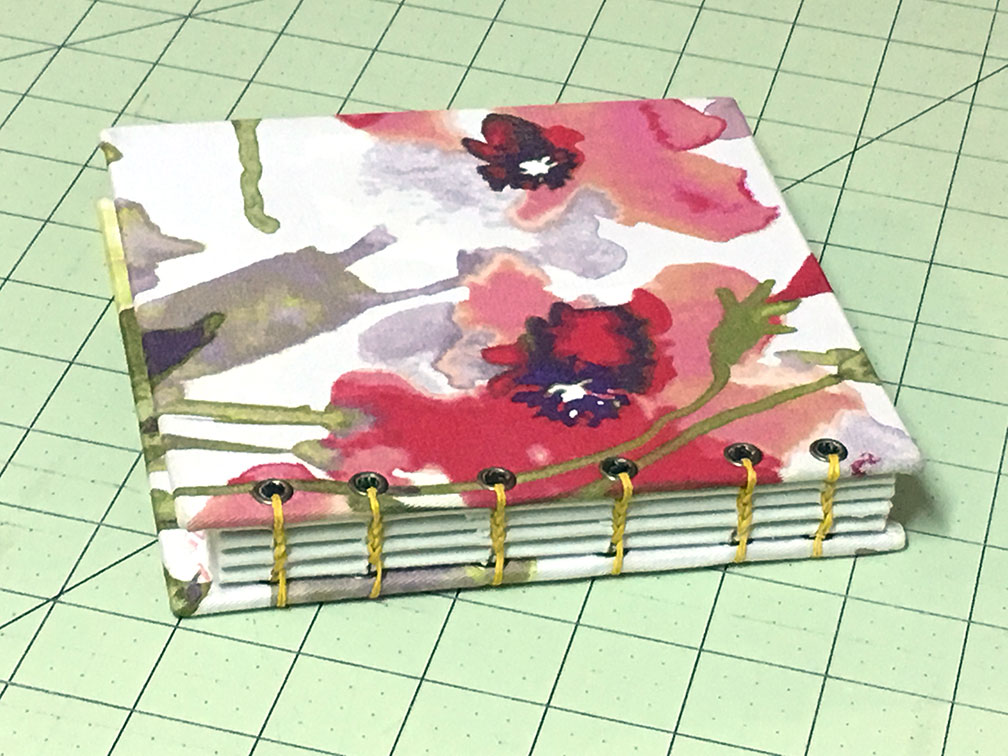
Congratulations! You’ve completed your Coptic Stitch binding!