
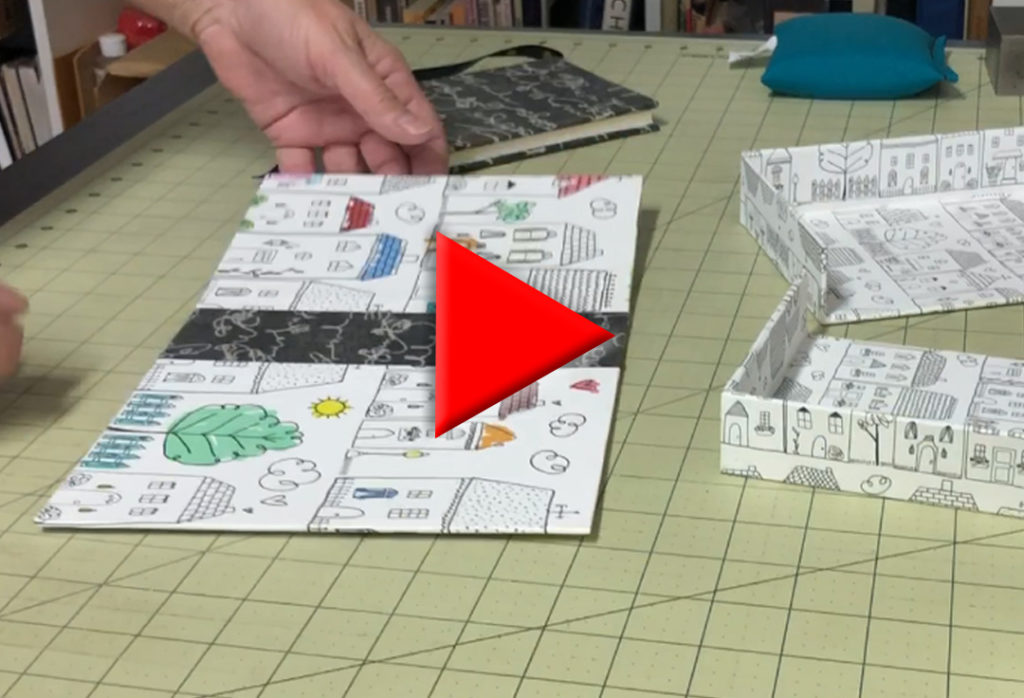
Click to Watch Part 2 of the Clamshell Box Video Tutorial
Next step – cover the trays
So, at this point you should have the lid finished and set aside to dry, and both trays constructed. The next step will be to cover each of the trays with paper, and then, finally, you will attach the trays to the lid.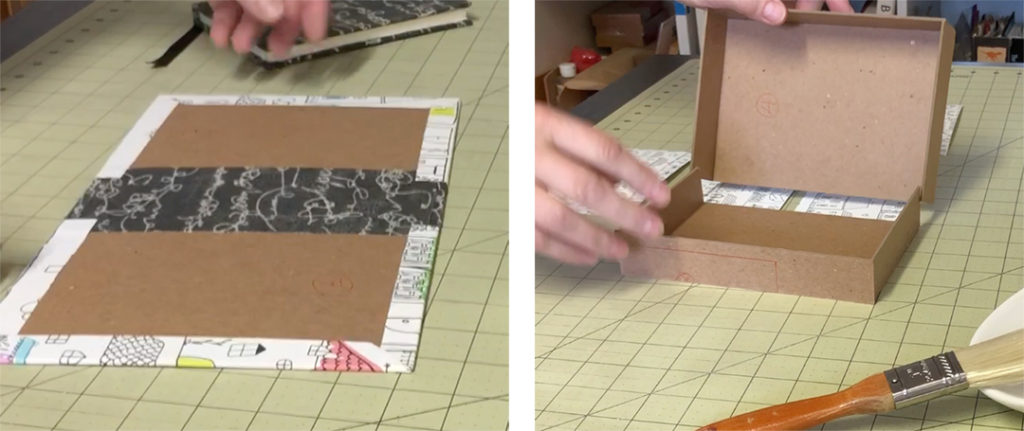
Start with either tray
Start with one of the trays – it doesn’t matter which one – and gather the appropriate paper pieces that you had cut previously. In the case of this tutorial I’m starting with the larger tray and the paper pieces marked 13, 14 and 15 from the worksheets.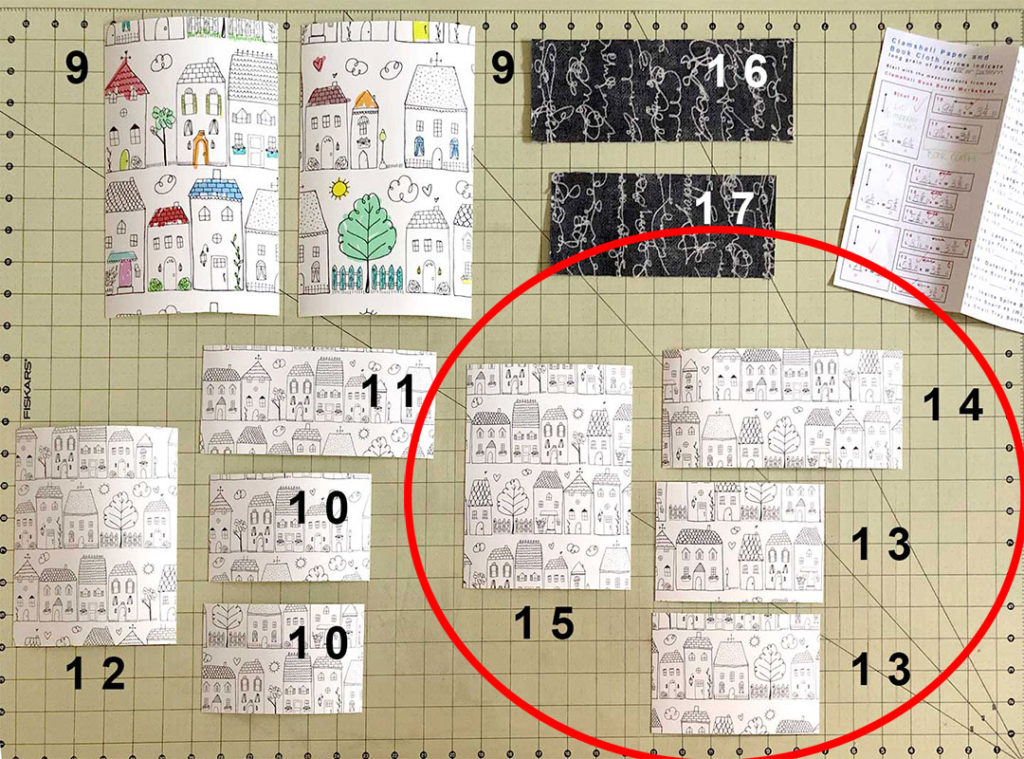
Watch the orientation of your paper
One thing to be careful of as you cover the trays – if your paper has a directional pattern you’ll want to be aware of the direction you place it on the trays, particularly the long sides. Think about how the box will look when it’s closed, and the direction you want that pattern to appear in that circumstance.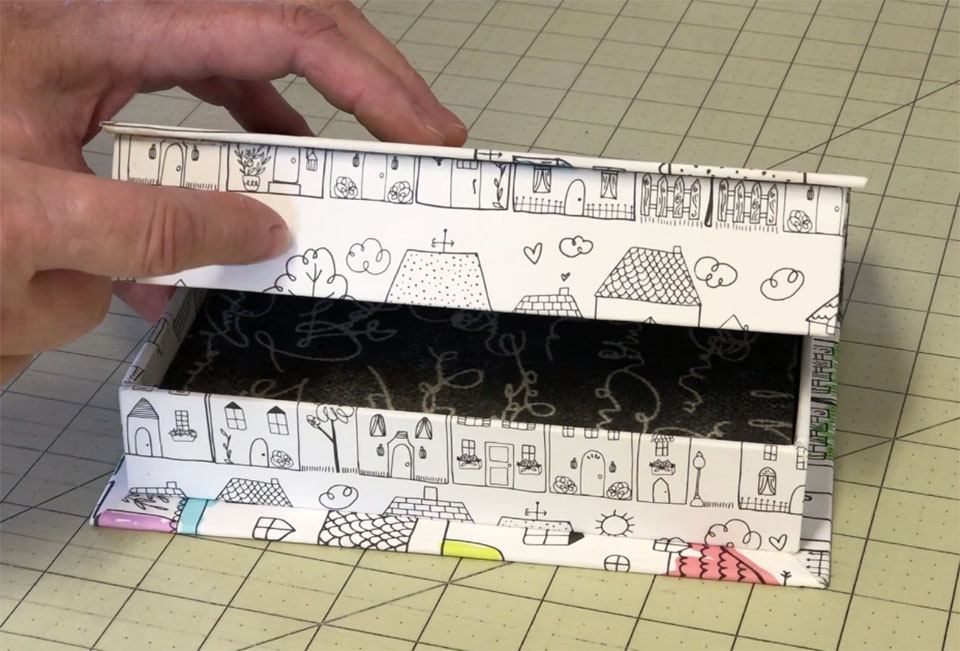
Mark the back if necessary
Figure out how the paper needs to be placed on the sides, and make notations on the back of the paper to help you remember which way they should be placed. Once everything is covered with glue it makes that decision making process a little more stressful.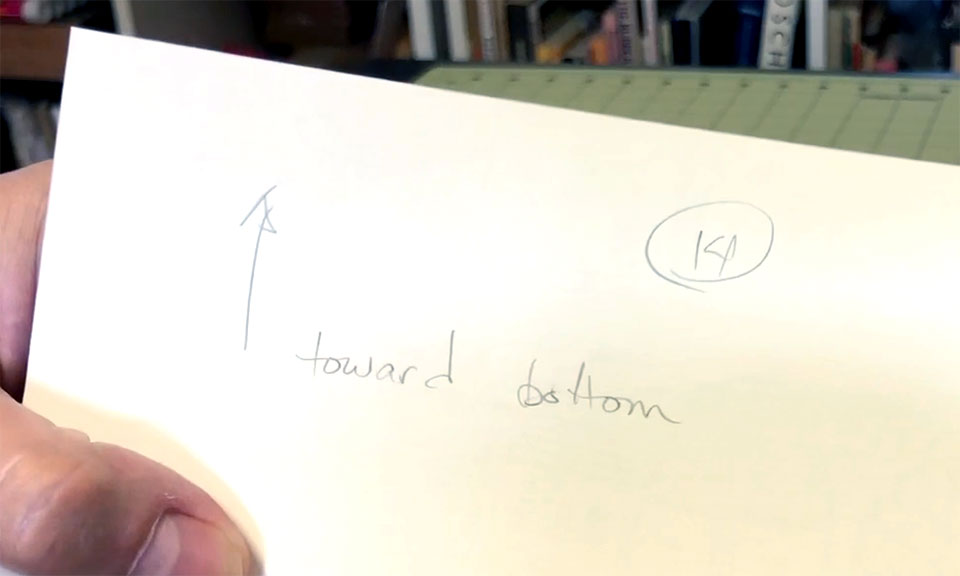
Use regular PVA glue
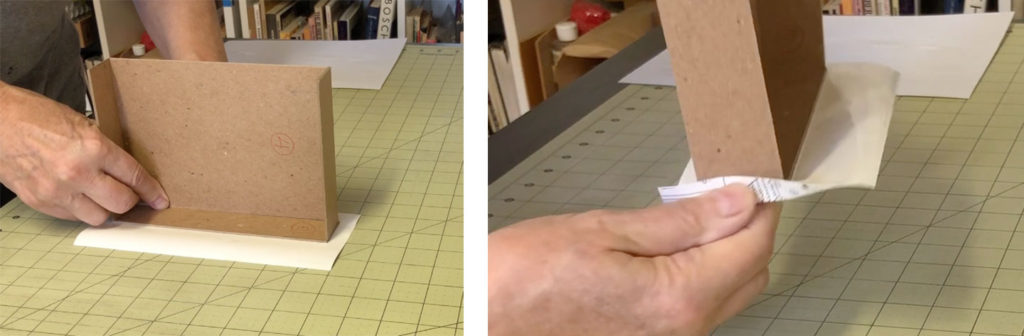
Apply regular PVA glue to the paper, using a scrap piece of paper to glue on. Remove the paper from the scrap paper and place it flat on the table. Place the tray on the paper, centering it from side to side and leaving about ½ inch on the bottom.
The bulk of the paper will be along the open edge. It needs to cover the outside and the inside as well as leave at least a quarter inch to cover the bottom. Be very sure of the orientation of the pattern on your paper before and after you do this.
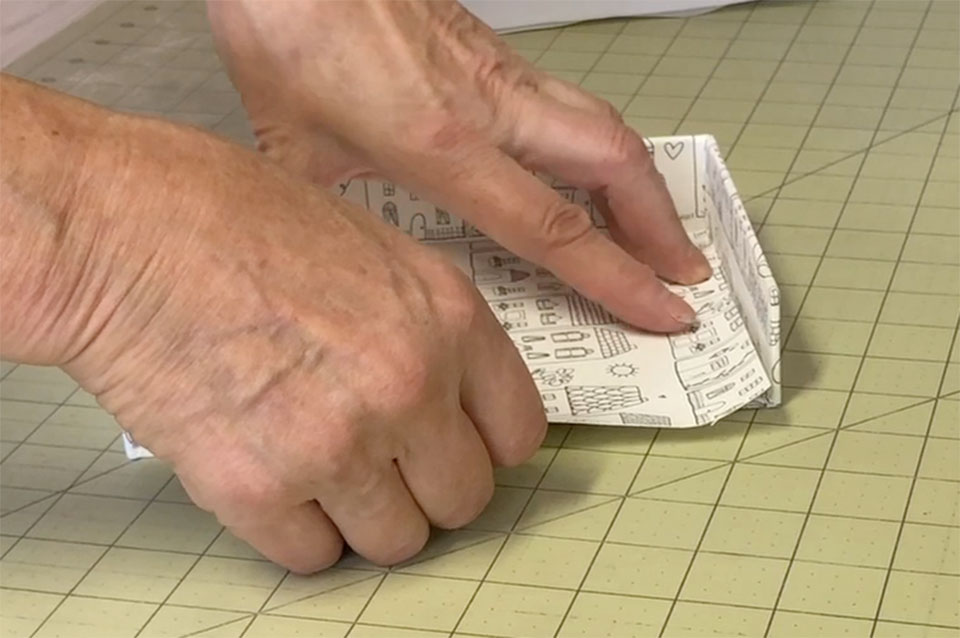
Working quickly so the glue doesn’t dry, fold up the short sides of the paper, pressing them firmly to the bookboard.
Trim the corners
Pinch the paper at the corners so you know where the board is at each corner and then trim the corner of the paper in a triangle. Don’t trim right up to the bookboard.
Glue the small tabs
Refresh the glue on the tabs and on that long flap if it has dried, and then press down the small tab first on each side, then the long flap on the bottom of the tray. Make sure these three sides are firmly and completely adhered.
 Make some cuts to the big flap
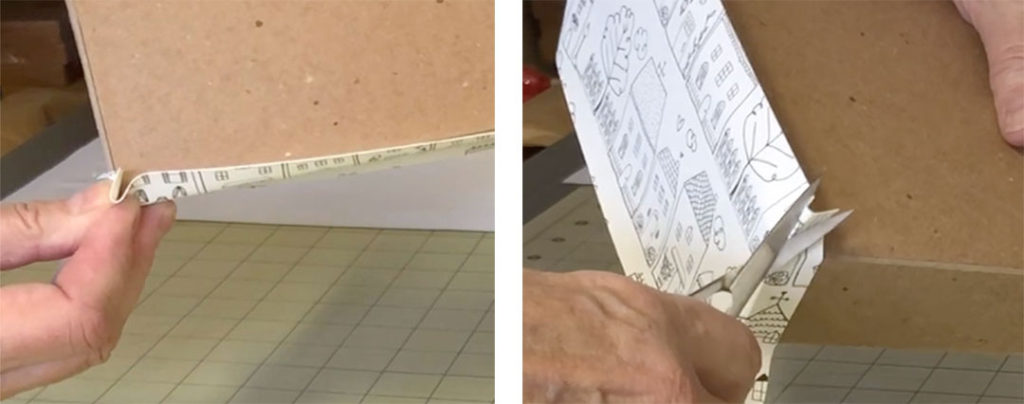
Before you glue down the big flap you will make a couple of cuts in each corner to allow you to create a flap that will cover the corner of the tray. You can do this with scissors or a blade. I find that if your scissors aren’t sharp enough you will tend to chew through the paper rather than cutting it cleanly, due to the fact that the paper is a bit wet from the glue, so I always opt to use a razor blade or scalpel to make these cuts. Cut both corners.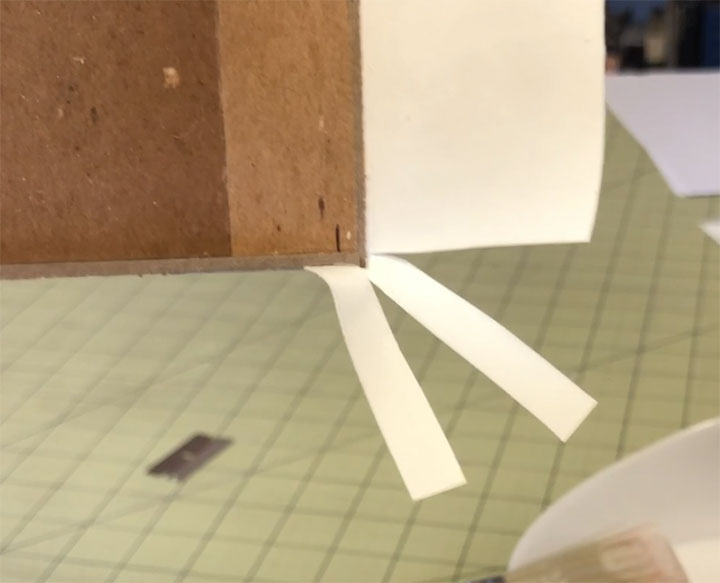
Refresh the glue, if necessary
I usually have to refresh the glue on the flaps at this point – maybe I work too slow or it’s too hot here, but make sure your glue is still tacky before moving ahead.Fold the small center flap in first, using a bone folder to help guide it in and smooth it down. You want it to completely cover the junction at the corner of the tray. Use some care when working with these flaps – they are narrow and damp and you don’t want to accidentally tear them off.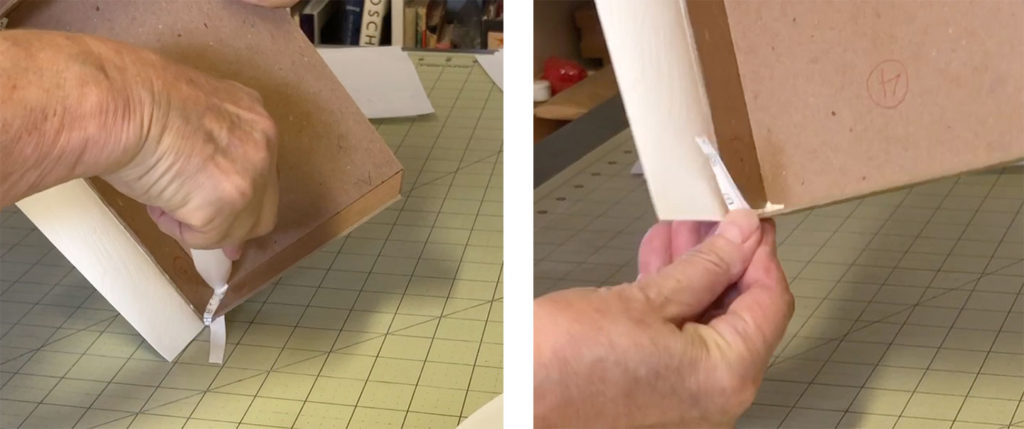
Do this on both sides and then fold down the other small flap on both sides, again using your bone folder to smooth the flap into the corners. These small flaps should overlap the first flap so that there is no bookboard showing between them.
Glue down the long flap
Lastly, press down the big flap, pushing it firmly into the corner along the bottom of the tray. Use the bone folder to smooth down all surfaces, making sure they are all making contact with the tray and are firmly glued down.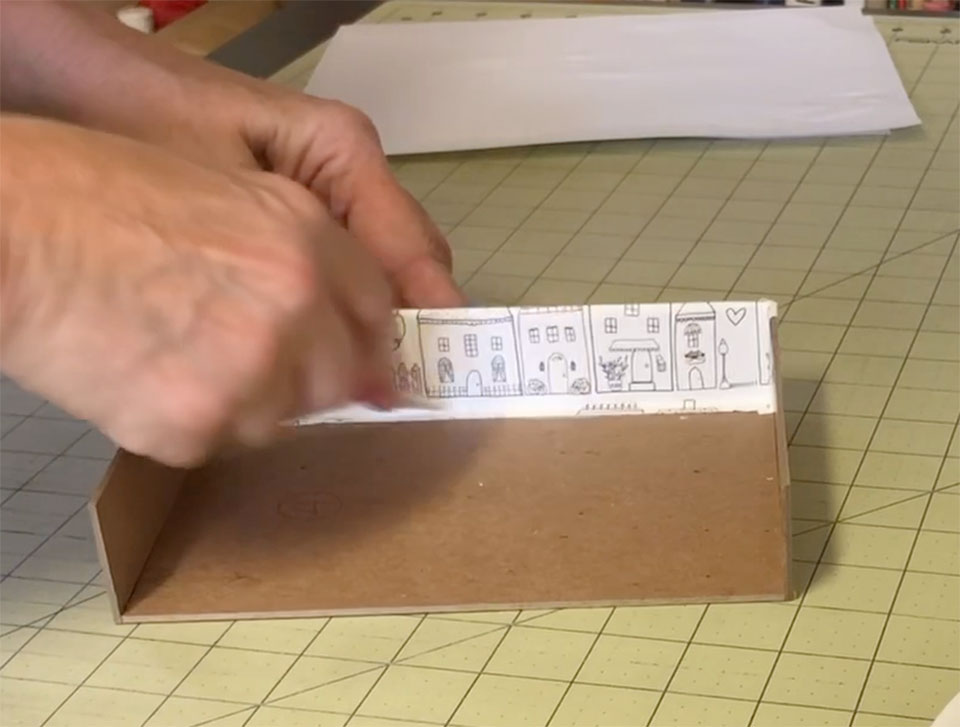
Add the side paper
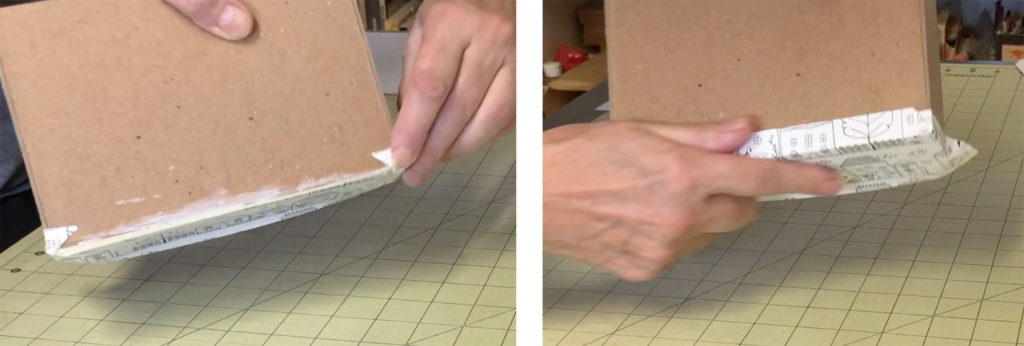
The next step is to apply the side papers. Once again, be sure of the orientation of these papers if they have a directional pattern on them. Place the paper on a piece of scrap paper and apply regular PVA glue.
Remove it from the scrap paper, double-check the orientation, and place the tray on the paper, placing the edge that is overlapping the previous paper about ¼ inch from the corner, and leaving a ½ inch flap to fold along the bottom as you did with the previous piece.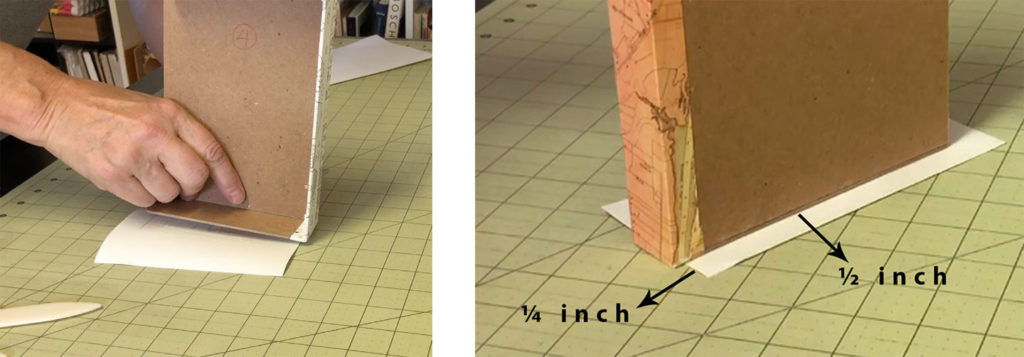
Fold that ½ inch flap on the bottom and make sure it is firmly adhered to the bottom of the tray.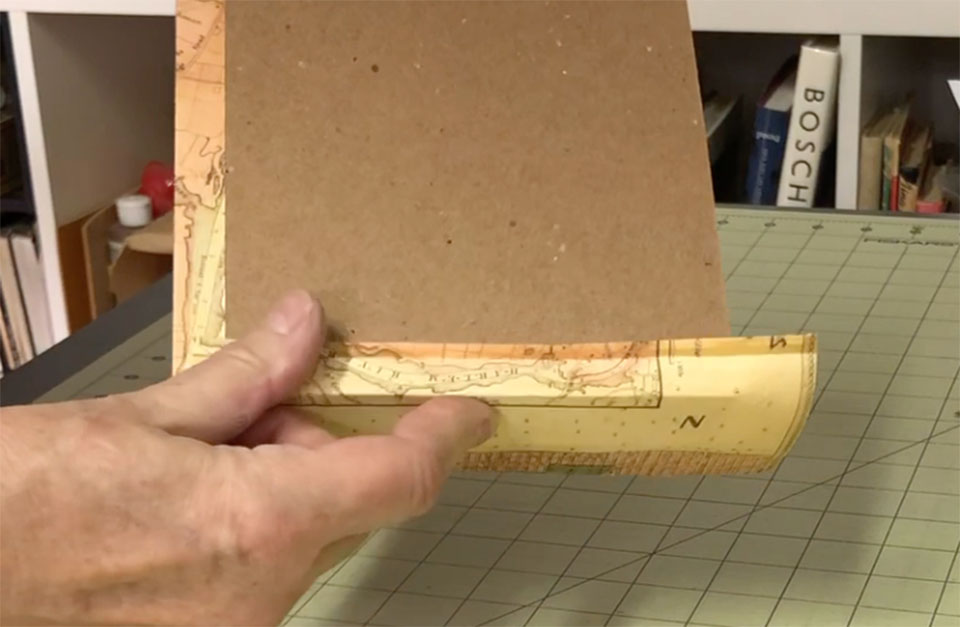
Trim the corner
The next step is cutting the corner of the upper flap so it folds neatly, much like you did with the sides. This cut is a little trickier. Here’s a diagram of how you will want to cut this. Again, you can do this with scissors if they are sharp enough, but a blade might be better.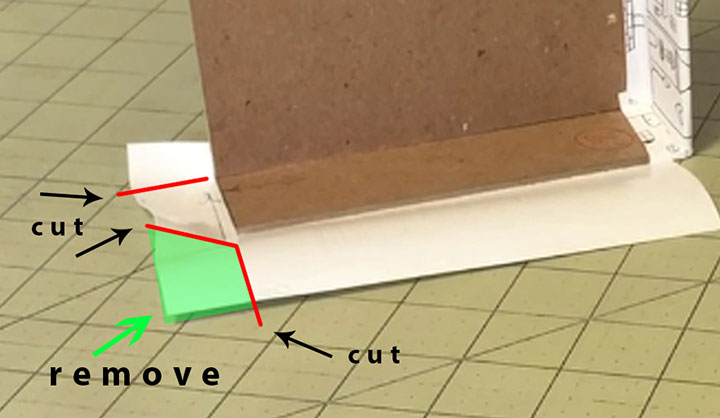
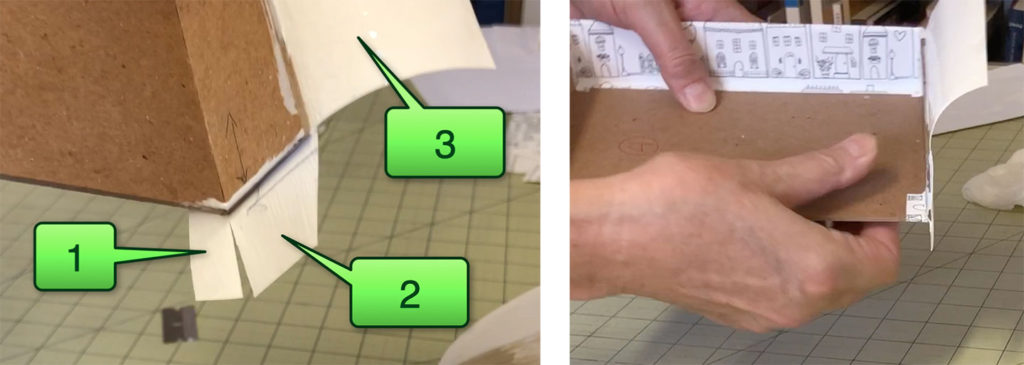
Cut both corners according to the diagram, and refresh the glue if it has started to dry. First fold the small flap, flap # 1, making sure that part of it covers the corner.
Use your bone folder
Just like the previous side, use the bone folder to work the paper into the corners of the tray. Then glue and fold flap #2.
 Finally, fold the large flap, # 3, over, making sure to push it smoothly and evenly into the bottom junction of the tray. Use your bone folder to make this easier.
Finish the second short side in the same manner.
Line the inside of the tray
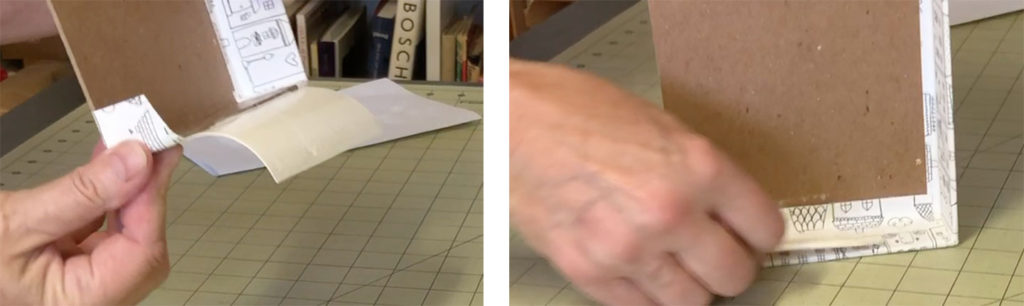
The last step to completing the tray is to line the inside. The liner paper should fit fairly snugly into the bottom of the tray with about a half inch left on the open side to turn under.
 Once again, on a piece of scrap paper, apply glue to the wrong side of the liner paper. Carefully align the paper in the bottom of the tray and use your bone folder to smooth it down. Fold the front flap over and press it down firmly. Give it all a once-over with your bone folder.
Repeat this entire process with the second tray.
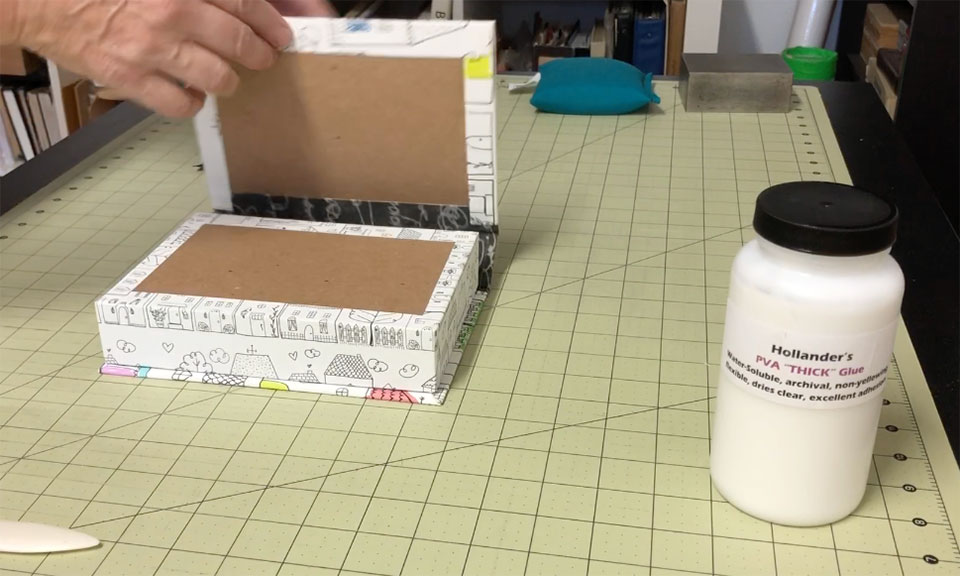
Put all the parts together
Once you have both trays covered, the final step is putting it all together. First place the trays on the lid in the position they will be once they are glued, just to make sure everything fits the way you want it to. The larger tray should be on top when it’s closed.
 It’s also a good idea at this point to notate on the back of each tray and inside the lids what part is what. I’ve just written “top” and “bottom” on the appropriate parts so I make sure to glue them to the correct side.
Get out your thick PVA glue
Use the PVA thick glue to glue the trays to the lid. Use a scrap piece of bookboard as a spatula to scoop up the glue. You want to be pretty generous with the glue on this step, applying a solid and thick bead all the way around the edge of the tray, about a half inch in from the edge. This will give it room to spread without gushing out from underneath, creating a mess. Also add several beads of glue to the center area of the tray.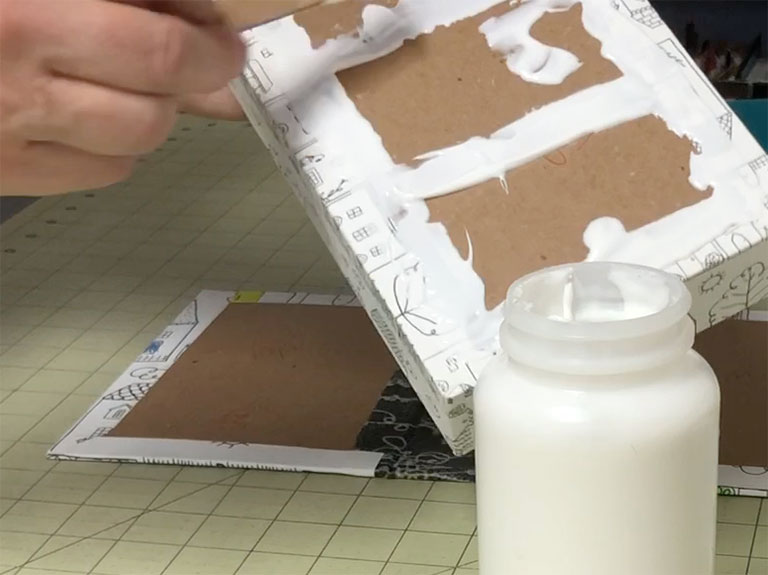
Align, glue and weight it down
Carefully align the tray on the correct side of the lid, making sure that the open edge of the tray is perfectly aligned with the gap by the spine. I run the bone folder along the gutter, making sure the tray is snugged up against that.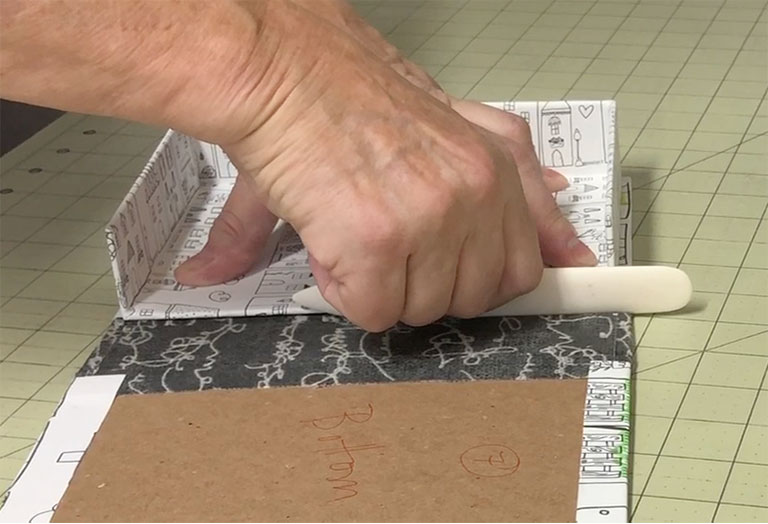
Weight the tray down, making sure it stays correctly aligned.
Same procedure on the second tray
Apply glue to the second tray and follow the same procedure to make sure it is correctly aligned. 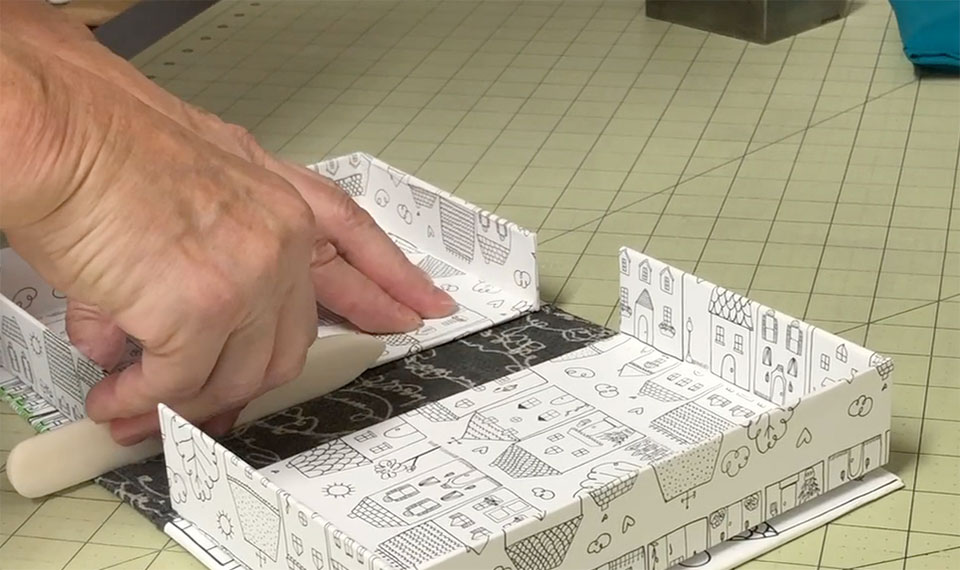
Before putting both trays under a final weight for drying, open and close the box, testing it with the item you are going to put in it, if possible, to double-check the alignment of both trays with one another. If all of your original measurements were accurate, the trays should fit together perfectly.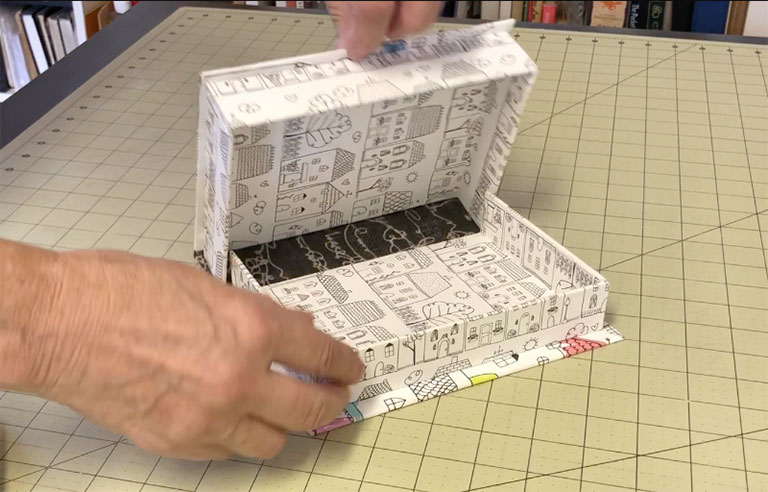
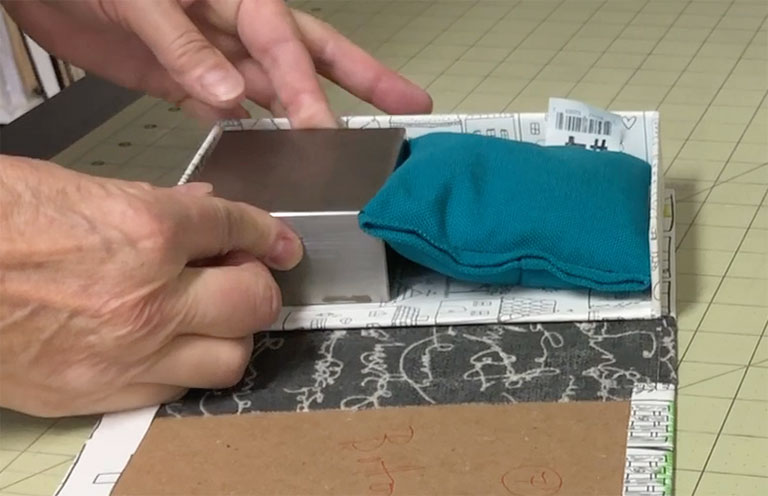
Use a very heavy weight on the trays
Put the trays under a heavy weight over night to allow them to dry thoroughly. You can do this in a number of ways. Put weights inside each tray, if you have small enough and heavy enough weights. Or, place something very heavy on top of each tray. Or both. 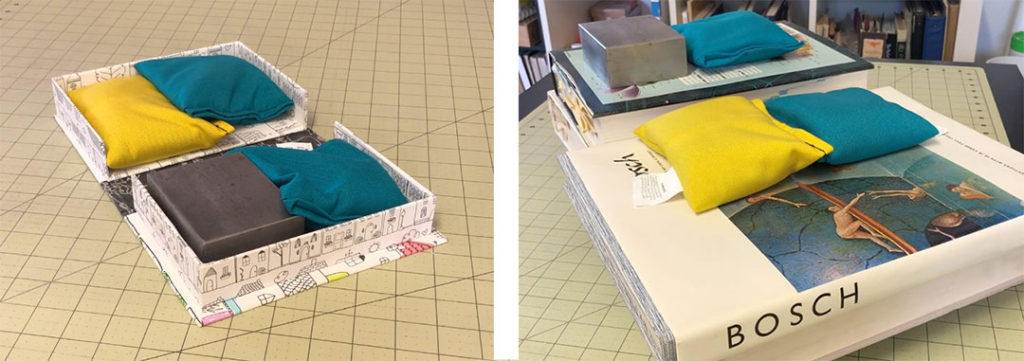
The structure of the trays is such that they will hold a great deal of weight if you built them out of something heavy and dense like bookboard. So, you don’t need to worry about crushing them.
That’s it. There are a lot of steps to creating this clamshell box, but it’s a pretty cool and useful object once you’re done!

