
Classic Slipcase
Click to Watch the Classic Slipcase Video Tutorial
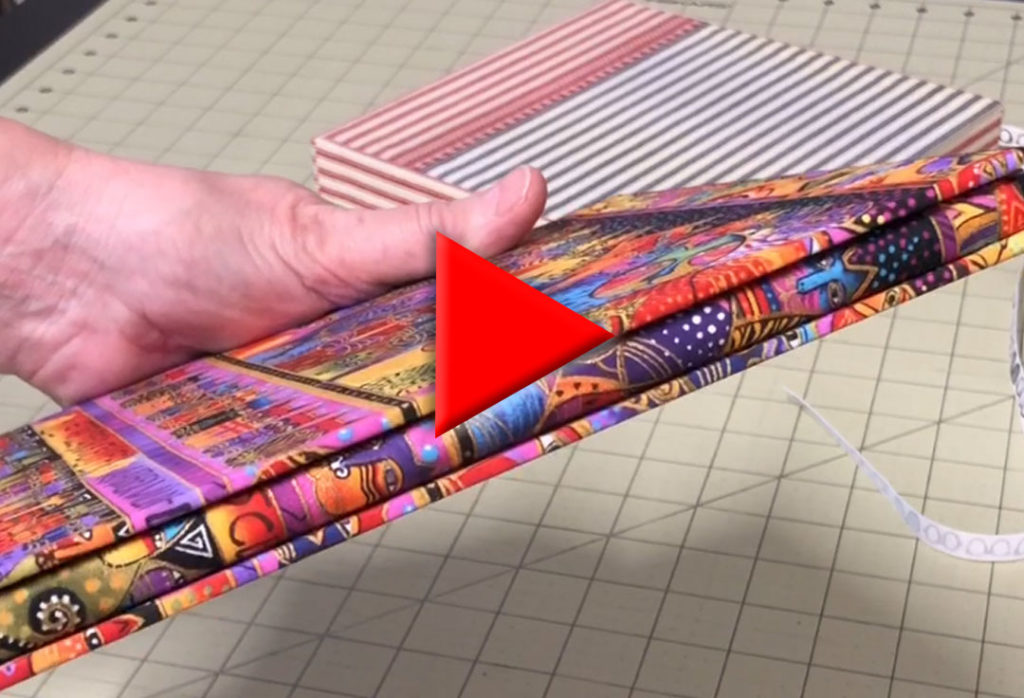
This classic handmade slipcase is a very classy way to protect a special book. The book should fit inside the case snuggly. If it is too loose it will just fall out. If it is too tight it will be hard to get in and out, or it might not go in at all.
Start with the Worksheets
This is one of those constructions that requires very precise measurements or the end result will fail. I’ve created a couple of worksheets that you should download and take the time to carefully fill out before you start.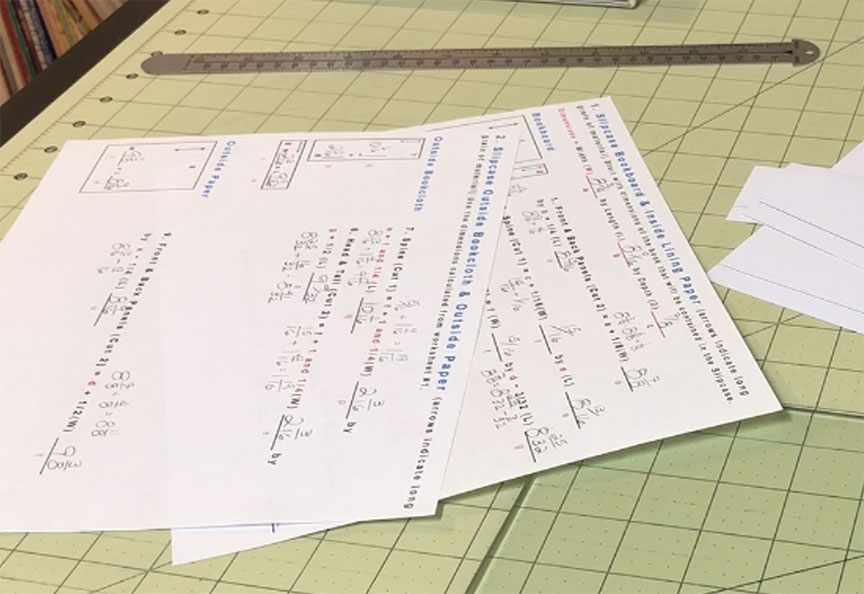
Download the Slipcase Worksheets Here
These measurements are based on bookboard that is .067 inches thick, or about 3/32nd of an inch or 2 millimeters, and using paper that is of average thickness. If you’re using very thick paper inside or out you’ll want to adjust your measurements accordingly.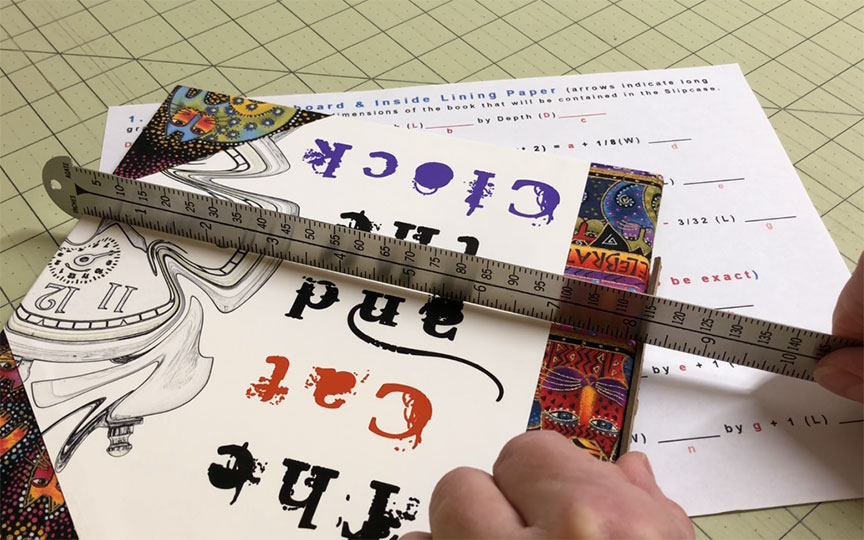
Your measurements start with the measurements of the book that you want to make a slipcase for. Hopefully the worksheets are self-explanatory, but if you want detailed instructions about how to fill them out you can watch the brief worksheet video here.
Cut Your Materials and Double-check Your Measurements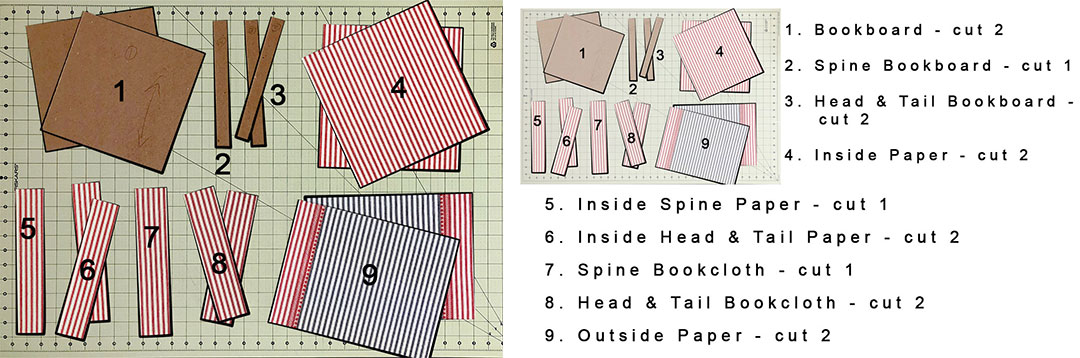
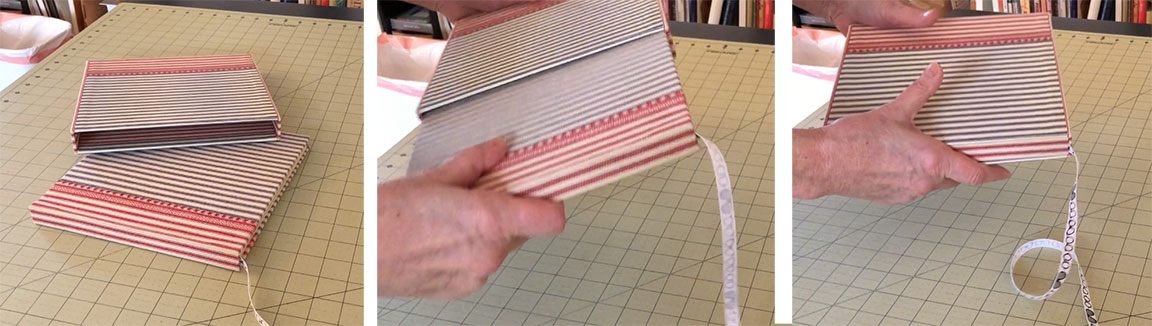
Once you have your worksheets filled out and all of your materials cut, and before you start gluing, double-check the size of the bookboards against the book that will be residing in it.
With the board flush to the head or the tail of the book, the other end should show about ¼” of board. Then, with the board flush to the spine of the book there should be about 1/8” bookboard showing along the front edge. 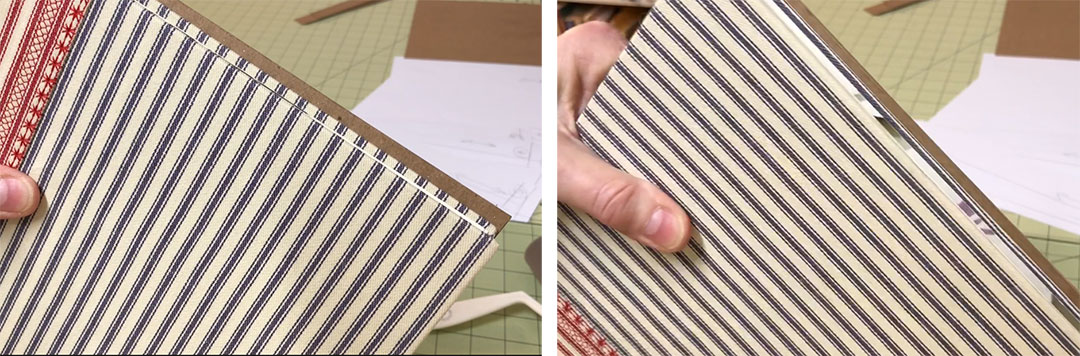
You’ll also want to place the spine piece on top of one of the boards, place the book on top of the bottom board and then place the top of the slipcase on top of the book and the spine piece to make sure you have given yourself enough room to get the book in and out. Remember that you are still going to cover the inside of the slipcase with paper, so if it’s the least bit tight now, you will probably want to re-measure.
More or less than these measurements will make your book fit either too tightly or too loosely in the slipcase.
Glue the Inside Paper
Once you’re sure that the measurements of the boards are correct start the construction of the slipcase by gluing the inside papers to the bookboard.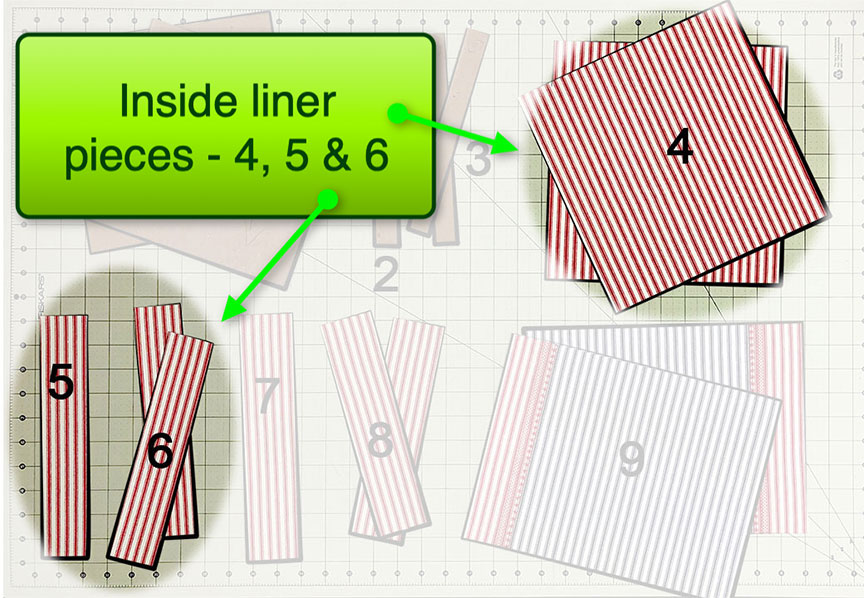
In general, these inside papers don’t have to line up precisely to anything because the excess margins will eventually be cut off.
However, in my example, I want to be careful about how the board lines up on my paper because it has lines on the front, and I don’t want these to end up crooked. So, I have drawn margins on the backside of my paper to help me line it up correctly.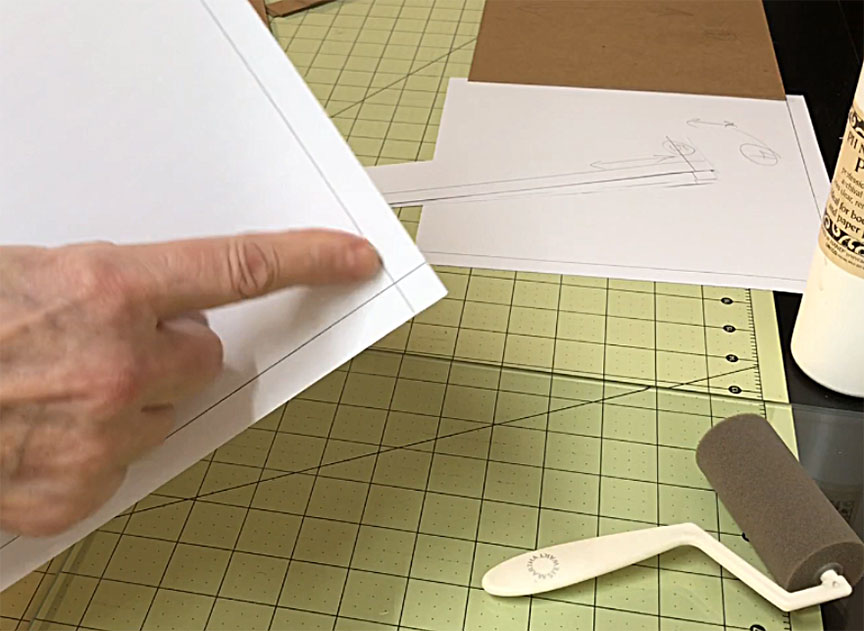
For most of the gluing that I do I generally prefer to use a brush, but in this case I am going to apply glue to the bookboard instead of the paper, and using a roller to apply the glue works well in this case, giving me a nice even film of glue.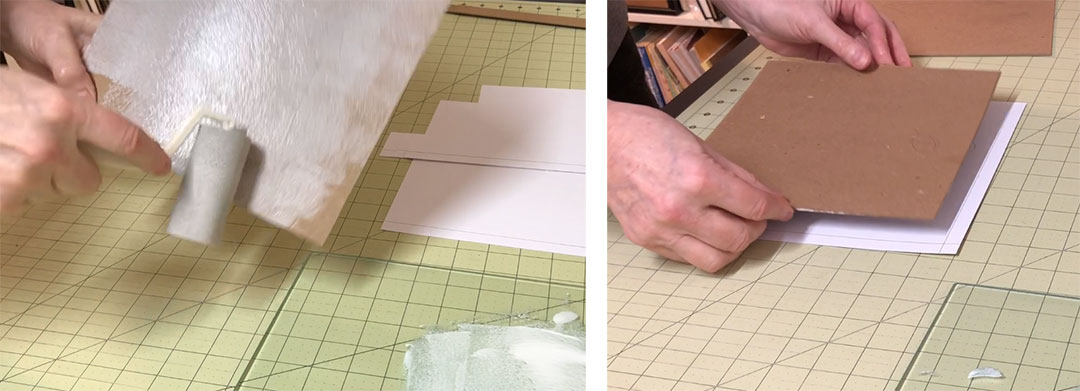
Once you have the glue evenly spread, place the board on the wrong side of the inside paper and press it down firmly. Use a bone folder to make sure all parts of the paper are adhering to the board, and place this under a weight while you work on the next section.
Cover all of the bookboard pieces in this manner and weight them all down to dry.
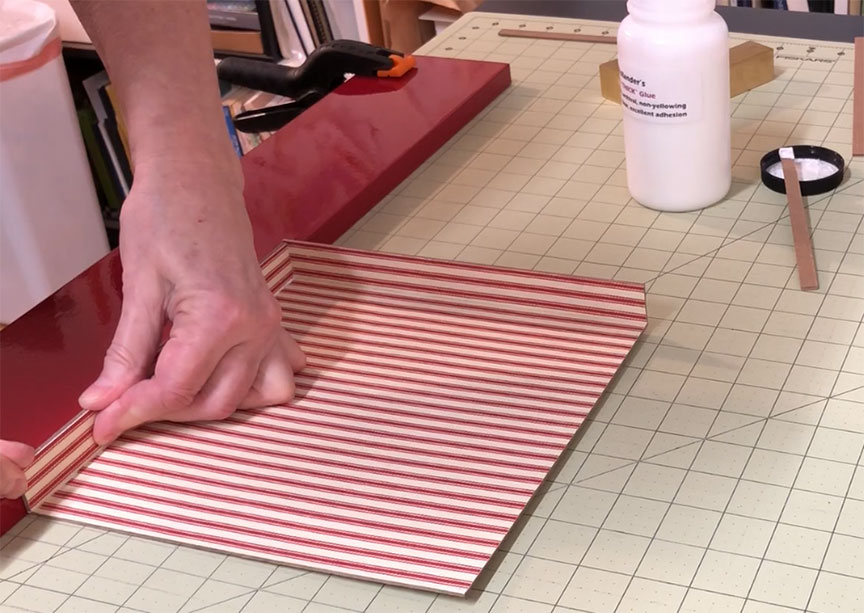
Trim the Inside Paper
Once you’ve covered all of the boards with the inside liner paper and everything is dry, trim off all of the excess paper right up to the edges of the board.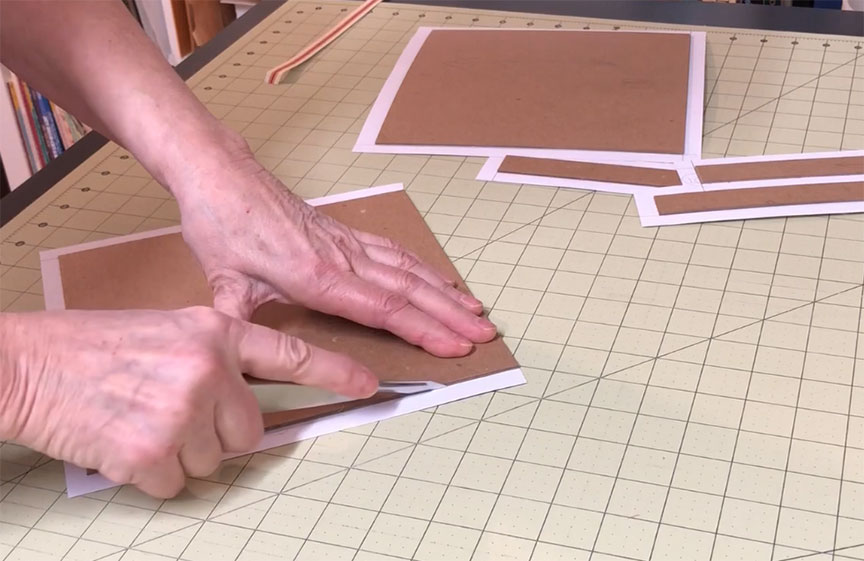
If you’re careful you can just use the edge of the board as your guide. If that makes you uncomfortable or you keep cutting into the board itself, use a straightedge to cut against.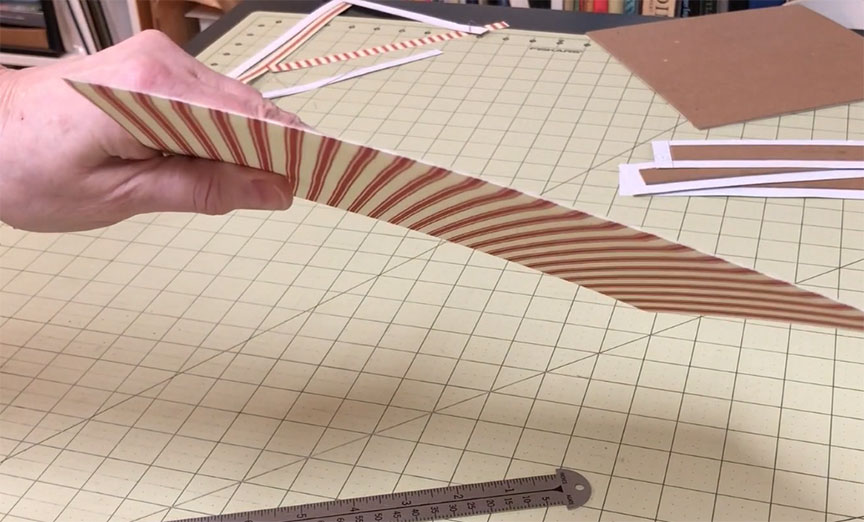
By the way, the boards may curl a bit even after they are thoroughly dry, but when you eventually glue the outside pieces, the curl should completely even out because the moisture on the outside will balance everything out.
Create a Backstop
Once you’ve trimmed all of the boards you’re ready to start gluing the slipcase together. Before you do that it’s a good idea to create a little backstop for the boards as you glue them. This will help keep everything square, which will be important to the overall success of the slipcase.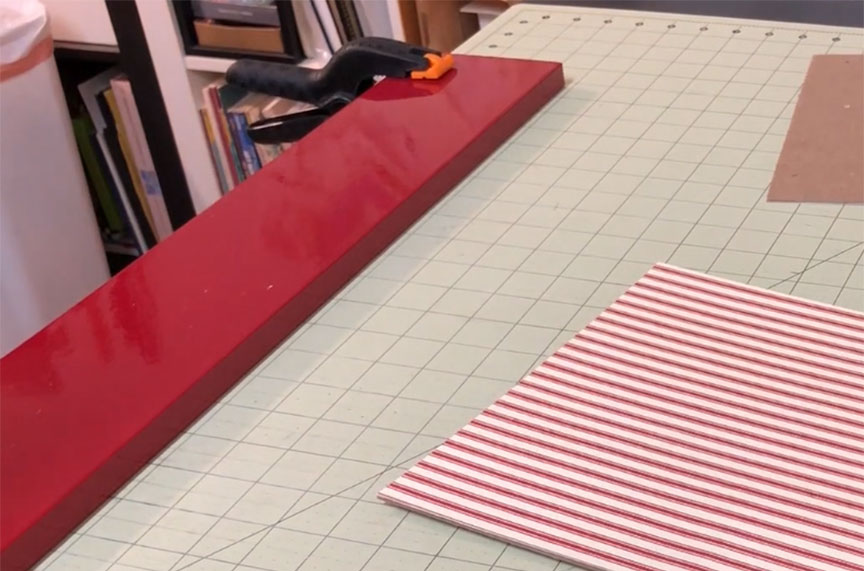
Use a straight board clamped to the edge of your worktable. I have an old piece left over from the construction of a countertop that is covered with a slick material so it’s easy to clean any glue off of it. If you’re just using a raw piece of wood you might want to cover it with waxed paper to keep the glue from making a mess.
Begin Construction
 You’ll need glue, obviously. It’s best to use a special ‘thick’ version of PVA glue to glue the bookboard together. This thick glue makes it much easier to get the correct bead of glue along the edge that’s necessary to get these boards to stay together during construction. You can use regular PVA glue but be prepared to do a lot of standing around holding boards together.
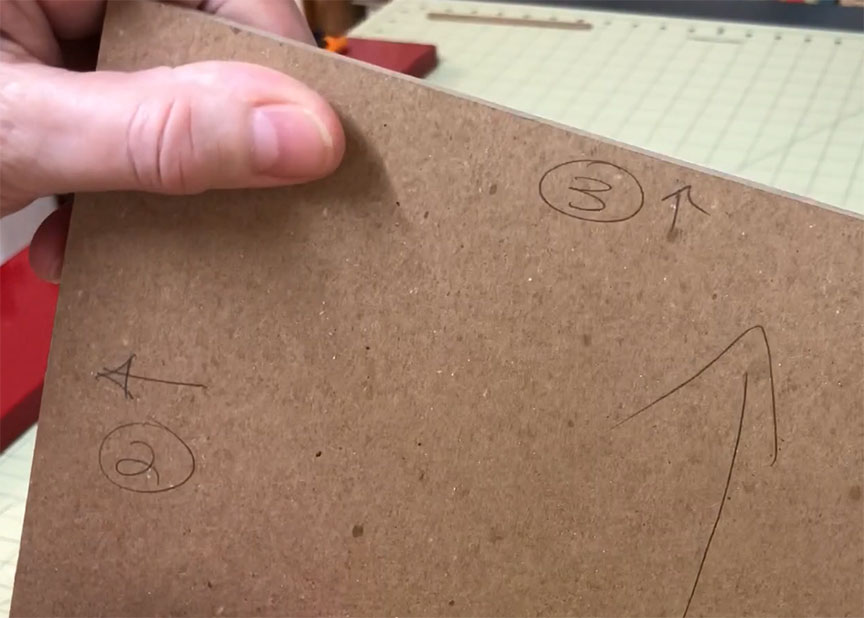 I have also marked each side of my boards to make sure I glue the correct pieces together. This was particularly critical for this slipcase as the book was square and the length and width of the slipcase varied by only an eighth of an inch.
Place one of the main boards against the backstop that you’ve set up with the liner side up and the spine edge against the backstop.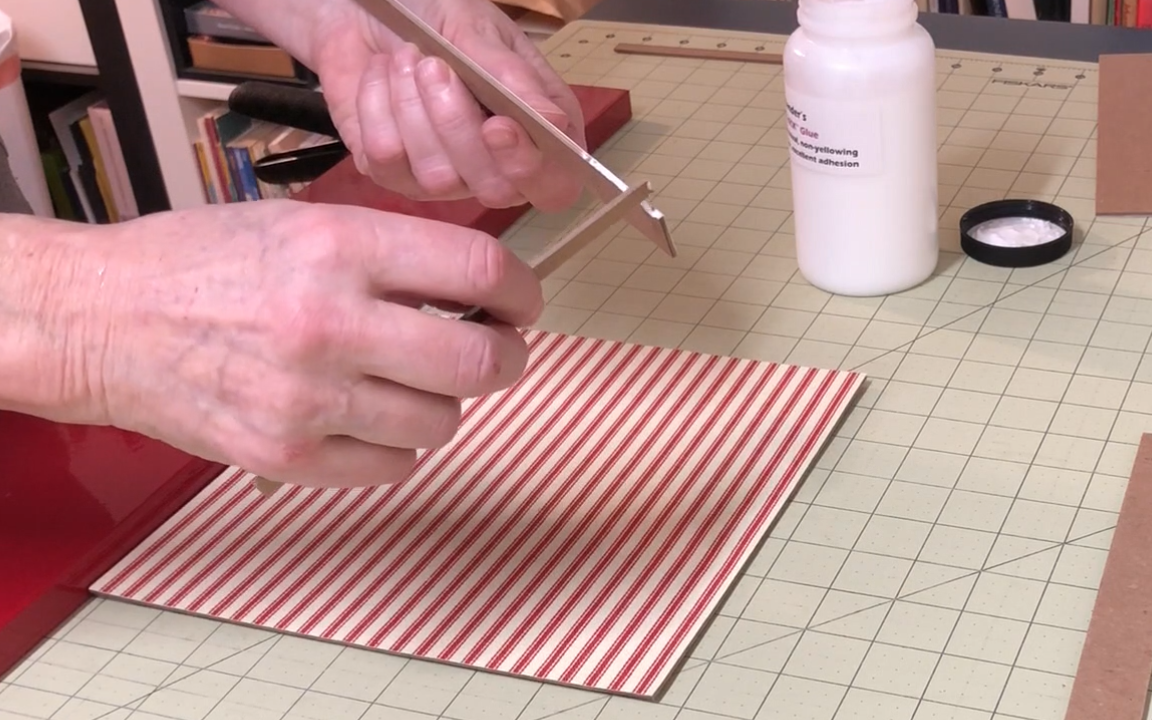
Use a scrap piece of bookboard and dab a bead of glue along the edge of the spine piece of bookboard.
The bead of glue needs to be thick enough to create good adhesion but not so thick that it gushes out everywhere when you put the two pieces together. Once you have the entire edge covered with that bead of glue, clean off any overage on either side of the bookboard.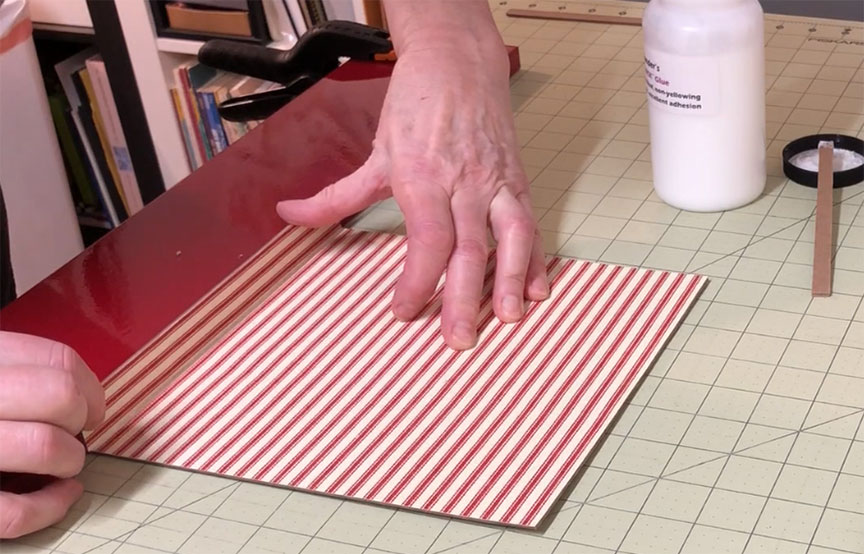
Now place this piece of bookboard on top of the main piece, making use of the back stop to help you align both pieces. Make sure you have your liner paper facing in.
Clean off the Excess Glue
Hold the two pieces together until they feel relatively stable and stuck together. 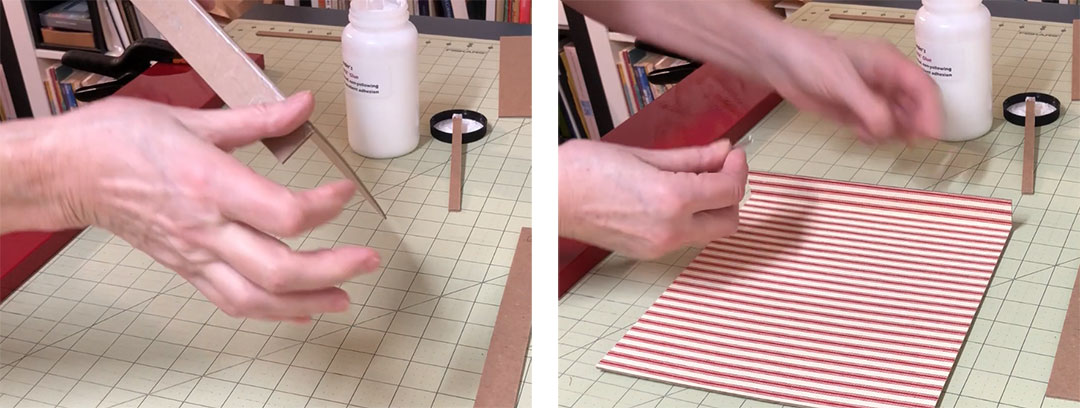
Clean any glue off of the backstop and clean any glue seepage off of the back of the boards. Use a scrap piece of bookboard to clean any glue that has been squeezed out from the seam.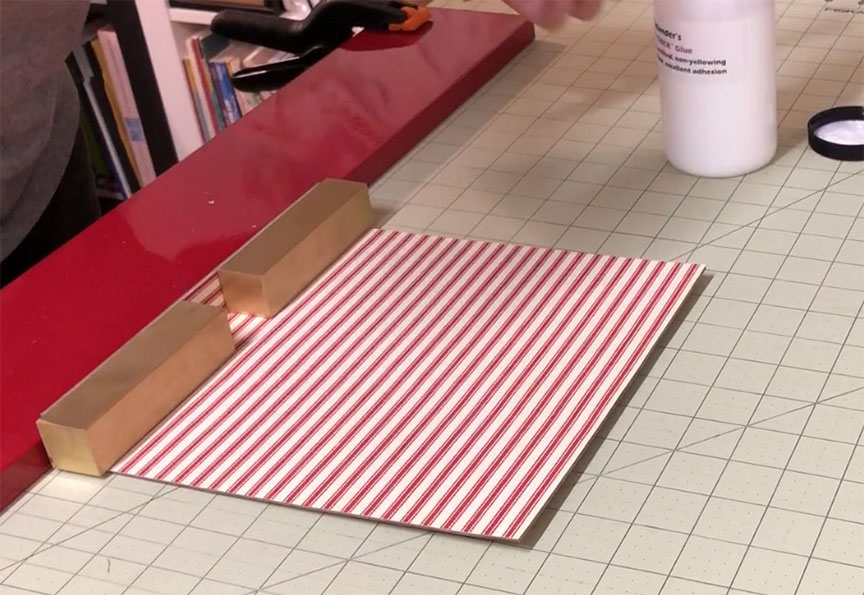
Place the glued pieces back against the backstop. I use weights to hold these pieces in place while they dry as I’m preparing the next piece. You could also use books or cloth-wrapped bricks for this purpose.
Keep Gluing 🙂
Choose one of the head or tail pieces. You’ll dab glue along one long edge just as you did with the first piece, and clean up the edges as you did before.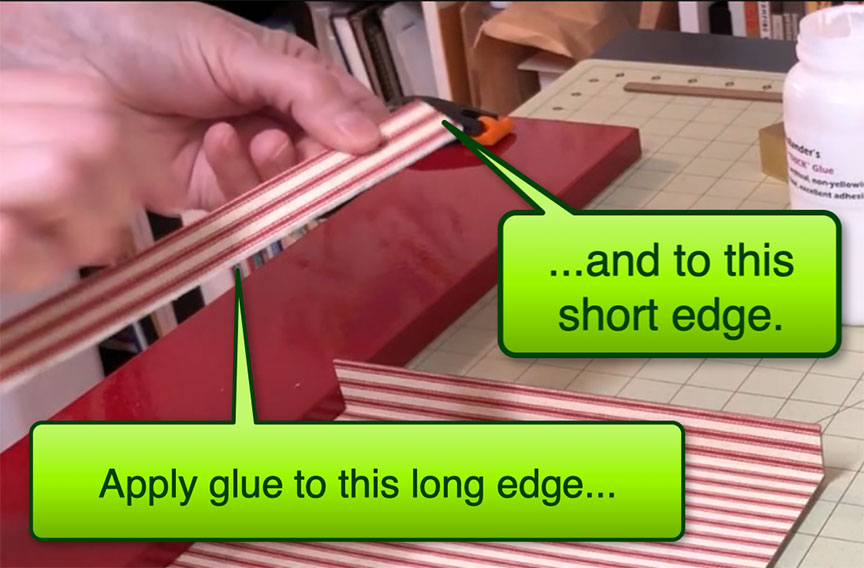
In addition, you’ll apply glue to one of the short edges. This short edge will attach to the spine piece you previously glued down. Carefully position this piece on the main board, utilizing the backstop to keep the pieces aligned. Hold them in place long enough to get a strong bond.
Once again, use a piece of scrap bookboard to clean any excess glue from the seam. Turn the tray over and wipe off any excess on the back. Then use weights again to keep the pieces in place while they dry as you work on the next piece.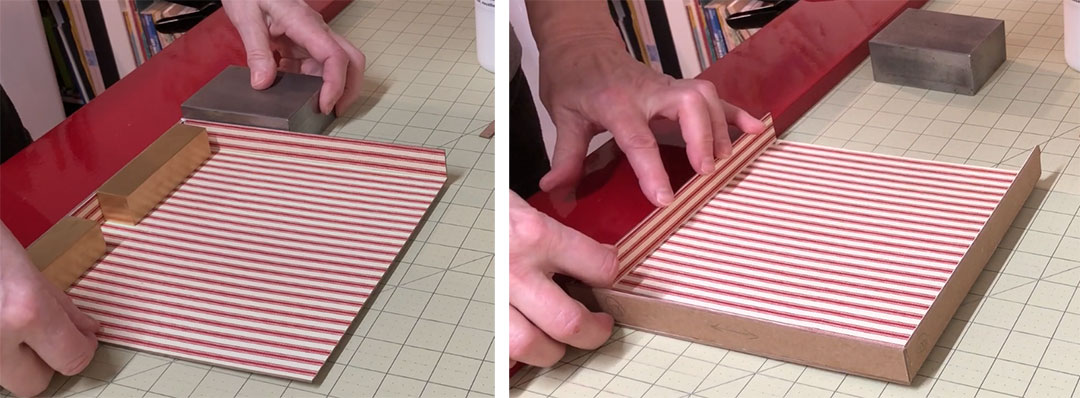
Follow the same process for the other edge piece, using the backstop to help align the piece once you’ve applied glue. Clean up any glue on the seam, both inside and outside, and apply weights to hold everything in place while it dries.
Double-check the Alignment before Continuing
Once all the edges are well adhered and dry, double-check everything. If you have any areas that are a bit uneven you can use sandpaper to smooth those areas down.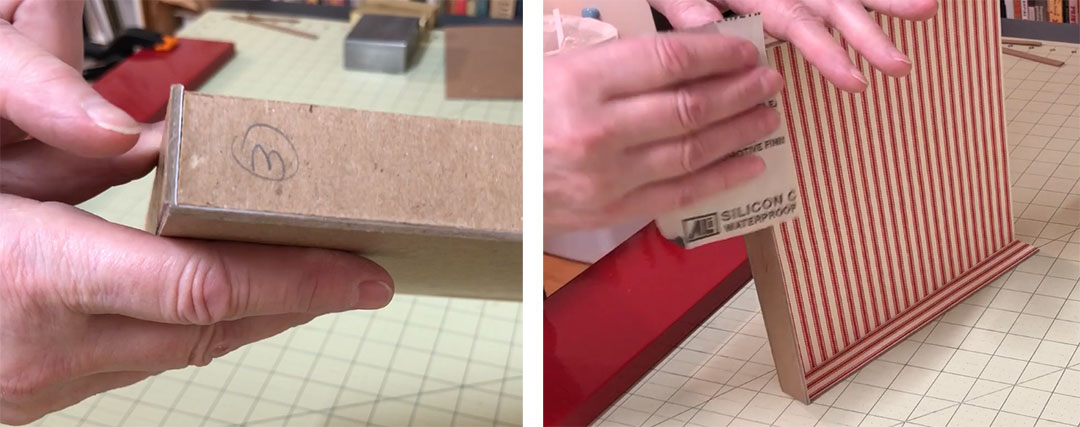
Before you glue on the other side check the fit of your book. You can’t really fix much at this point if the book doesn’t fit, but it will save you the trouble of going any further if something is wrong at this point.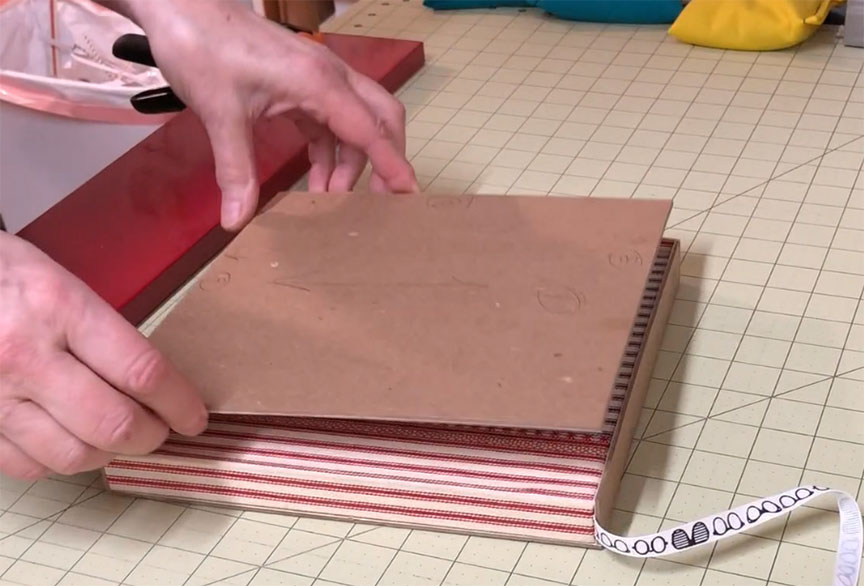
The book should sit just below the edges and should be flush with the front edge.
Glue on the Last Narrow Side
Once you’re sure of the fit, you can finish off the structure of the slipcase by gluing on the final side. Dab the thick PVA glue around all three edges, the same way you did when you attached those edges to the other side.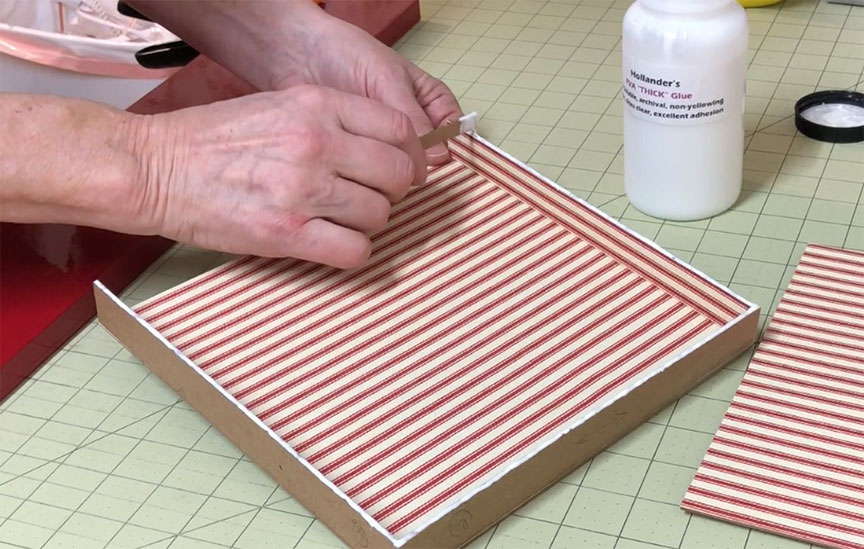
Clean up any excess glue, place the final side on top and start aligning all three edges. Be careful about the orientation, if your slipcase happens to be squar-ish, like my example, and be sure to place the lined side inside.
The Tricky Part
Now comes the trickiest part of the construction. If the narrow pieces of bookboard have bowed at all, and they probably have, you’ll need to make sure those sides are straightened out and glued correctly to the cover piece of bookboard. However, getting your fingers inside to push out any areas that need it is difficult or impossible.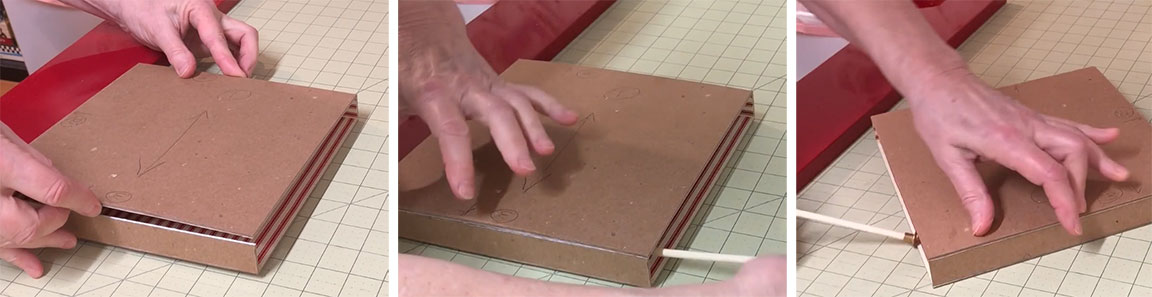
So, find a long narrow tool of some sort – a metal straight edge or a knitting needle – that you can put inside the slipcase, and gently push from the inside to align the sides.
Clean up any excess glue being squeezed out on the outside. I will also weight down various sides as I am working on other sides. You can also use that knitting needle to clean up any glue being squeezed out inside.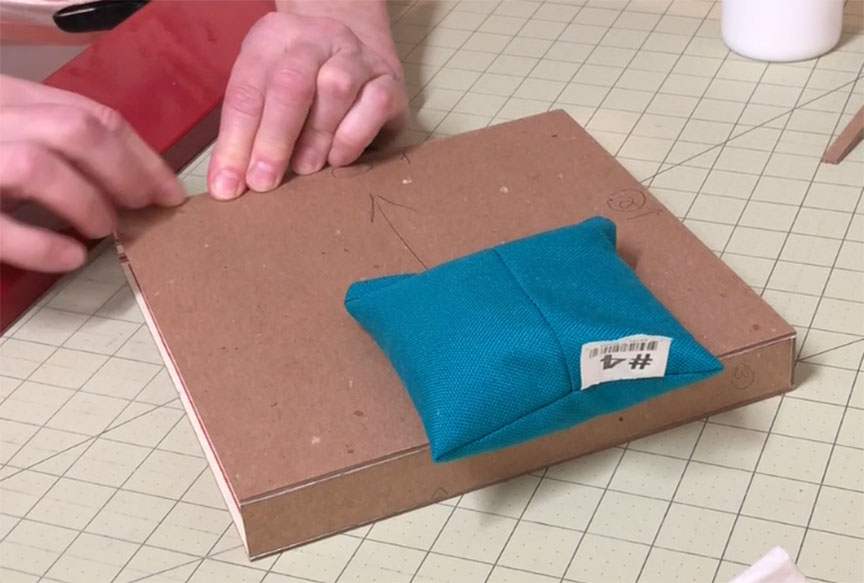
Take your time with this last step of the construction of the main structure, as it will affect how well your book eventually fits.
Put Some Weight on it Until it’s Dry
Once you’re sure everything is just right and all of the edges are straight and glued down, and you’ve cleaned up any excess glue that’s squeezed out, inside and out, place the slipcase under weight and let it dry over night.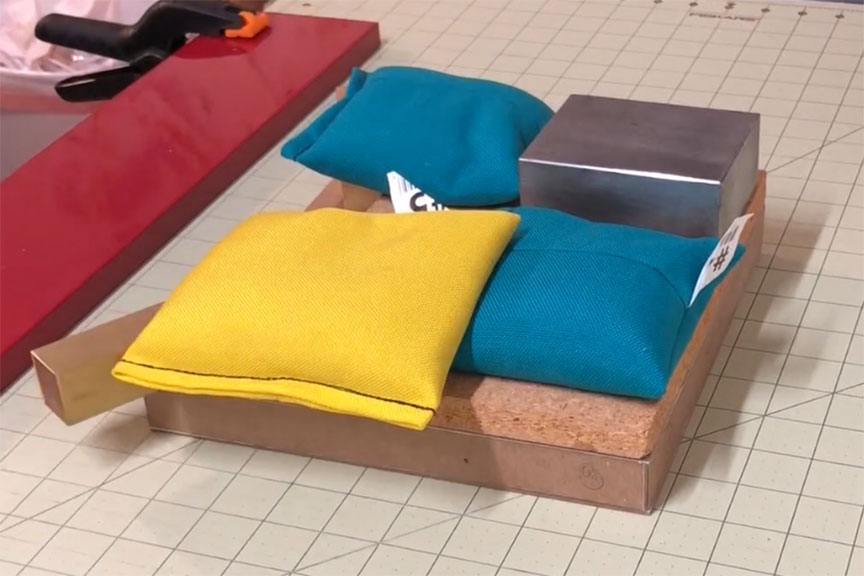
When weighting it be sure to keep the weight on the edges and not in the center. I use a board or a book with weights on top to help distribute the weight so I don’t risk collapsing the structure.
Start Covering the Outside
Once the slipcase structure is thoroughly dry you can cover the outside. Start with the bookcloth pieces; more specifically the spine piece. If you are using the worksheets this is piece number 7.
Before gluing, draw the margins along each side that you allowed for when completing the worksheets, which are 1 and 1/8th inches. This will help you place it accurately once it’s covered with glue.
Place the spine piece wrong-side up on a scrap piece of paper and apply regular PVA glue. You don’t have to be very thorough on the top and bottom margins as you will probably need to re-apply glue to those edges in a minute.
Remove the bookcloth from the paper and place it on your worktable. Position the spine edge of the slipcase within the margins that you drew and press this down firmly, pressing down the spine edge and both long margins. Don’t do anything with the two short ends yet.
Miter the Corners Before Gluing
Once you have the spine edge and the two long sides firmly glued down, pinch the corners of the short ends so you’ll know precisely where the corners of the bookboard are.
You want to cut off little wedges of material at these corners to reduce the bulk when you fold them over, but don’t cut right up to the corner or you won’t have any material left to cover the corner. Cut about a quarter of an inch away. This will leave you with three flaps that you can fold over and cover the corners.
Start Gluing the Cover
Cover the flaps with regular PVA glue. Fold the flaps over the corners of the slipcase, starting with the smaller side flaps. Firmly press these two flaps down and then press down the large flap. Use a bone folder to help flatten the overlap. Finish both the head and tail of the spine piece in this fashion.
Next, you’ll want to attach the bookcloth to the head and tail edges. For the placement of these two pieces you want the edge near the spine to be about 1/8th to one-quarter inch away from the edge. The other side will fold over and into the slipcase, after some trimming. Draw guidelines on the back of the bookcloth before applying the glue to help with the placement of the slipcase.
So, apply glue to the back of the bookcloth, as usual. The edge that will be folded into the inside of the slipcase will eventually need to have more glue applied, so you don’t have to be very thorough with the glue application on that end.
Remove the glued piece of bookcloth from the scrap paper and place it on your work surface. Center the slipcase between the guidelines with one edge ¼ inch from the spine. Firmly press down all three long edges.
A Couple More Tricky Cuts
Place the slipcase on your work surface and make two cuts in the excess bookcloth at the end, starting from near the corner and cutting at a slight slant, like this:
Don’t start the cut right at the corner. You want to leave a little excess there to make sure the corner is completely covered when you fold these tabs over.
Apply glue to these tabs and fold them over, starting with the two small side tabs. These tabs, because of the way you’ve cut them, will partially fold into the corners. Push these tabs firmly into the corners with your bone folder. Then push down the last tab and make sure it is firmly attached.
Follow this same process with the other side.
The inside folds should look more-or-less like this.
Finally, the Last Step – Glue on the Outside Covers
The final step with the slipcase is to glue on the outside paper covers. These will sit in from each edge about ¼ of an inch on three sides. There should be about ½ inch on the open side that you can fold over to the inside.
As usual, placed the paper upside-down on a piece of scrap paper. Completely cover the paper with regular PVA glue. Carefully position it on the slipcase, making sure you have it evenly centered on the three closed sides.
Press down firmly to make sure you are getting good contact everywhere, but be careful not to push down so hard that you risk crushing the box.
Use a bone folder to smooth the paper down. Pay special attention to the edges – you want to be sure those are firmly glued down. Also use your bone folder on the paper at the open end of the slipcase to push it down and over the edge. Then use your fingers to fold it the rest of the way into the opening and use your bone folder to press it firmly down.
Finish the second side in exactly the same way.
Let it Dry
Once you’ve glued both outer covers you just need to let the slipcase dry. The bookboard might be bowed outwards a little bit, but this will go away once the slipcase has dried and the moisture has equalized.
If you want to dry it under weight, which is the best way to make sure all parts are firmly attached, then you’ll want to put the book inside to give it some support. Before you do that wrap the book in some scrap paper to keep any stray glue off of the book, and to help absorb some of the excess moisture.
I like to put the slipcase between blotters before weighting it down. These also help absorb moisture and allow it to dry more thoroughly. Don’t put too much weight on the slipcase. The book inside adds some support but if you use too much weight you could still crush the edges.
And that’s it. Let it dry overnight and your slipcase is ready to use!

