
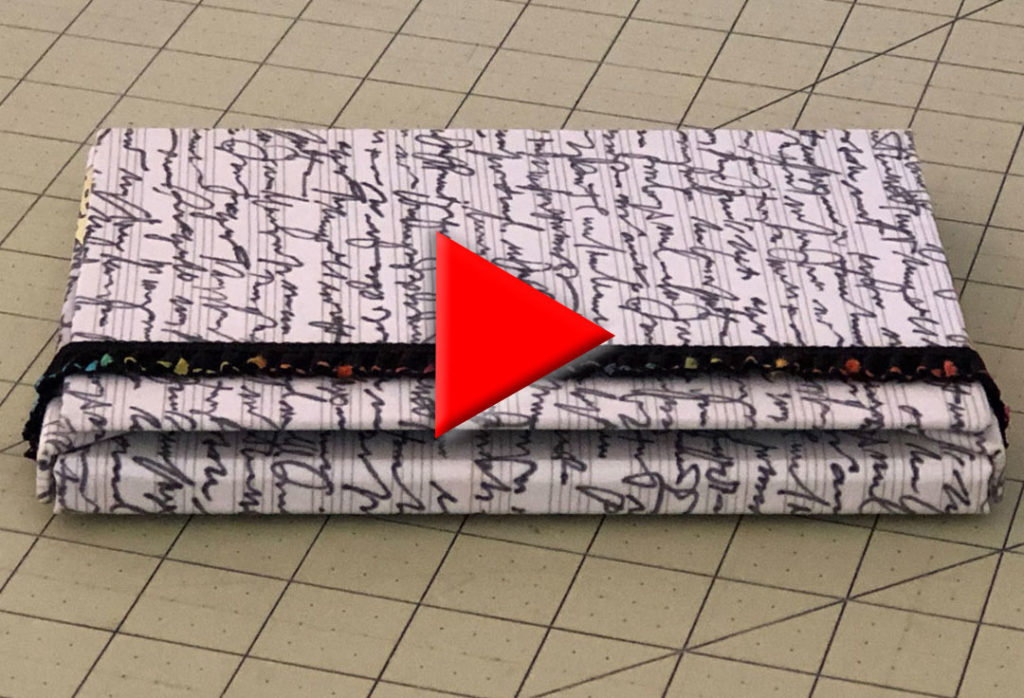
Click to Watch the Hardbound Portfolio Video Tutorial
Download the worksheets for this portfolio case here >>
Hardbound Portfolio Case – Part 1
This is a classic hardshell portfolio case, good for holding individual prints, photos or drawings. You could also use it to hold a book or a series of pamphlets.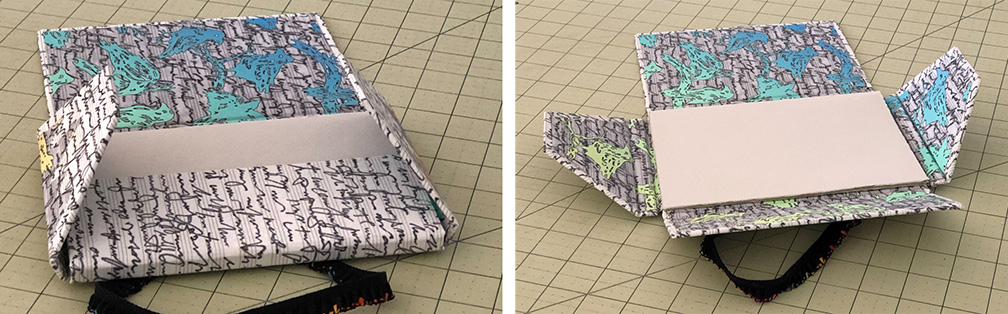
It will help to know what you’re going to put in the portfolio before you start, as all of the measurements will be based off of this. If you want to make one without knowing yet what it will be used for, just make up a size for some future object. This example is 5 x 7 inches.
Download the worksheets
You’ll want your measurements to be accurate for this case. I’ve created a couple of worksheets for figuring out the dimensions of your bookboard, bookcloth and paper. They are available for download here.
Hopefully these worksheets are self-explanatory but if you need some help working through them you can watch the video posted here: Hardbound Portfolio Case Worksheets
Make your own bookcloth for your portfolio
 In this example I am using bookcloth on the outside of the portfolio and paper on the inside, but you can use paper inside and out if you want. I made my own bookcloth because I wanted to use a very specific material. If you want to create your own bookcloth watch the video here: Make Your Own Bookcloth
If you want to learn how to print your own designs on your bookcloth, check out my tutorial here: Designing, Printing and Making Your Own Bookcloth
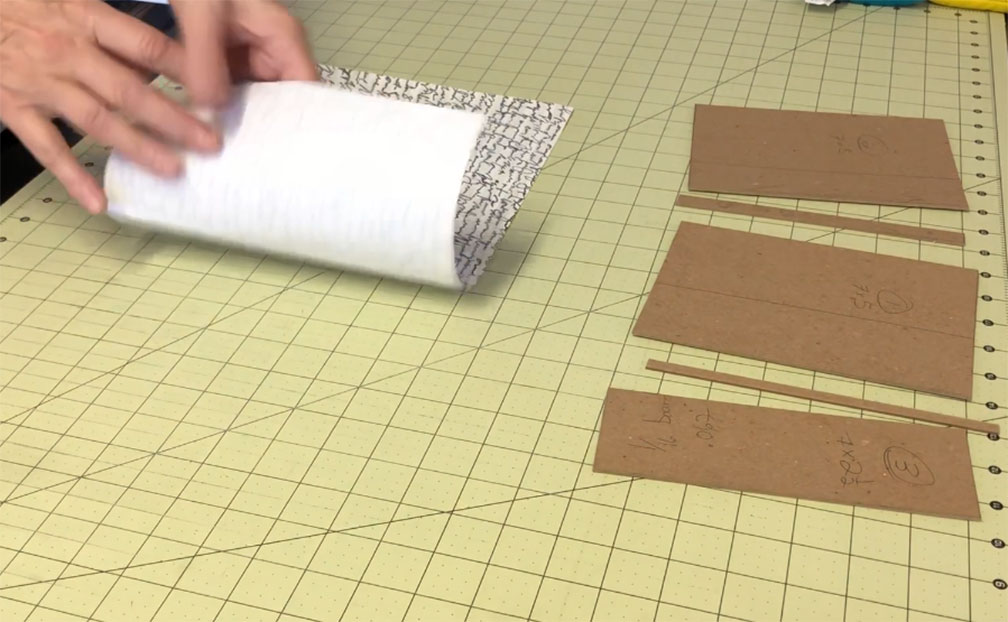
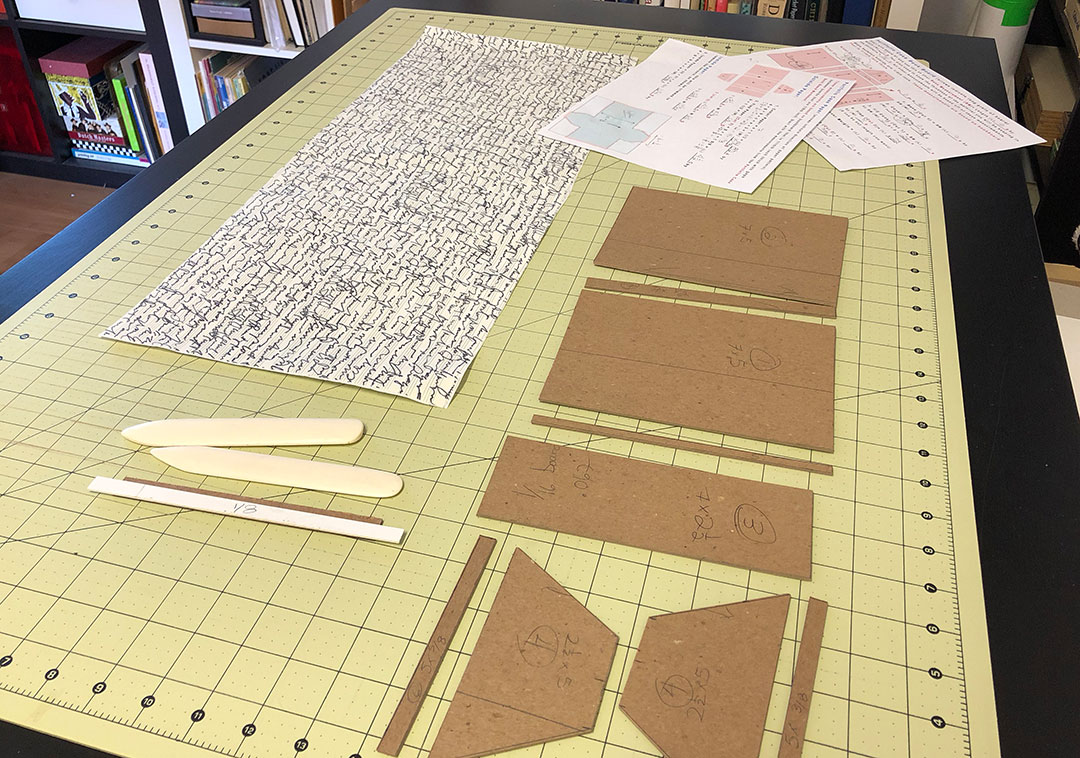
Prepare all of the materials
Once you have figured out all of your measurements and cut all of your bookboard, bookcloth and paper you’re ready to get started on the construction.
Start with the main body
Begin with the outside covering – again, this could be paper or bookcloth. Place it upside-down on your work surface.
First I’m going to construct the main body of the portfolio. I’ll add the flaps later. I’m going to start with board number 2, the left-most board, and work my way to the right.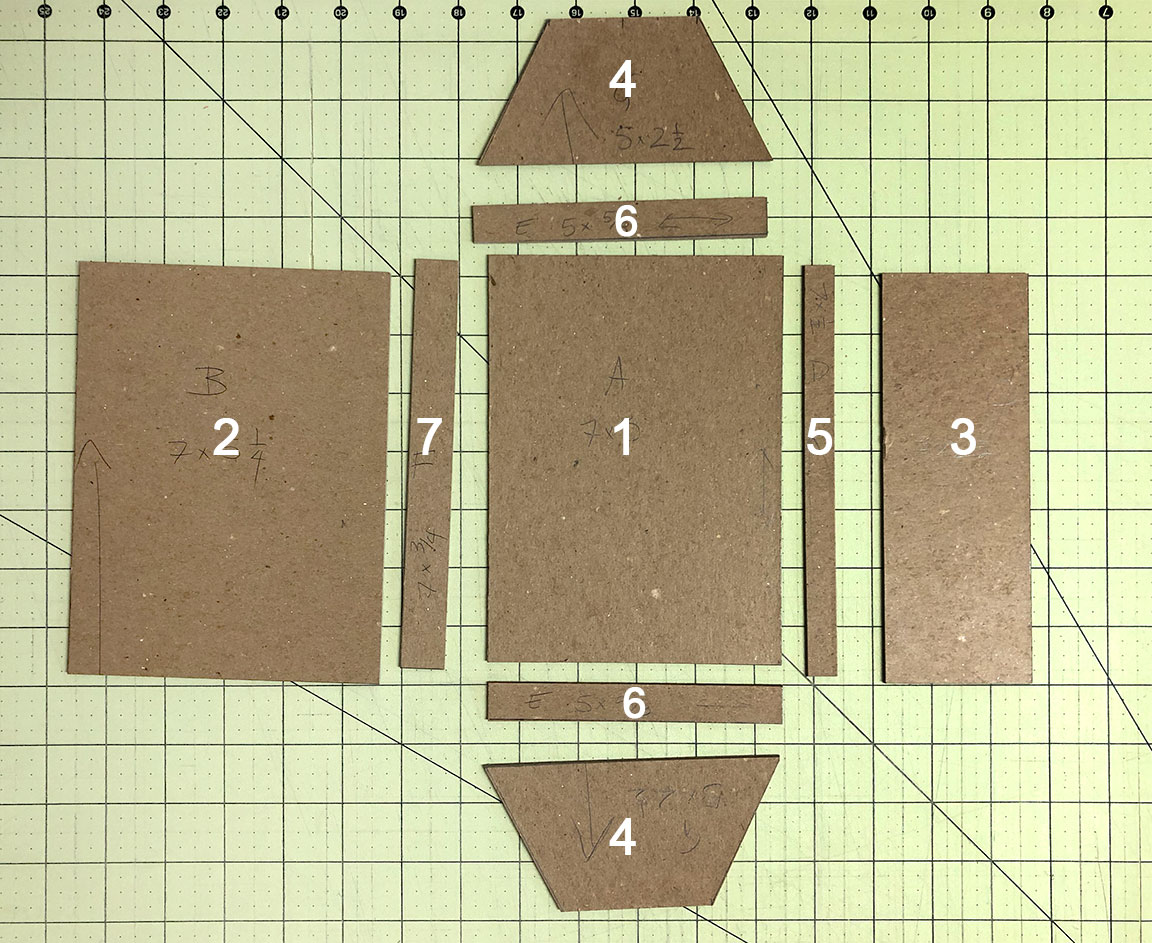
I use a straight-edge along the top to use as a stop for the bookboard so I know I’m placing it correctly, measuring down ¾ of an inch for the fold-over margin. I also do the same along the left side, using a scrap piece of board.
The stops make it easy to place the boards exactly once they are covered with glue. You could also just draw the measurements on the back of the cloth or paper if you wanted to. I prefer the straight-edge method because it’s quick and easy, particularly once your board is covered with glue.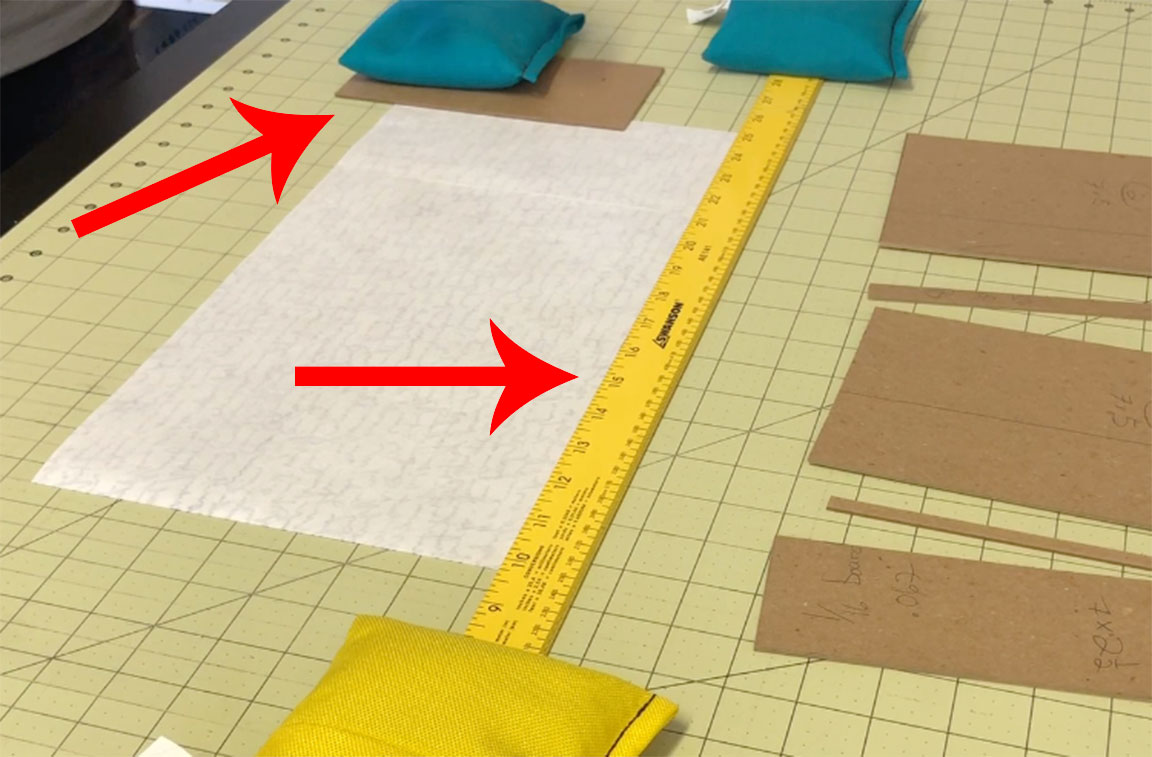
Use PVA glue
Cover one side of board number 2 with PVA glue. You can use a brush for this or a roller. I go back and forth on the method that I prefer – I think they both have advantages and disadvantages. The roller gives you a more even layer, but uses a ton more glue because so much is soaked up on the roller and also left behind on the platform you roll it out on.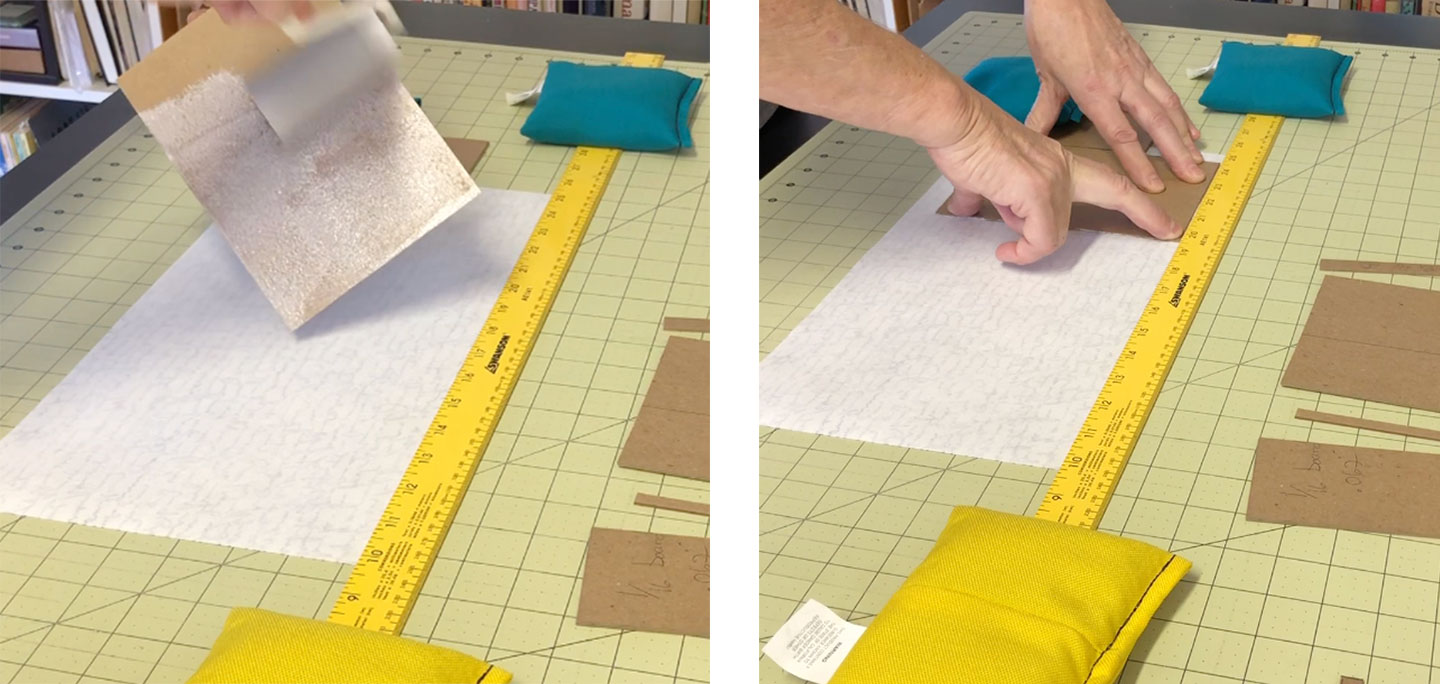
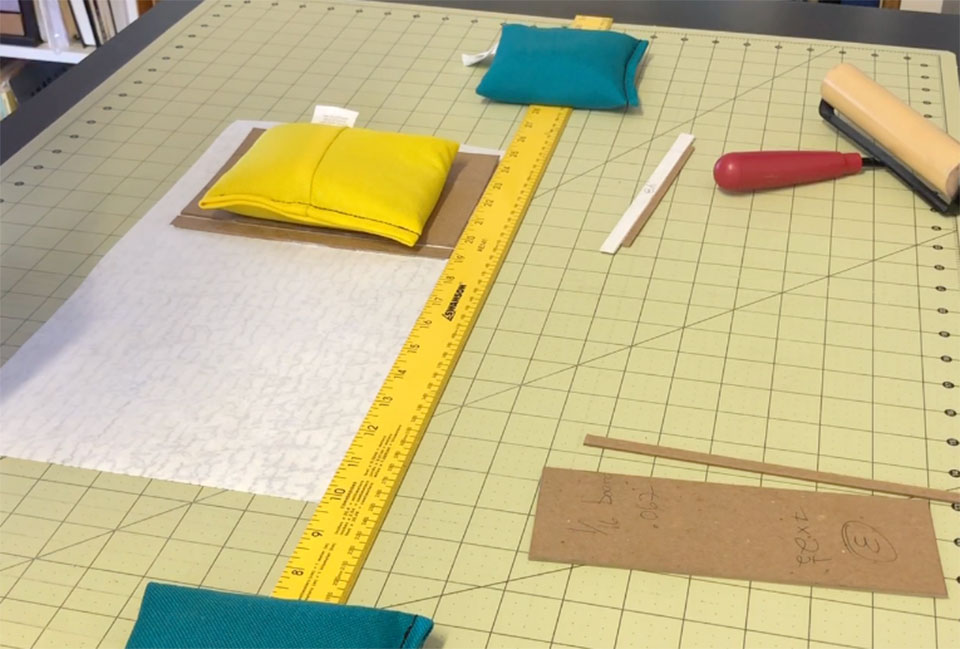
Place that board carefully in position, firmly press it down, and then weight it down as you work on the next piece. Working from left to right this next piece is board number 7.
Create a spacer
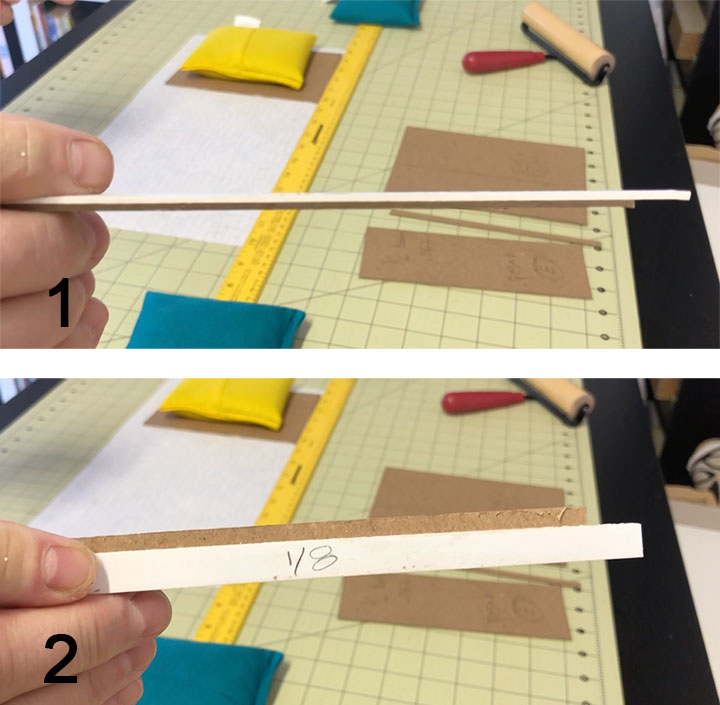
To make sure you get the spacing right between each board you’ll want to create a spacer. You could also just carefully measure each gap, but the spacer makes the work go much faster. I just glue strips of bookboard together until I get the thickness I want (1) – in this case it’s 1/8th inch. I make a lot of different thicknesses of these spacers so I mark the thickness on the side for later reference (2).
Apply glue to your next piece, place the spacer next to the first board and then position the glued piece using the spacer and the straight edge to achieve the correct placement (3).
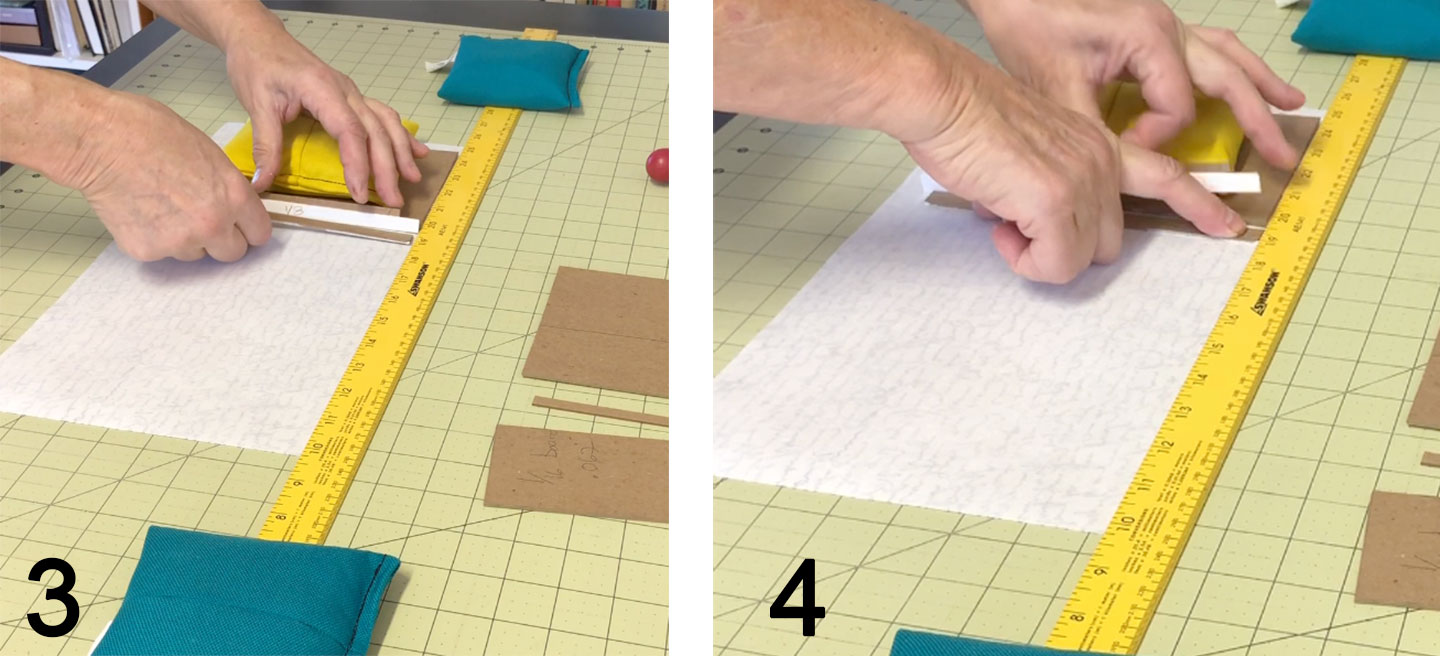 Remove the spacer right away so it doesn’t get glued down (4). Once again, weight this piece down as you get the next piece ready.
 Continue this process from left to right, using the spacer and the straight edge to keep everything correctly placed and aligned.
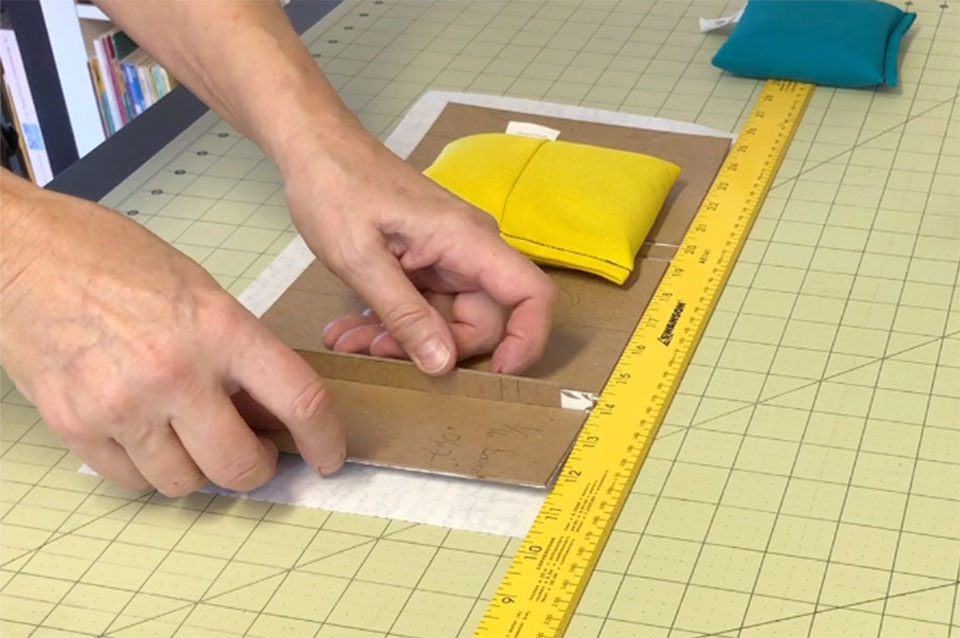
Trim the corners
Once you have all of the boards on the main body of the portfolio glued down you’ll want to trim the corners in preparation of folding over the margins. Cut the corners at 45 degree angles, making sure not to cut right up to the corner of the board. You want to leave about a quarter of an inch extra so you can cover the corner. If you cut too close, the board will be exposed when you fold the margins over.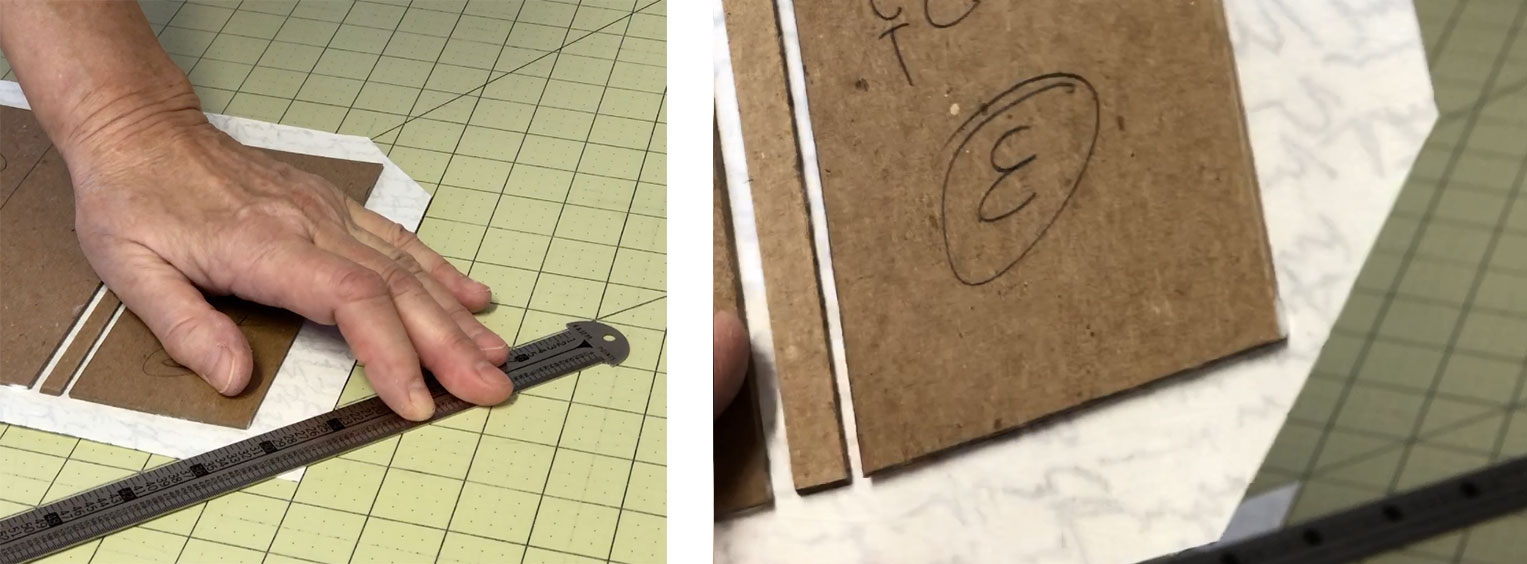
Glue the margins of the covering
Apply glue to the margins, starting with one of the long sides. Again, use a brush or a roller to do this. Fold this over with the palm of your hand, pressing it down firmly as you go.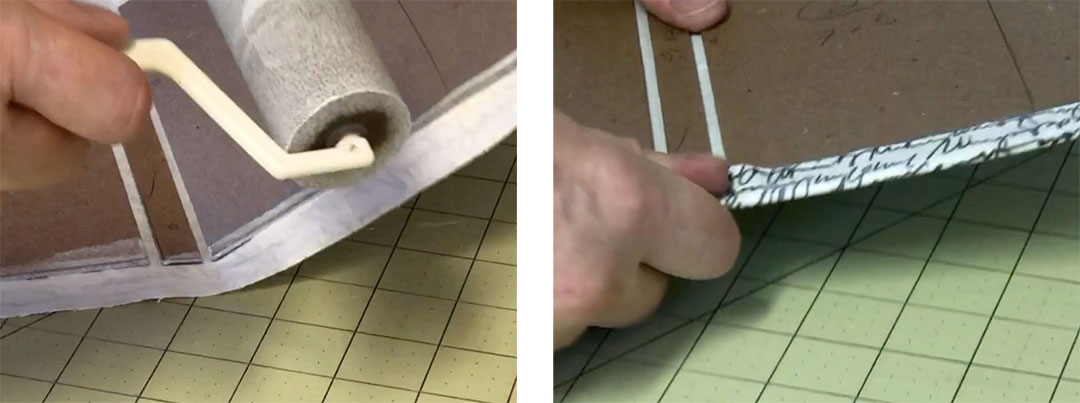
Use your bone folder to continue to press it down and also be sure to press into the gutters, gluing those areas down. I use two bone folders to do this to keep the material from pulling back out.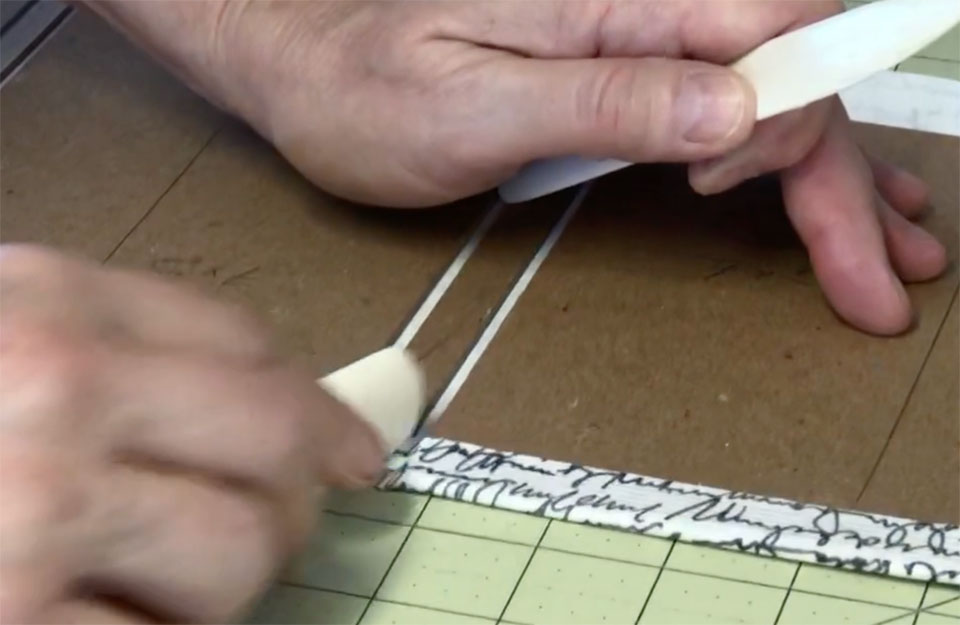
Take care of the corners
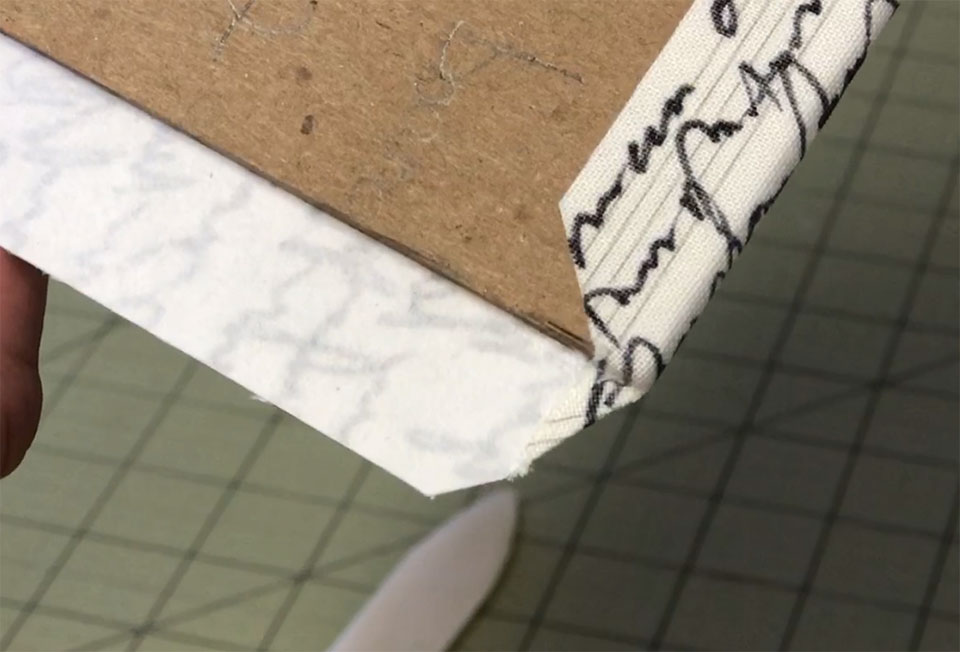
Once you have that margin firmly glued down, press down the small excess bit of fabric that you left at the corner, making sure that the bookboard at the corner is completely covered. Use your fingers and bone folder to accomplish this.
 Follow this process for the other long side, double-checking that all of the gutters are firmly glued down.
Take care of the short sides
Next glue down the short sides. These are fairly quick and easy to do since you’ve already done the hard work on the corners and gutters. Use your bone folder or a brayer to firmly press everything down.
Place this under a weight to dry while you work on the flaps.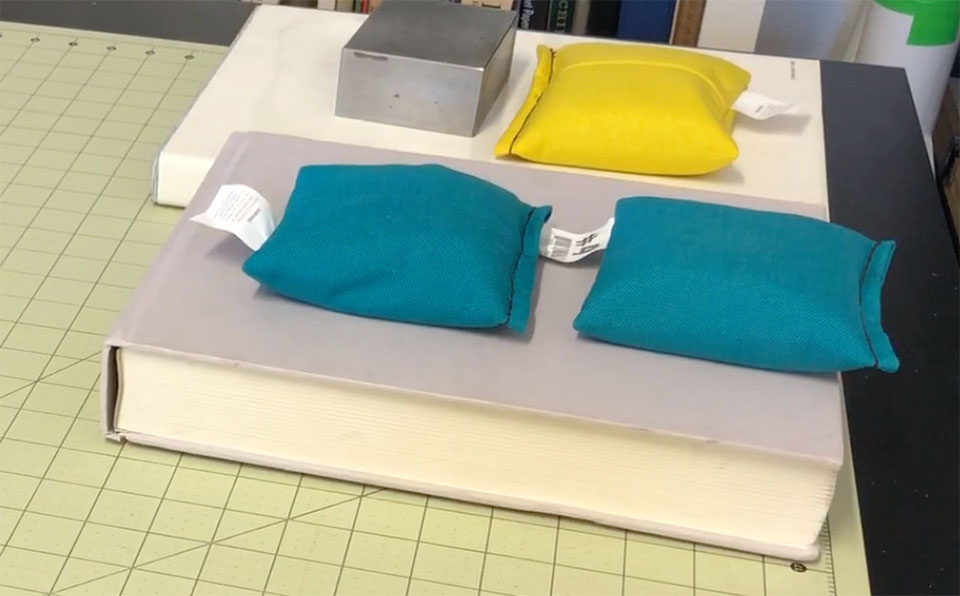
Cover the flaps
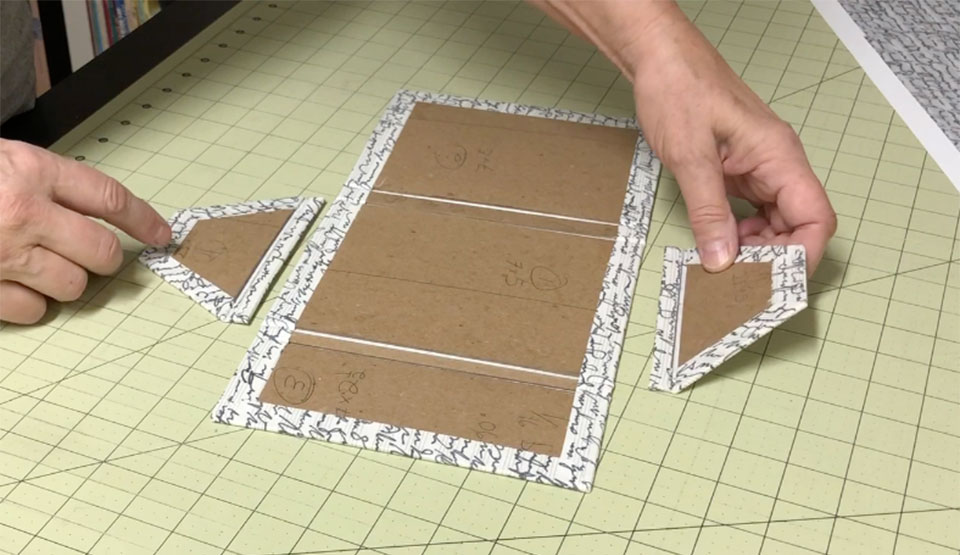
To cover the flaps, use the same technique of utilizing a straight edge as a stop, measuring off a ¾ inch margin at the top. Apply glue to one side of the large flap piece, piece number 4, and place it in position on the bookcloth. For this piece I’m just eyeballing the side-to-side position, using the straight edge as a stop along the top margin.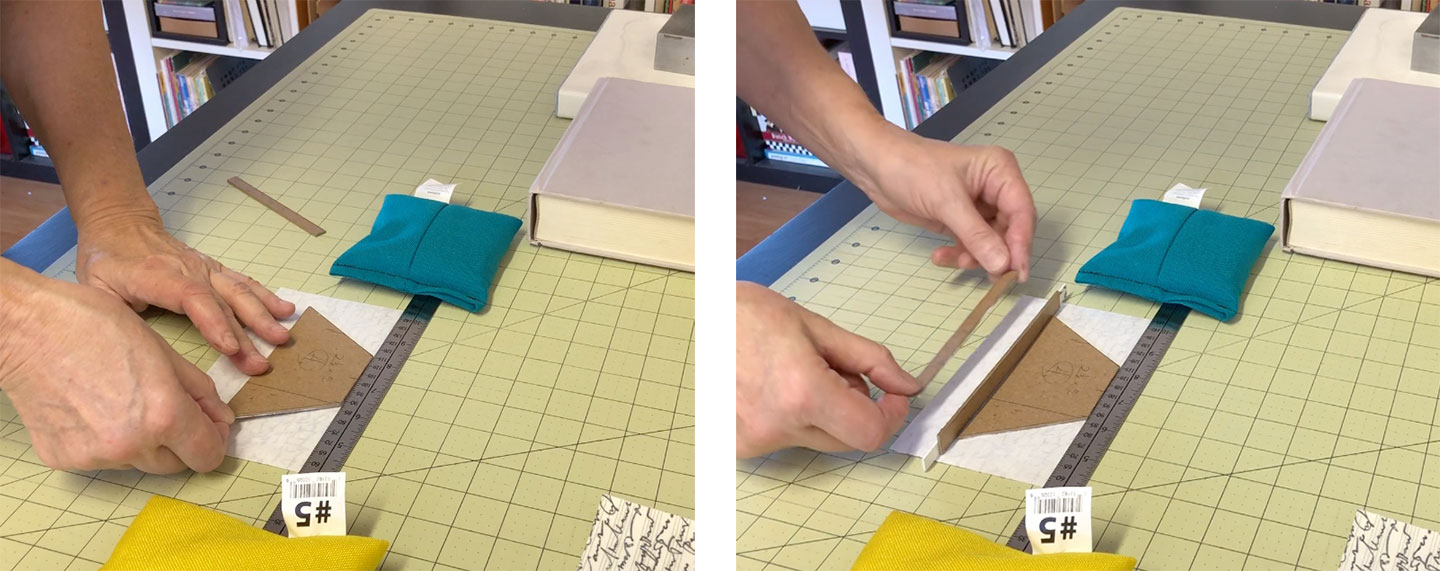
Apply glue to piece number 6 and make use of the spacer to get the correct gap between the two pieces of bookboard. Put this under a weight while you glue the second flap.
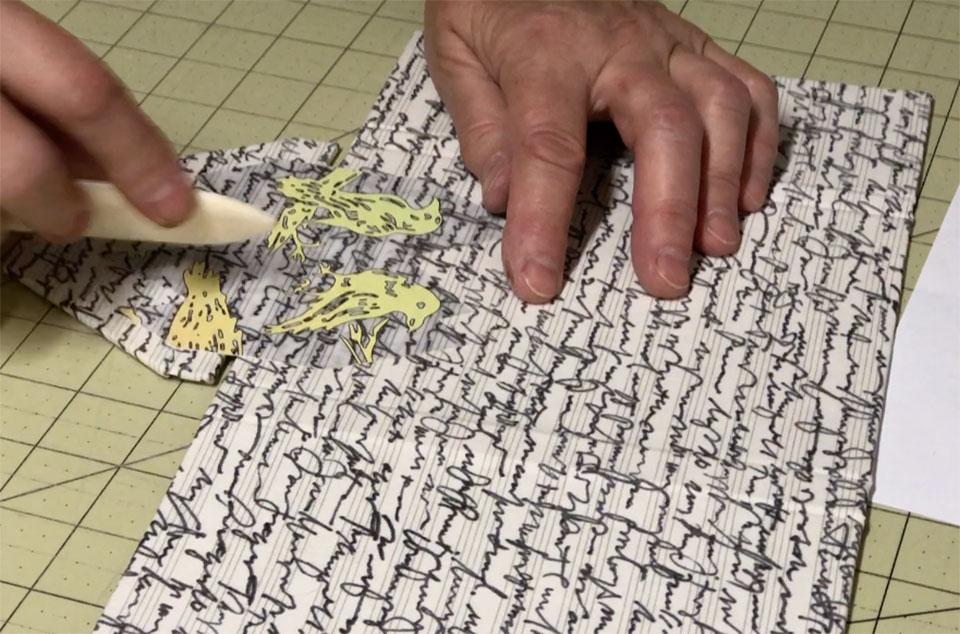
Take your time and trim the flap
The next step is a little complex and takes some finessing. This is the manner in which you need to trim the bookcloth on the flap in order to be able to fold the margins over. If you downloaded the measurement worksheets you might also have downloaded the pattern for cutting the flap bookcloth.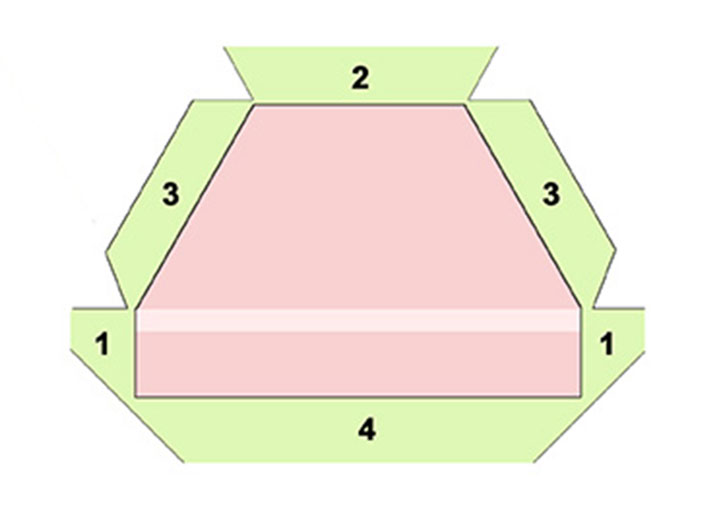
This template shows you the cuts you need to make as well as the order in which you’ll want to glue the resulting margins.
When you’re cutting the openings it’s helpful to fold the bookcloth margins over to see where they fall. This will make it easier to know exactly where to make the cuts. The one guiding principle here is that you want to leave enough bookcloth to cover any board corners.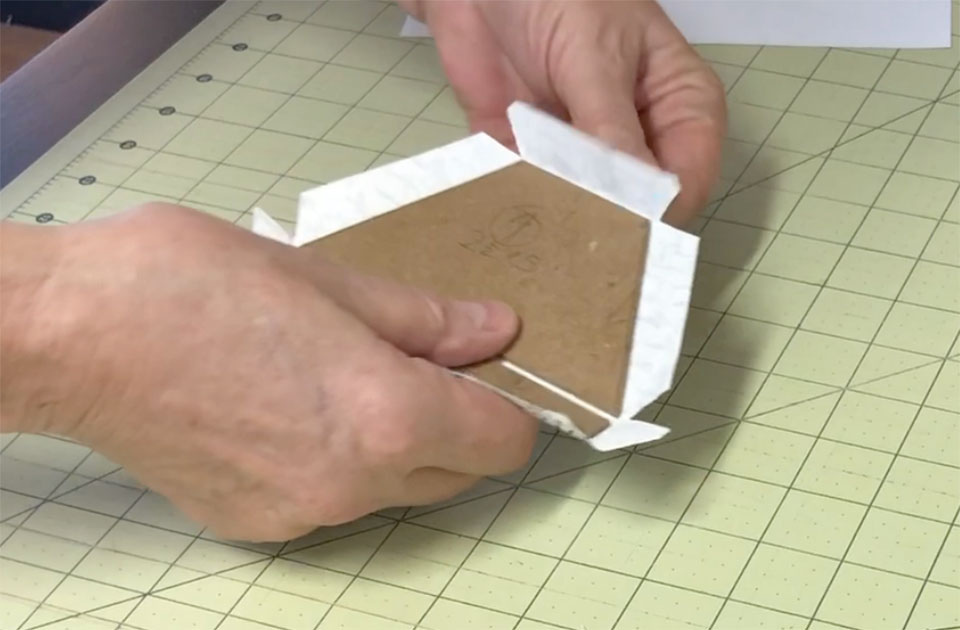
Glue the flap margins in the right order
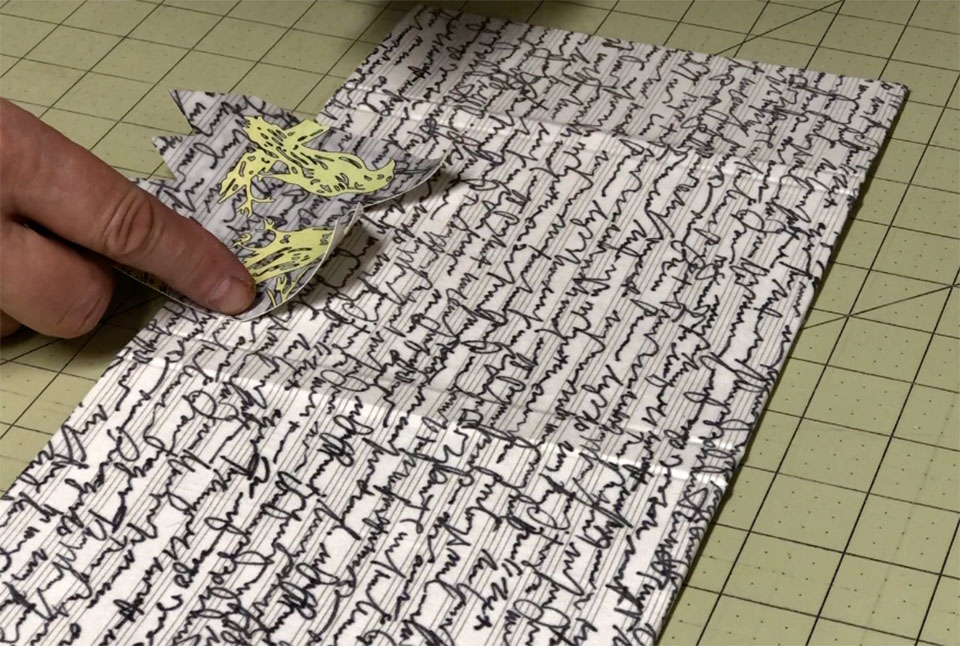
Once you have the bookcloth cut you can start gluing. Follow the guide and glue the tabs as numbered, using your bone folder to smooth each tab down as you go, paying attention to the gutters as well.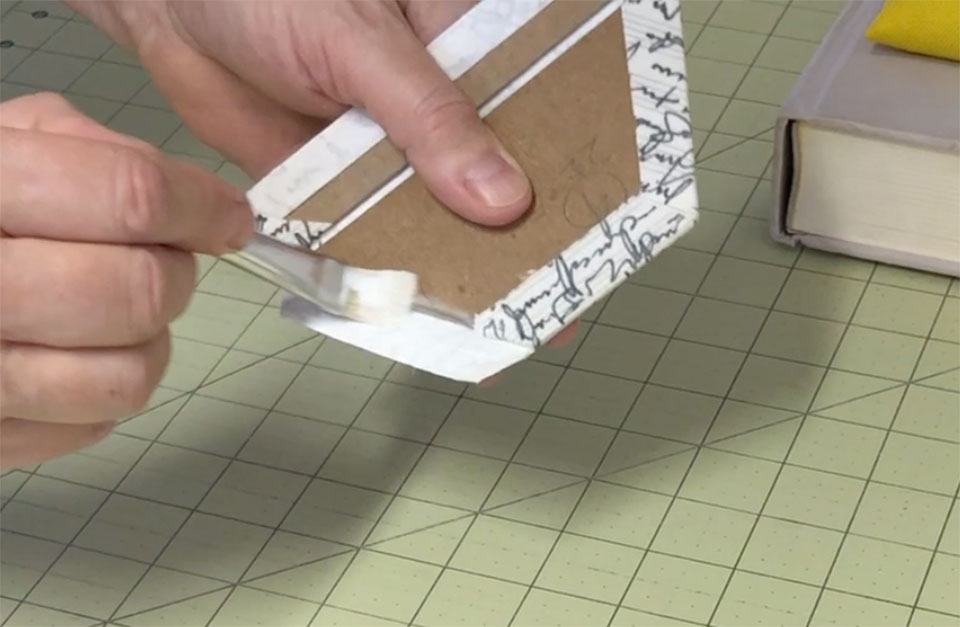
Continue this process with the second flap and put both flaps under a weight to dry.
Finally, attach the flaps to the main body
Once you have both flaps covered, the next step is to join the flaps to the main body of the portfolio. You can do this in any number of creative ways.
 First, figure out which flap goes where. This is important if you have an obvious pattern that faces in one direction. You’ll want that pattern to face correctly when the portfolio is closed.
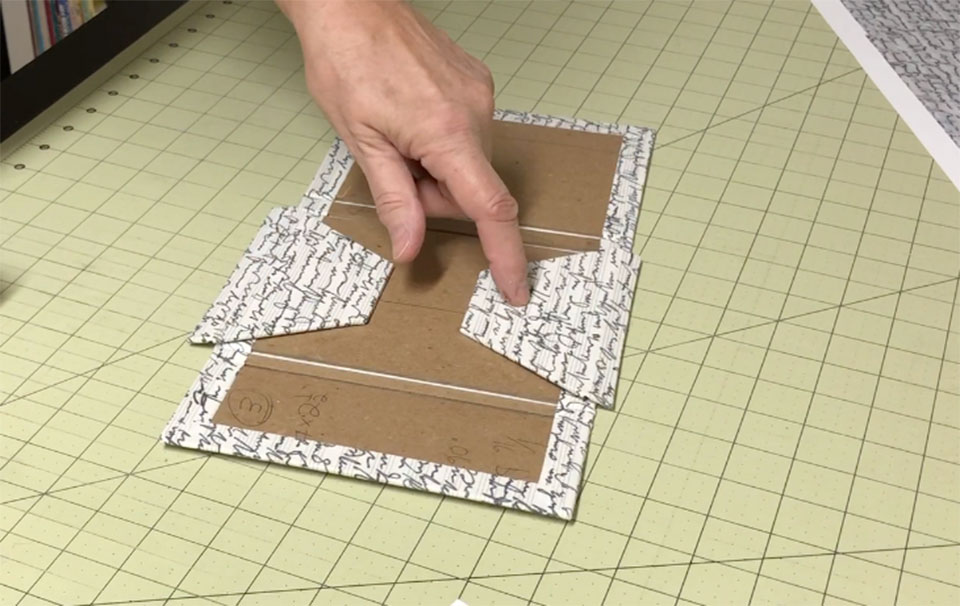
Decide what you want to use to attach the flaps
The pieces that you use to glue the flaps to the main body can be as simple or decorative as you wish, as long as they cover most of the gap, so the inside covering doesn’t show once you apply it.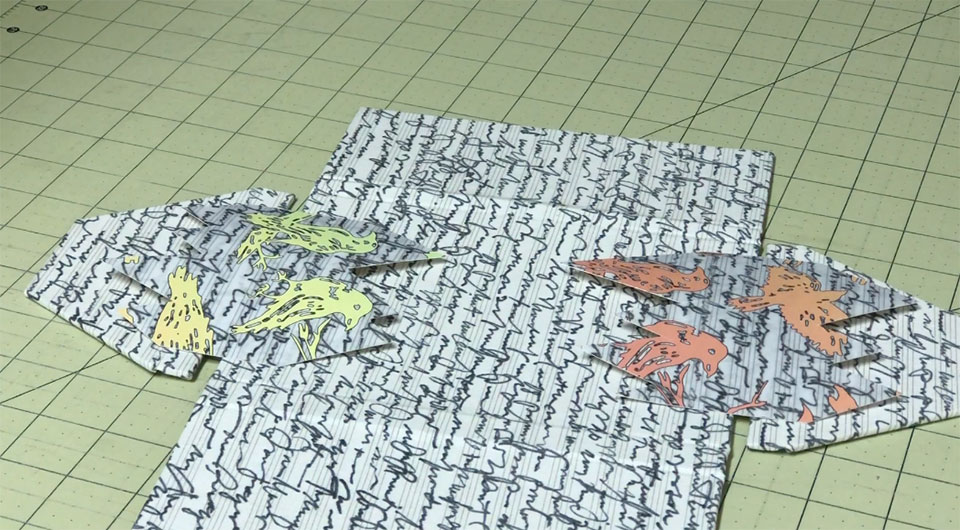
Glue on the connecting piece
Figure out where the connecting piece will fit on the main body of the portfolio and apply glue to that part, using a piece of scrap paper to keep glue off of your work surface. Place this in position and press down firmly.
 Put another clean piece of scrap paper under the remaining section and apply glue to it. You don’t need to get right up to the edge of the portfolio as you will be leaving a gap between the flap and the main body.
Use your spacer
Remove the scrap paper and place your spacer against the main body of the portfolio and then put the flap into position. 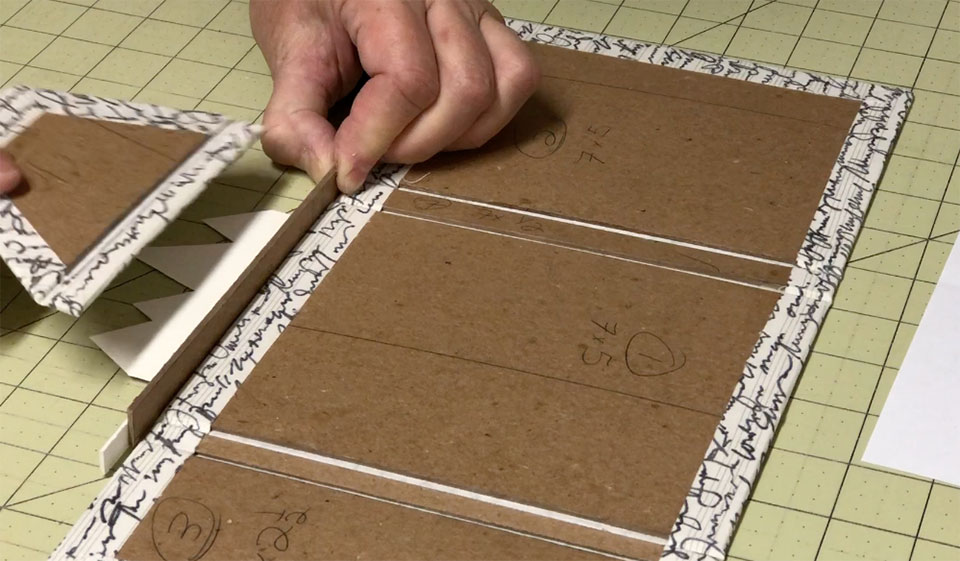
Remove the spacer as soon as you have the flap in position. Don’t leave it in place so long that it gets glued down.
 Press all of this down firmly using a bone folder or a brayer. Follow the same process for the second flap and then put the entire portfolio cover under weight to dry.
See how to finish off your portfolio here in Part 2 >>

