Click to Watch the Video Tutorial
Faux Leather Wrapped Journal
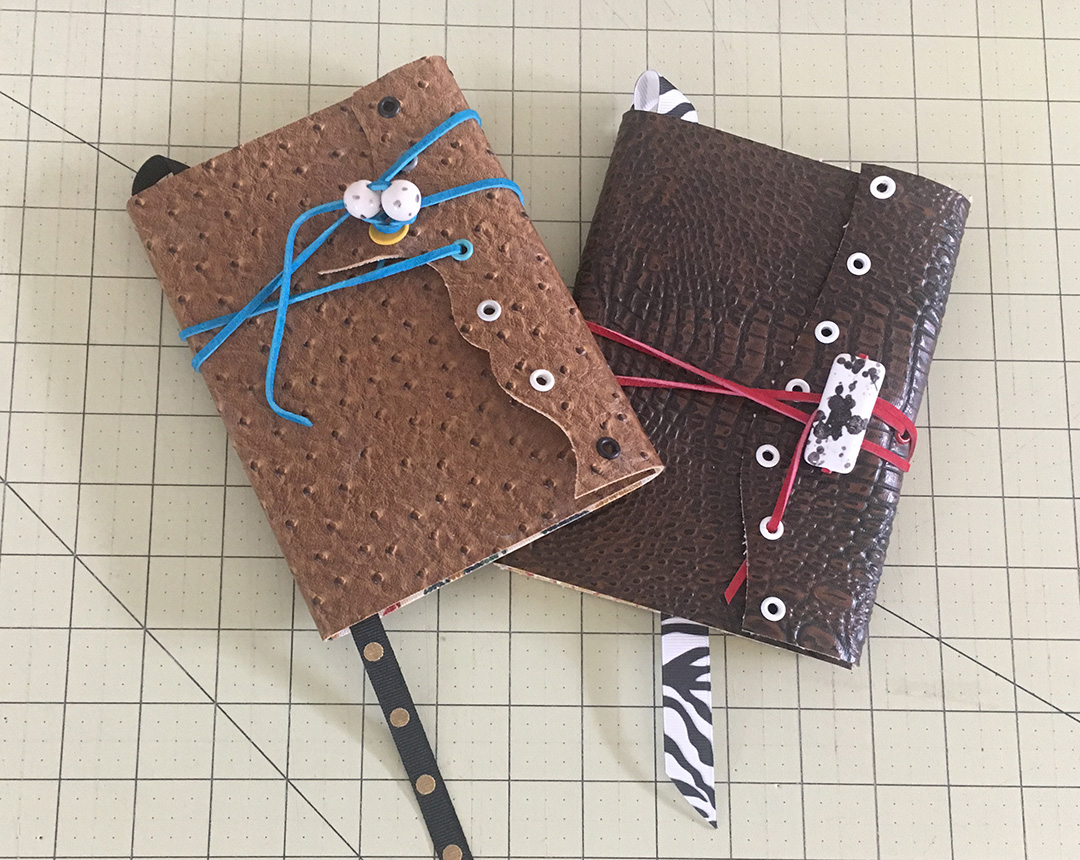
You can make a fun, customized leather wrapped journal even if you don’t have, or don’t want to use, real leather. Faux leather comes in a wide variety of patterns and textures and allows for some very creative bookmaking.
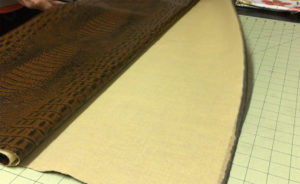
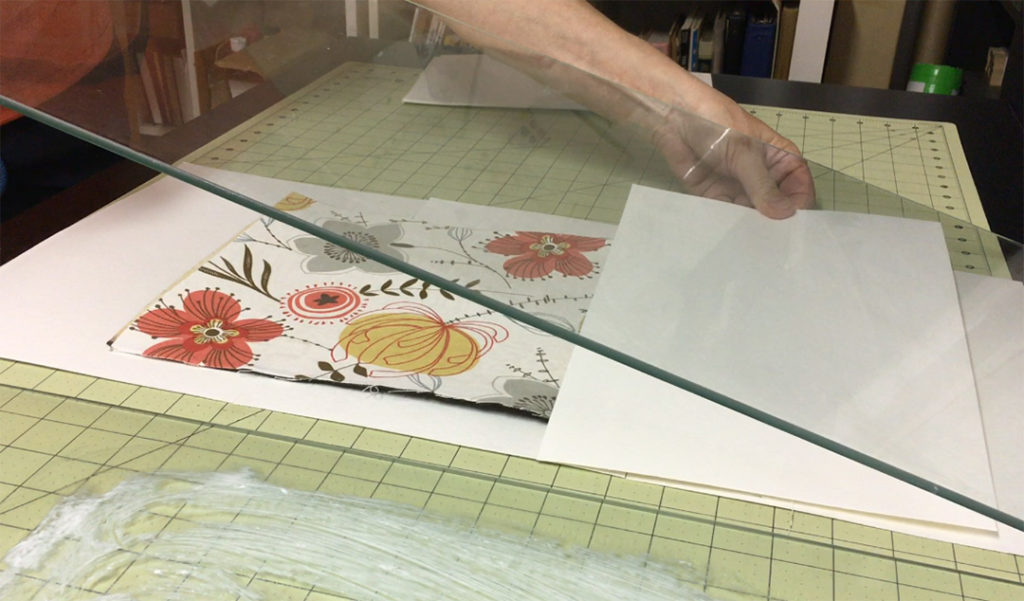
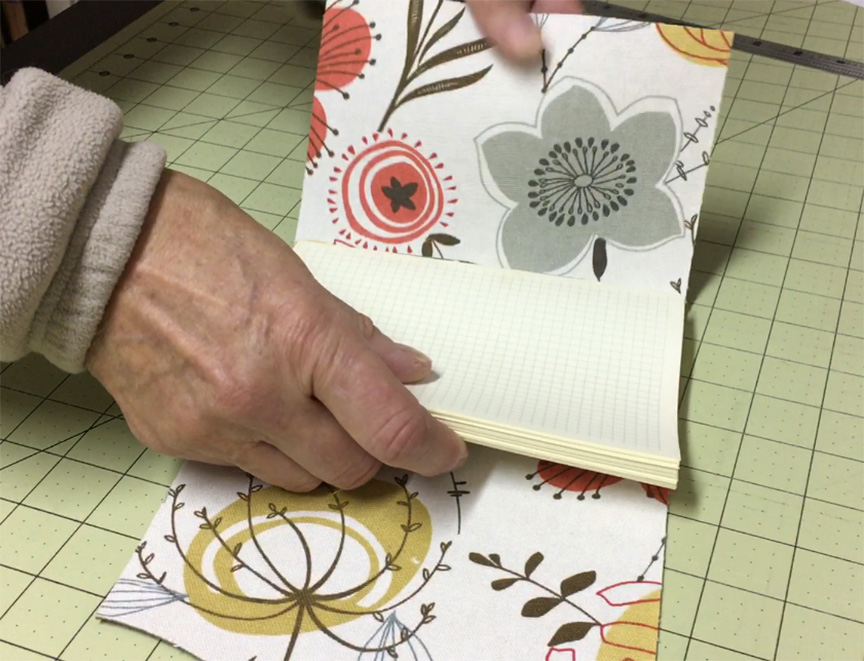
The main problem with these fake leathers is that the backing isn’t very interesting or attractive, so you’ll want to cover this up. Adding another piece of fabric allows you to do this, in addition to adding a decorative element. It also makes the entire cover a little bit thicker, which is desirable for a wrapped journal.
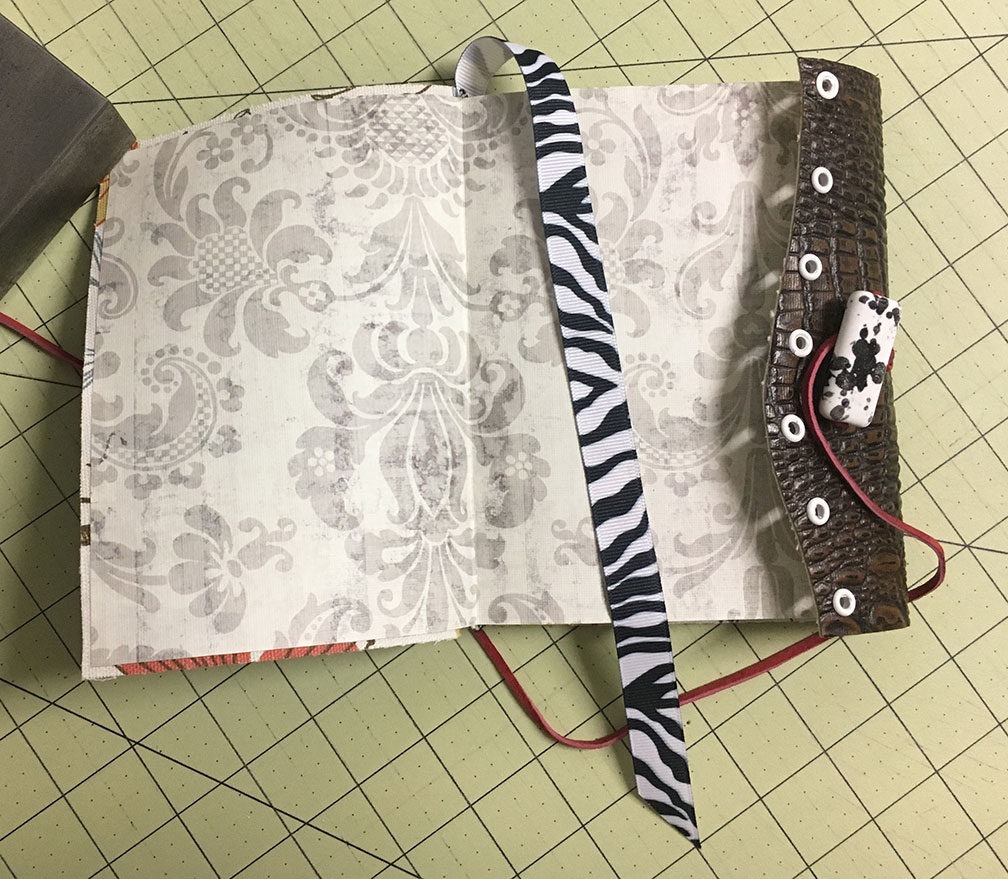
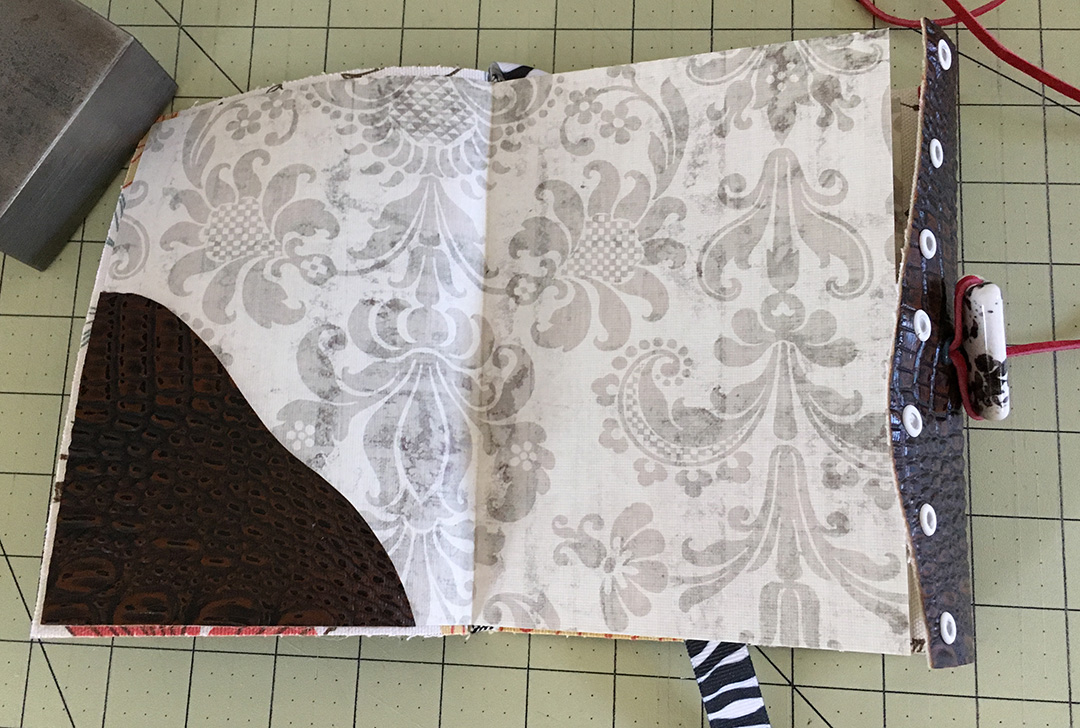
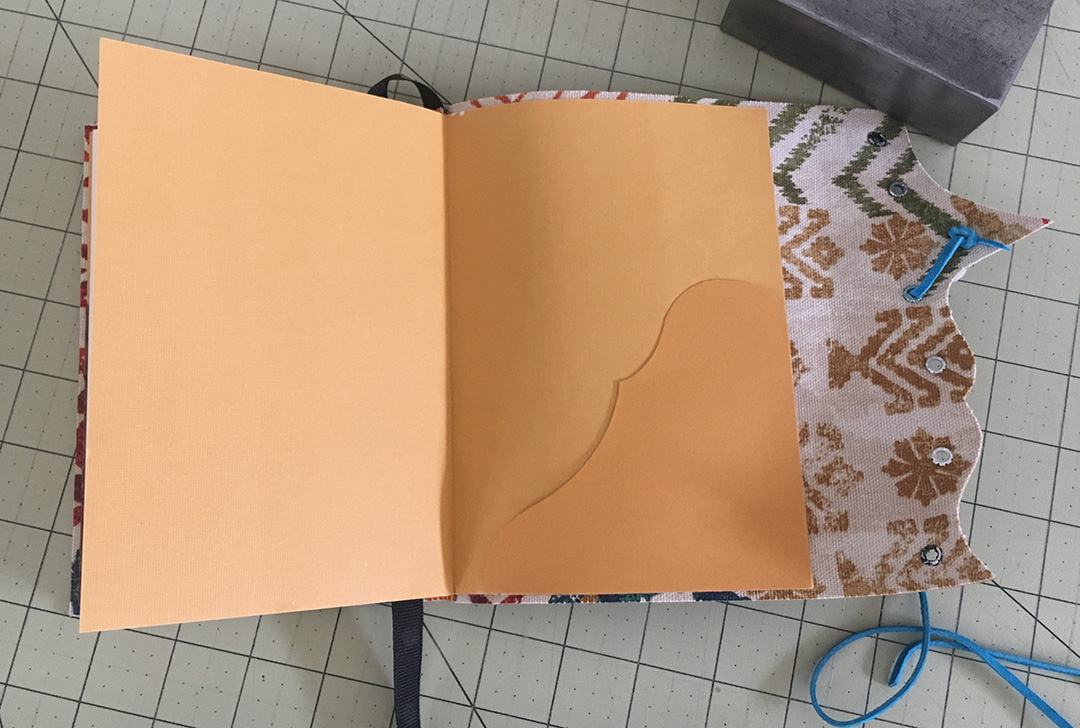
You’ll see this added fabric a little bit around the margins on the inside of the finished journal, but the place where it really shines and adds that extra decorative touch is on the flap of the journal. In this particular example I’ve also added a little pocket to the inside of the cover.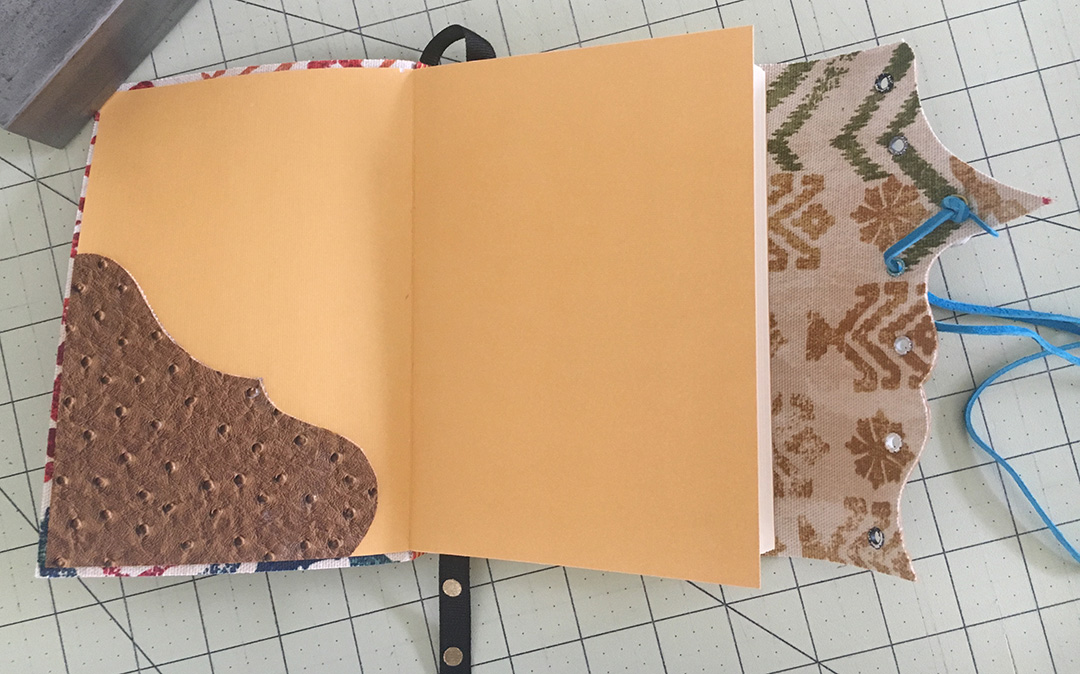
Prepare Your Fabric and Materials
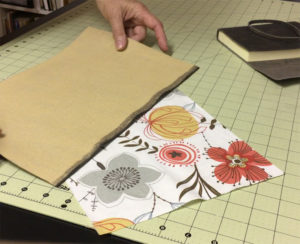
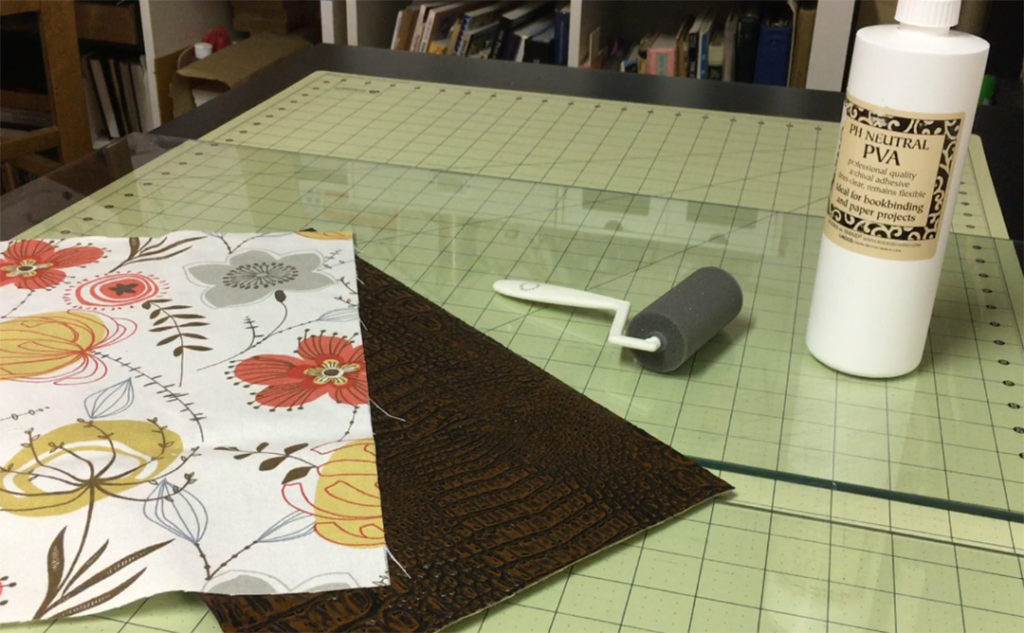
To begin preparing your fabric you want to cut the piece of fake leather and the piece of fabric that you’ll be using. These don’t need to be exact measurements yet, but it will help to have some idea as to the finished size of your book so you don’t waste too much material.
Glue the Fabric to the Inside of the Faux Leather
For this part of the cover you just need some glue and something to apply it with. PVA glue is your best choice for this step because it remains flexible after it dries, and you definitely want this cover to stay flexible. You can use a brush or a roller to apply it.
 Be prepared to use quite a bit of glue for this process as the fabric backing of the faux leather will really soak it up. And don’t be stingy with the glue – you want these two pieces of fabric to stay firmly together, forever.
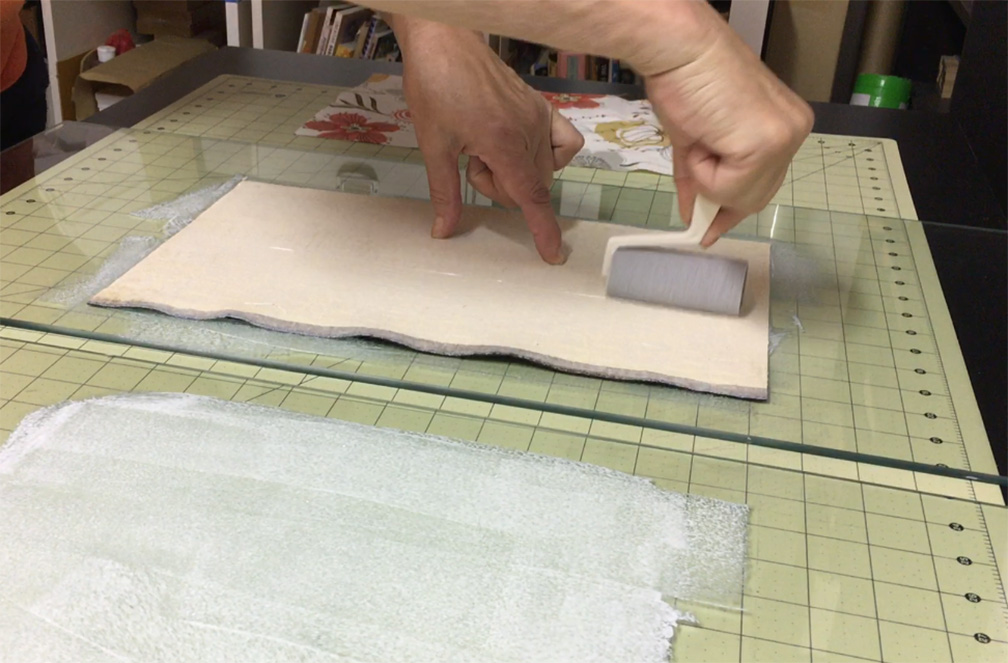
Once you have the backing covered very thoroughly with glue, position the fabric face up and smooth it out so there are no bumps, bubbles or wrinkles. I like to use a clean roller with some pressure to make sure all of it has been pressed firmly together.
 Turn it over and clean off any glue that might have gotten on the other side and then put it under a weight to dry. To speed up the drying process I often sandwich the material between Blotting Paper to help absorb the moisture.
 Measure Your Textblock and Cut the Cover
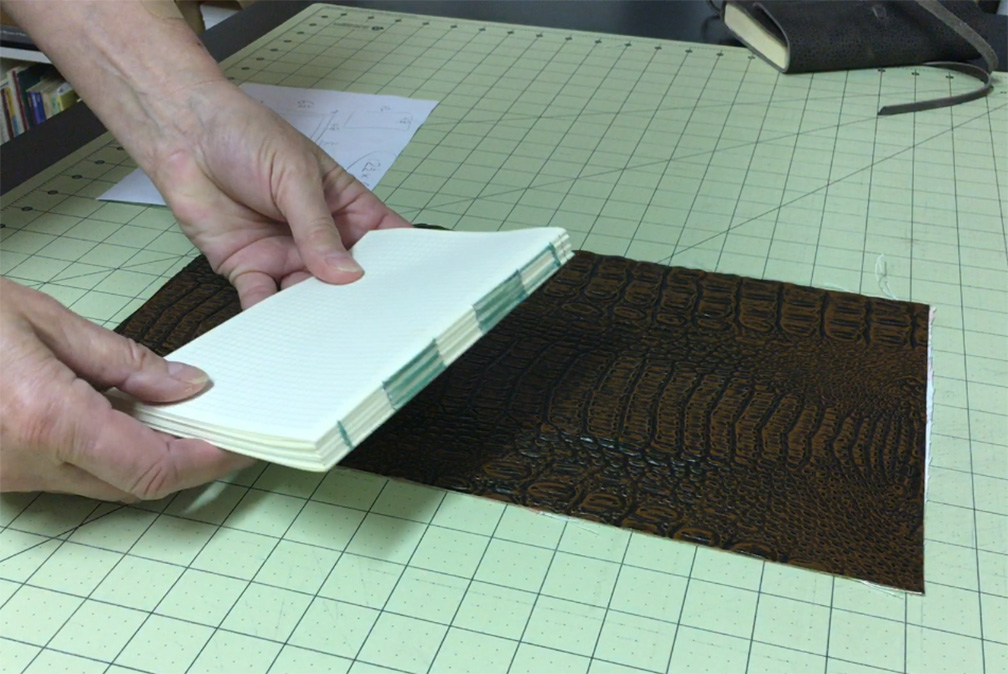
Once the cover has dried, measure your textblock to determine the final size of the cover. If you haven’t created the textblock yet you’ll need to do that before going any further. If you aren’t sure how to create a textblock, I have a video showing how to do that. The link is included here: https://youtu.be/Ec5UThbybSA
 Once you have constructed your textblock draw out a quick diagram to get the final measurements of the cover.
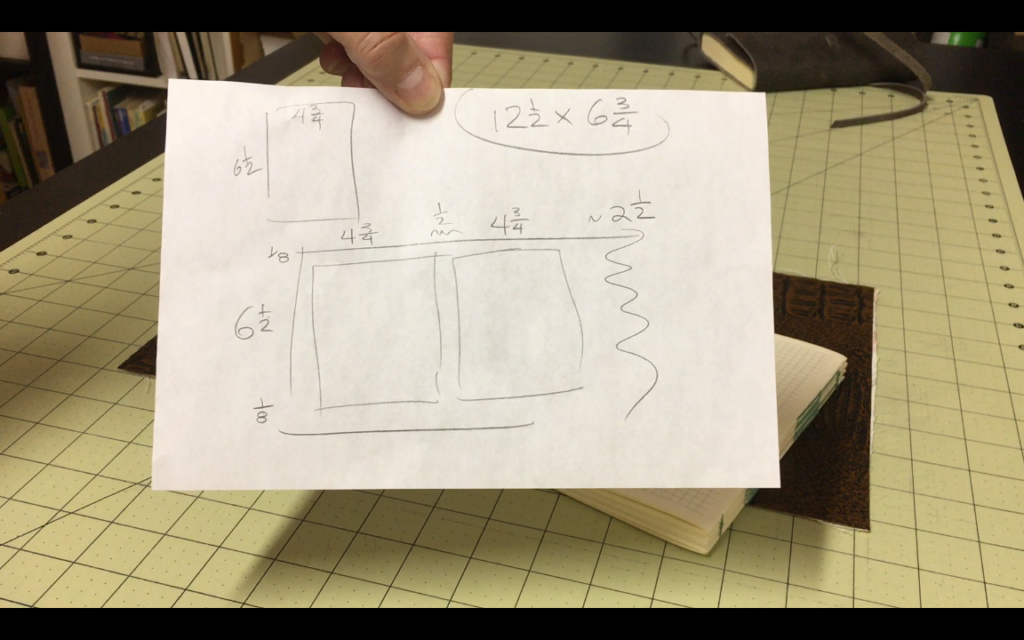 Basically you need to multiply the width of the textblock by 2, add the width of the spine, add about one-eighth of an inch for the margin in the front of the cover and then however much you want for the flap that folds over. As you can see, because of the wiggle room for the flap, you don’t have to be very accurate with the overall length measurement.
Do a Test Run
You’ll want to be more accurate for the width. This should be the height of the textbook plus a small allowance for margins top and bottom. As you can see in this diagram I have allowed for one-eighth inch margins top and bottom.
Once you are certain about the dimensions of your book cover you can cut the material accordingly.
Attach the Textblock
I have another video that shows you the details of finishing and attaching your textblock, which you can view here: (https://youtu.be/dBk2LA_Ofso).

Once you have the textblock attached you can decide how you want to attach the cord that will keep the book closed. You can just cut simple slits in the cover, punch holes or just simply wrap the tie around the cover, without attaching it at all.
Add Embellishments
You can find a wide variety of hole punches made for leather work that you can use to punch holes in your book covers. These are available in many different sizes and also available in many decorative shapes.
In this example I have used grommets or eyelets to reinforce the punched holes.
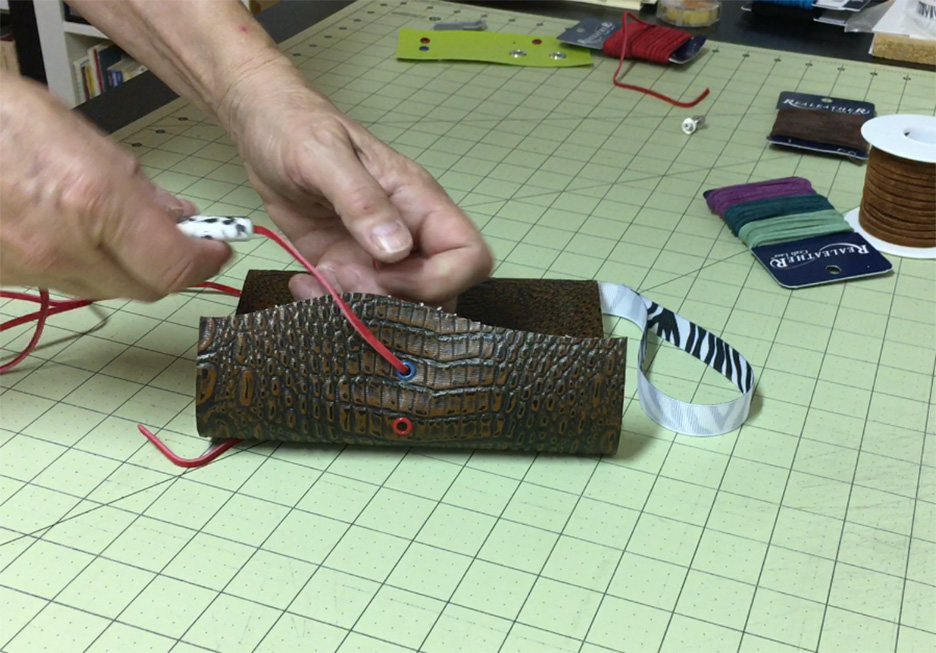
I am also using a large bead to wrap the cord around. There are lots of opportunities at this stage of the cover to be creative and add various decorations or embellishments to your book.
The flap that wraps around the front also gives you an opportunity to be creative with the shape and the decoration.