Click to Watch the Video Tutorial
If you watched Part 1 of how to make a textblock (“Making a Textblock – Part 1”) then at this point you will have sewn your signatures together and applied glue to the spine to adhere the thread and signatures together into one block.
These next steps involve both things that you should do structurally, to reinforce the textblock, as well as optional things that you can do, just for decorative purposes.
The materials you’ll need for these next steps include glue, as usual, but also paper for the endpapers. Something a little heavier than the paper that makes up the textblock and something decorative that suits the theme of your book is appropriate. You don’t actually need to know what the cover of your book is yet, but knowing that ahead of time may help you choose suitable materials.
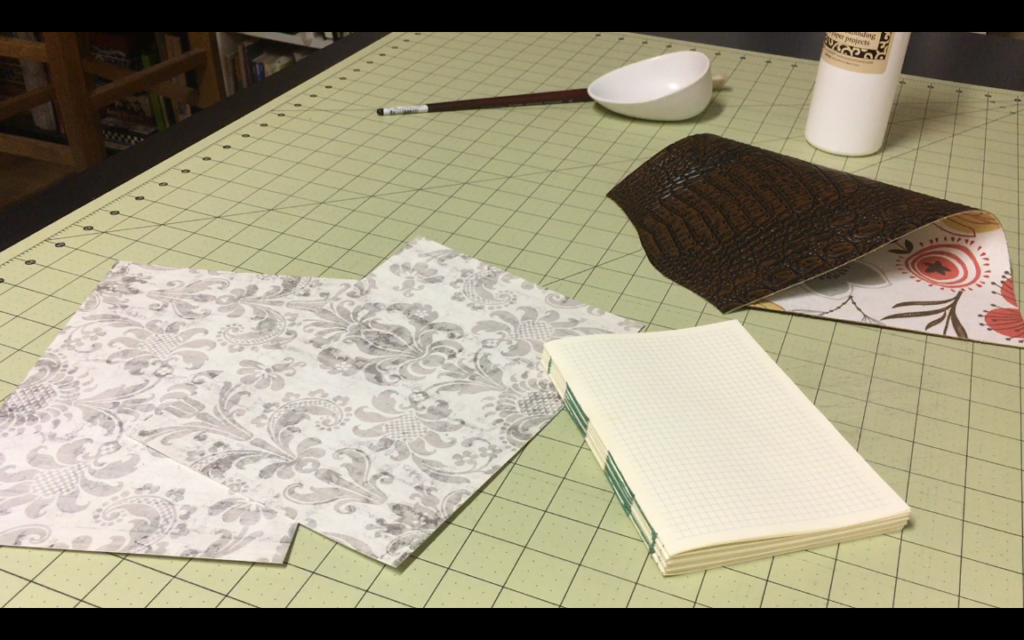
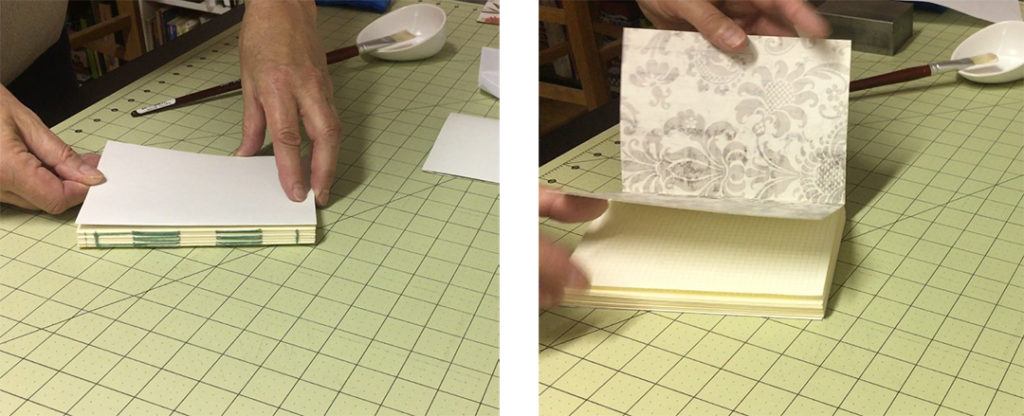
Once you’ve chosen your endpapers you’ll want to cut them to size. Make them exactly the same height as your textblock and twice as wide. Fold them in half with the decorative side inside, if they have a decorative side.
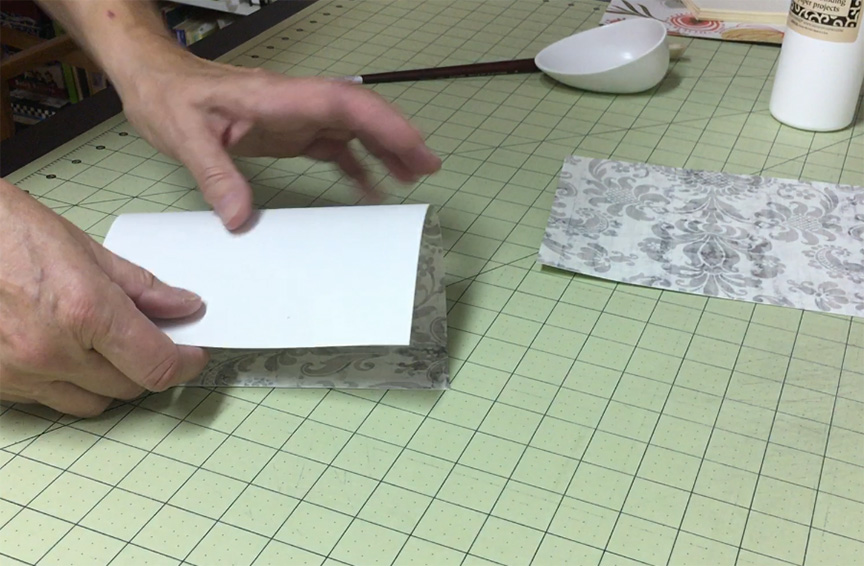
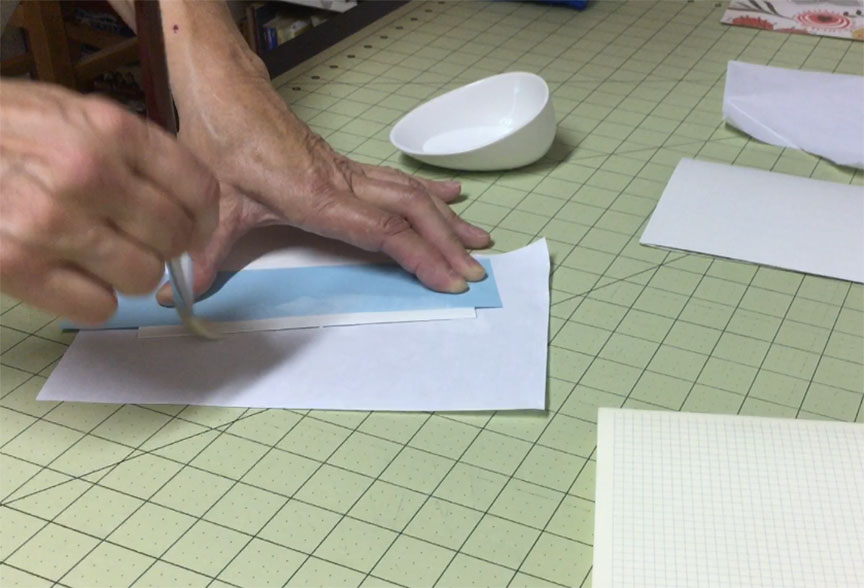
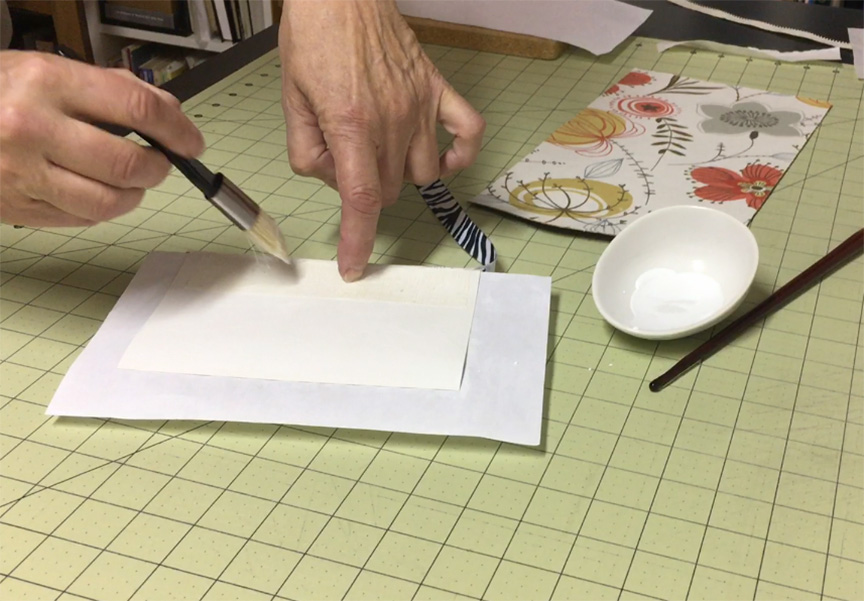
Next you’ll glue these endpapers to the textblock. You only want to apply glue to a small portion of the folded edge, about one quarter of an inch along the edge. Apply the glue on a piece of scrap paper and use another straight piece of scrap paper as a glue barrier.
Carefully attach these to each side of the textblock. If the decorative portion has an obvious orientation, be aware of this as you place these endpapers. Once you have glued both endpapers, put the textblock under weight to allow it to dry as you prepare for the next steps.
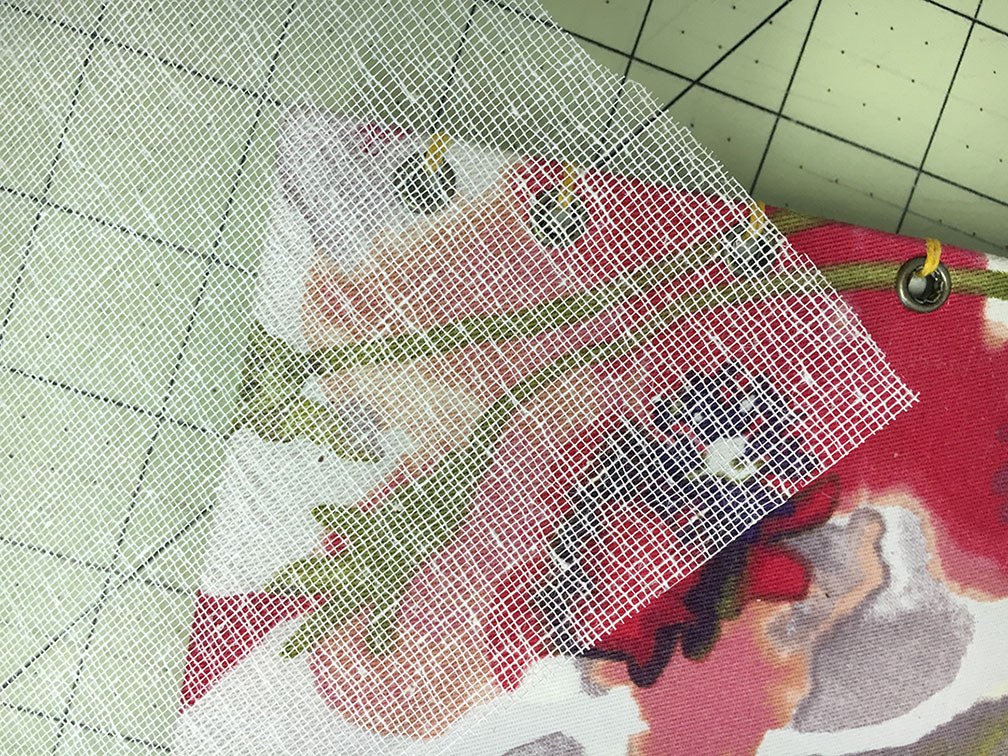 The next step is to add some reinforcement to the spine. This is done with a material that goes by several names – in the bookbinding world it is called mull or Super. You can also use cheesecloth, which is available at any supermarket or drugstore. It is just a coarsely woven material that helps to reinforce the strength of the spine and also helps attach the textblock to the cover.
Cut the mull so that it is not quite as tall as the textblock and so that it wraps around the spine about 1 to 1 ½ inches on each side.
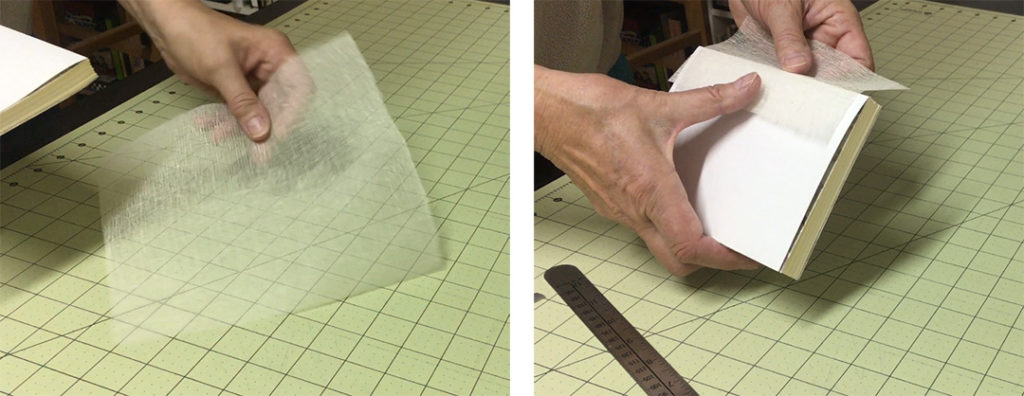
Apply glue to the spine to attach the mull. One of the advantages of using PVA glue, in addition to the fact that it is PH neutral, is that it remains flexible once it dries. This is an important factor when it comes to opening and closing your book.
By the way, the use of this little paper cutter in the images is not important. I normally do this kind of gluing on the edge of the table but it was easier to do a video of the process (see video above) using the edge of this paper cutter.
Press the mull into the glue. You can even apply more glue after the fact, if you need to make sure it is adhering. You can do this with a brush or just with your fingertip dabbed in glue. The mull should not be glued to the endpapers yet, so be careful that you are attaching the mull only to the spine. I usually put this under weight temporarily as I work on the next pieces.
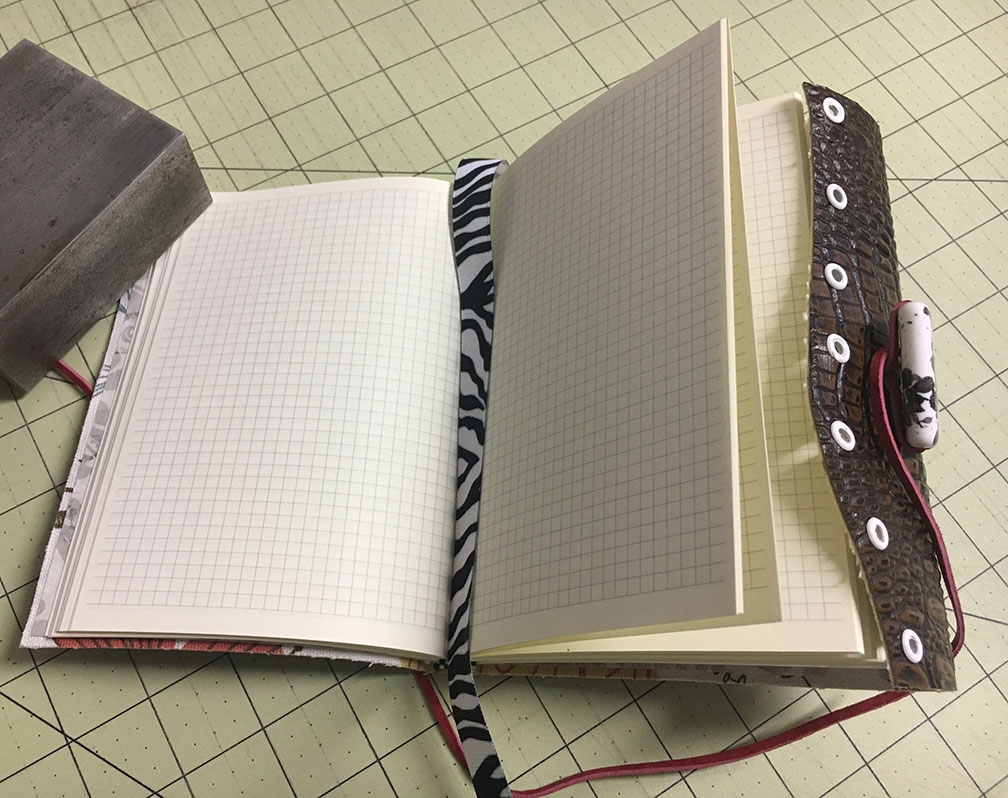
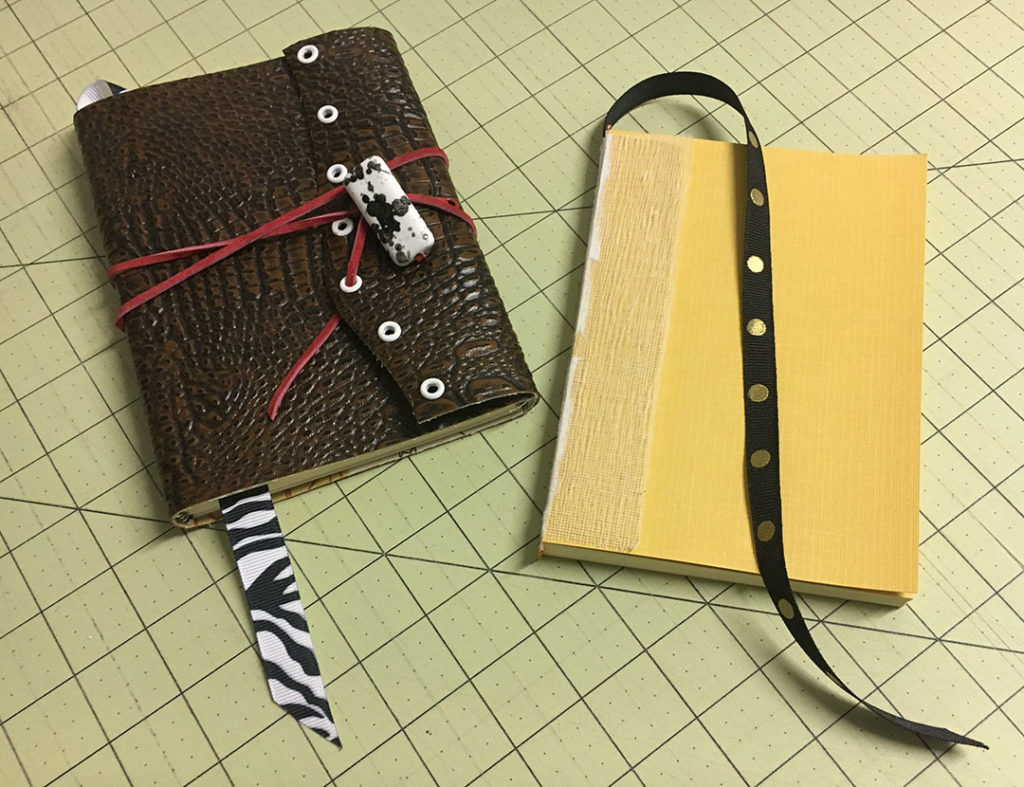
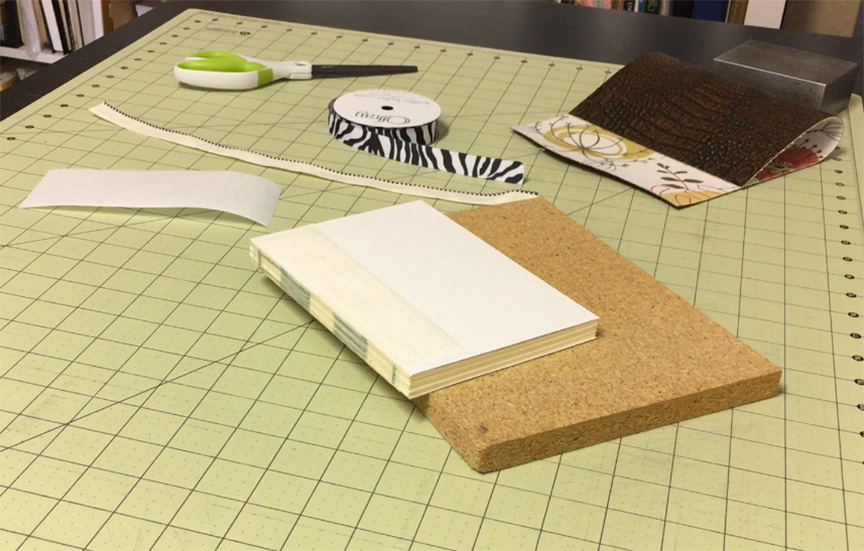
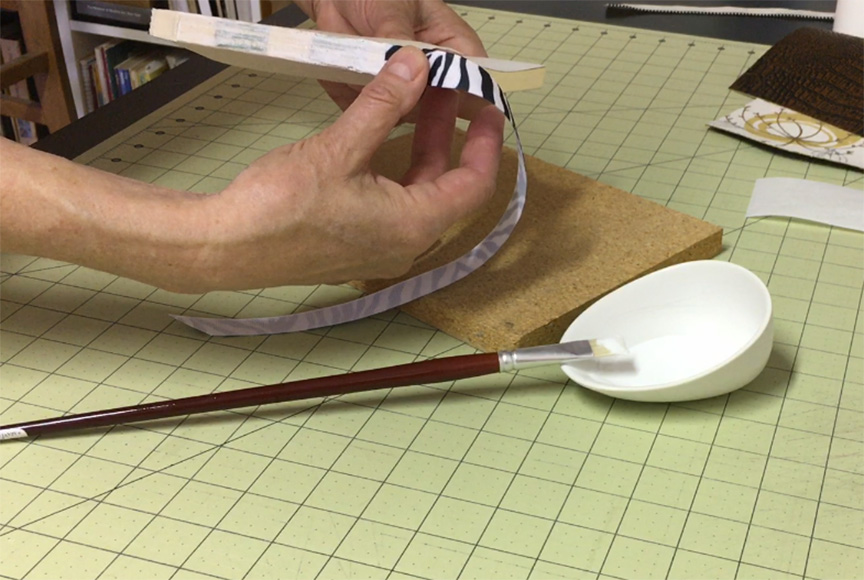
The next couple of steps will show you how to add some decorative elements. I’ll add a headband and tailband, and also a ribbon bookmark. None of these are important to the structure of the textblock and you can skip these steps if you want.
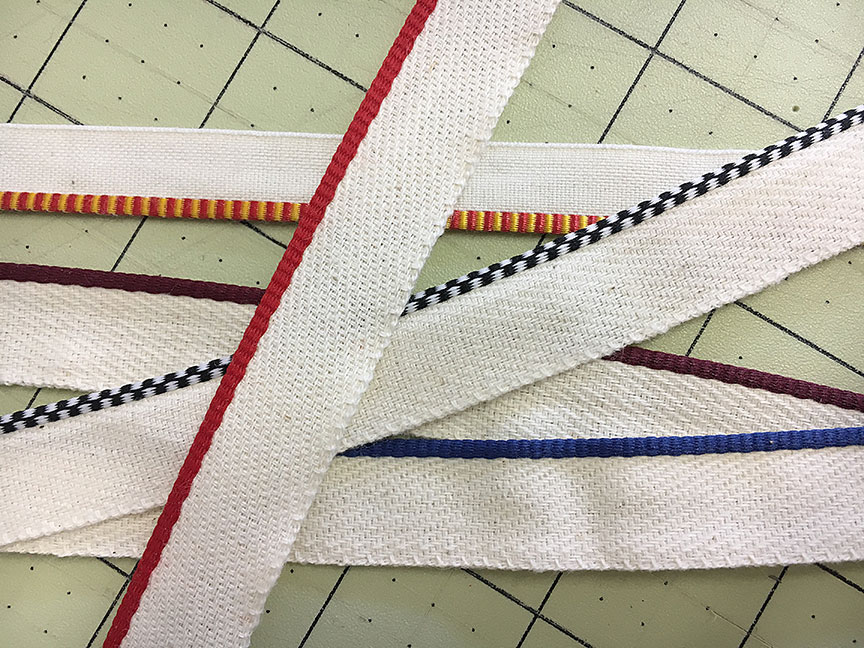
The material that I am using for the head and tailband is specialty material for exactly this purpose and can be purchased at any bookbinding store, such as Hollanders.com. You can also make your own version by wrapping and gluing fabric or paper around simple cord.
The ribbon I’ve chosen for this book has a zebra stripe pattern. The book cover is a faux crocodile pattern, so I thought the combination would be funny.
As a last element I’ll add a piece of rice paper to the spine. This doesn’t really add anything structurally but does help to cover up all of the various elements that are part of the spine, including the edges of the signatures, the thread, the mull, the ribbon bookmark and the headbands.
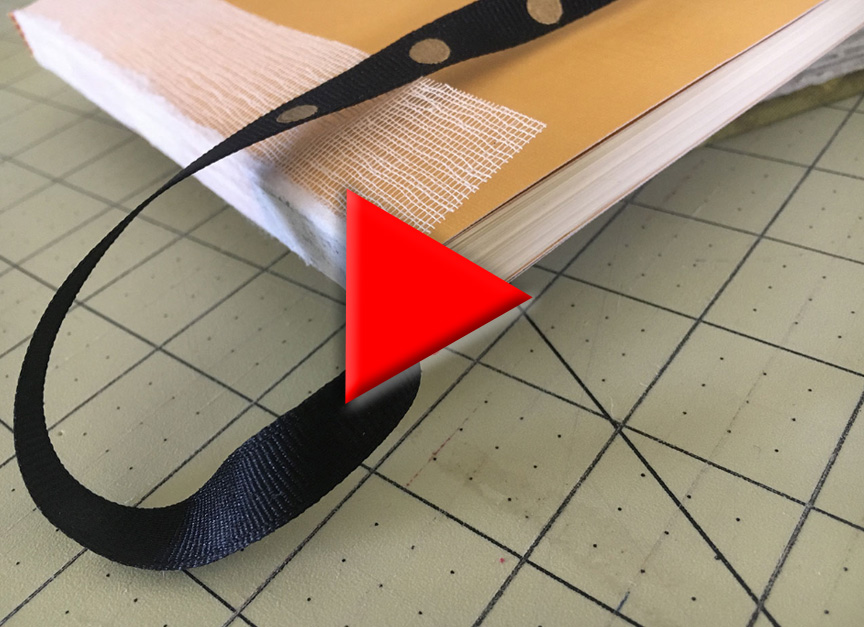
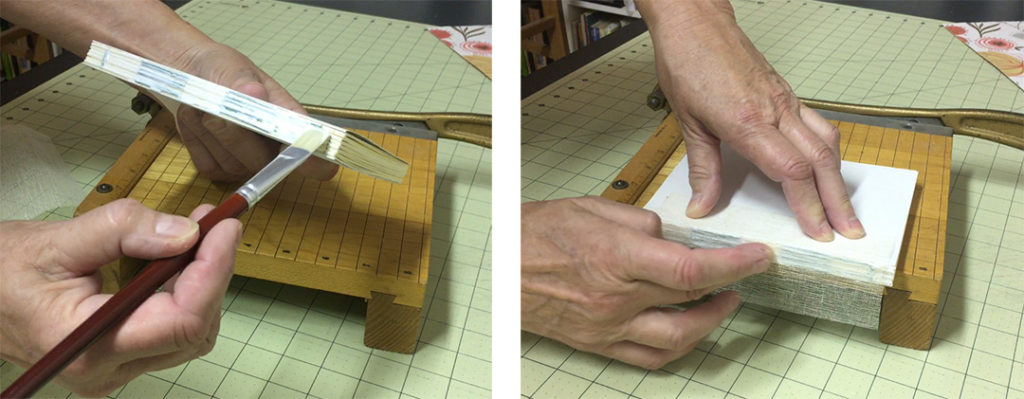
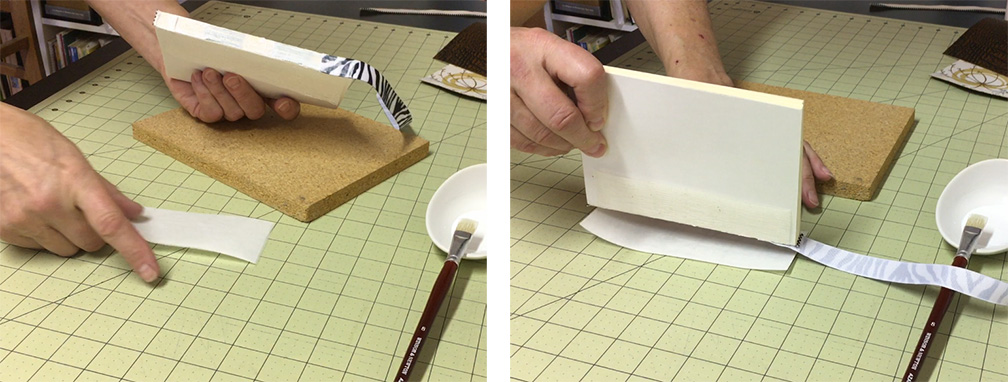
First, measure and cut the amount of headband material needed for the top and bottom of the spine. Also measure and cut the ribbon for the bookmark, if you are adding one. Apply glue to the spine with a brush or with your finger and glue the pieces of headband in place.
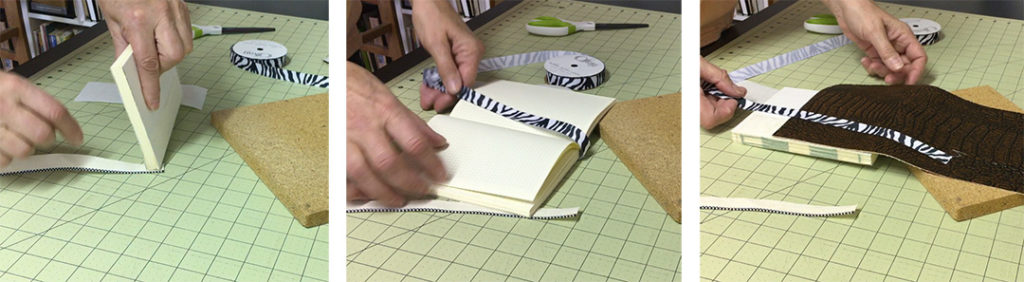
Add a bit more glue to the piece of headband you just added and then glue the bookmark to the spine. You only need to glue an inch or two to the spine to give it a solid attachment point. If your textblock happens to have a particular orientation, which would be the case if you are constructing it from pages that you have already printed, then be sure you are gluing your bookmark so that it comes up and out the top of the book.
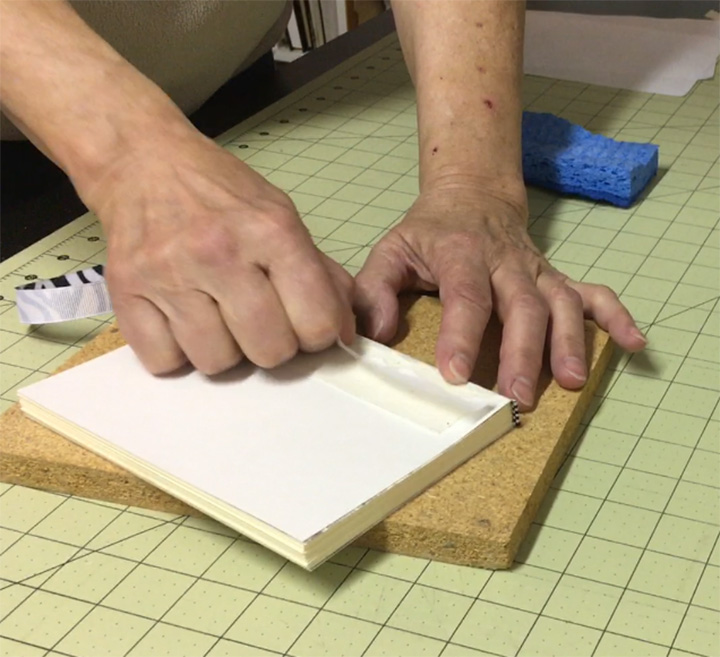
Place another layer of glue over the ribbon that you just added and the tailband, if you didn’t already do that and, as the final step for your textblock, glue the piece of rice paper, or whatever you might be using for this liner, in place.
Press this down and let it dry. Once it is firmly attached and has dried a bit tear off the extra paper on each side of the spine. This doesn’t have to be done particularly carefully as the edges of this paper will never be seen.
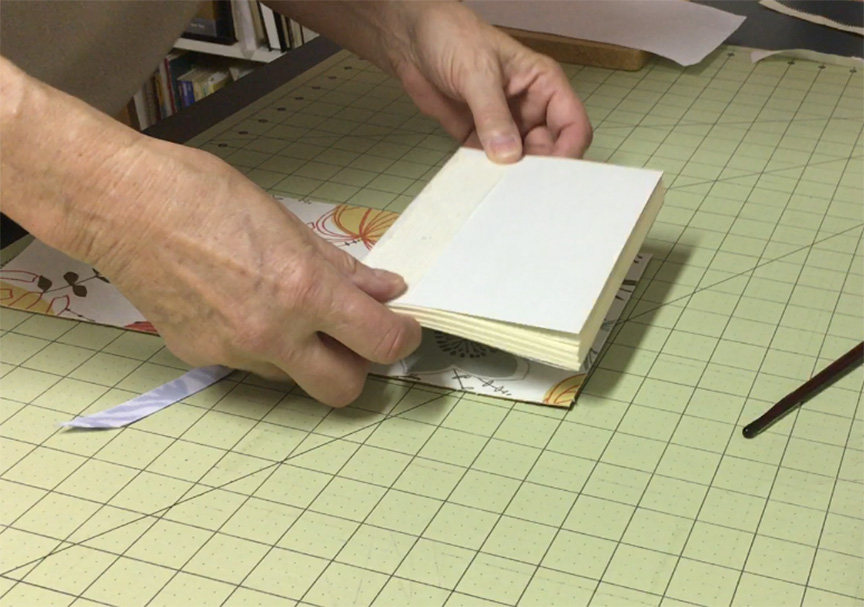
This completes the textblock. Now you can use it for lots of different covers. In the rest of this example I’m going to use it in a wrapped journal. The process would be similar if you were going to use this for a traditional cased-in book that has rigid covers and a rigid spine.
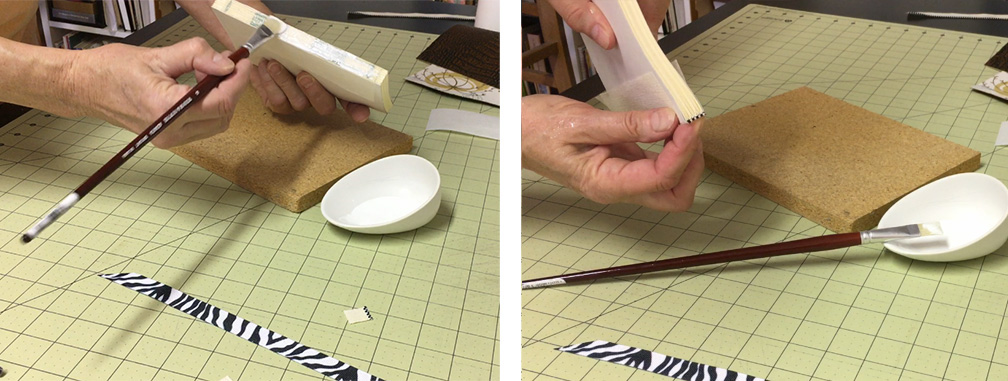
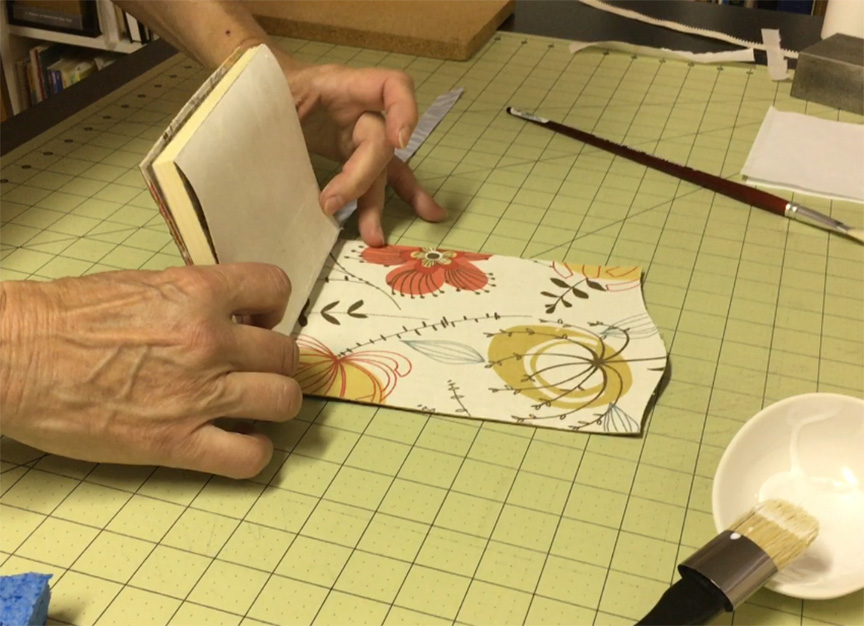
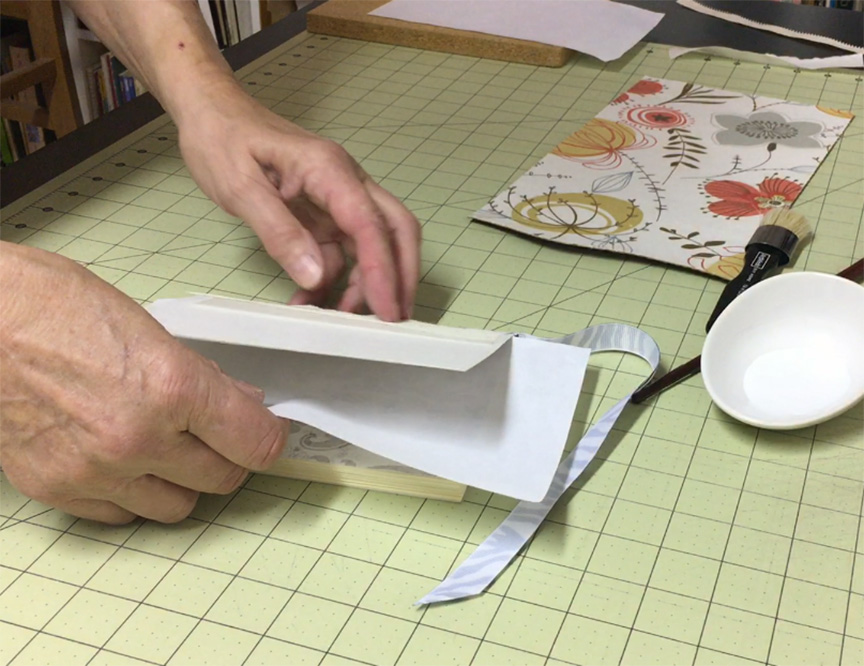 First, place a piece of scrap paper between the first endpaper and the rest of the textblock. Using a large brush apply glue to the entire endpaper, starting under the mull first, gluing the mull down and then apply glue to the entire surface, mull and all. Be careful not to get any glue on the spine. Wipe up any glue that might have slopped over onto the spine.
Very carefully remove the barrier paper. You don’t want to accidentally get any glue on the decorative side of the endpaper or you will risk gluing the endpapers together. Place the glued side of the textblock onto the appropriate part of the cover and press down to get a solid seal.
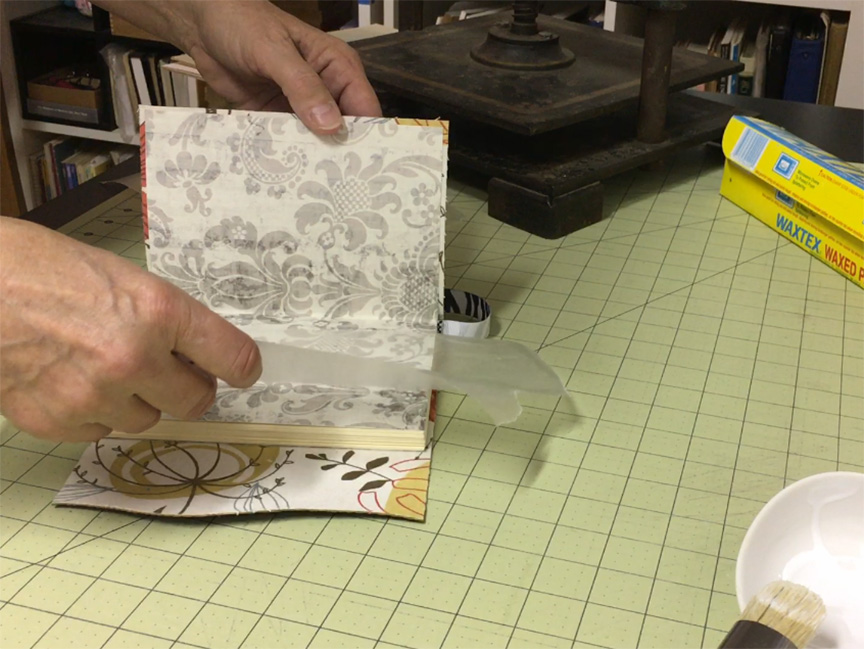
Do the same process to the other side, being sure to place a barrier paper between the endpaper and the rest of the textblock. Once you have an even coating of glue, remove the barrier paper and attach this side to the other side of the cover.
You’ll want to put this under a heavy weight until it is completely dry, probably overnight. But before you do that, place a piece of waxed paper between the endpaper and the rest of the textblock on both sides, to keep moisture from seeping into the rest of the textblock. If you skip this step you risk warping the pages of your book.
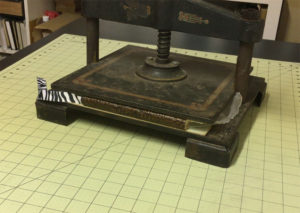
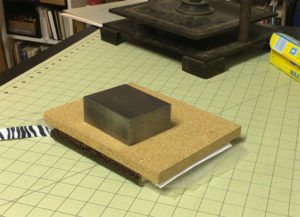
If you’re lucky enough to have a book press then you’d use that now for this final step, but a heavy book or a fabric wrapped brick will work just as well.