Here’s a very simple method for making wheat paste. I really use wheat paste for mainly one purpose, and that’s for making bookcloth, which I make a lot of. You can see my video about making bookcloth here.
However, another of its claims to fame is that it’s reversible, meaning you can undo whatever you’ve done with it, unlike PVA glue or any of your other permanent synthetic glues.
So, it’s completely archival in that sense as well, and good for anything that you might want to take apart later, like tipping in photos in a book or scrapbook, or using it for hinges when you matte and frame a drawing or print.
The recipe and the process are very simple.
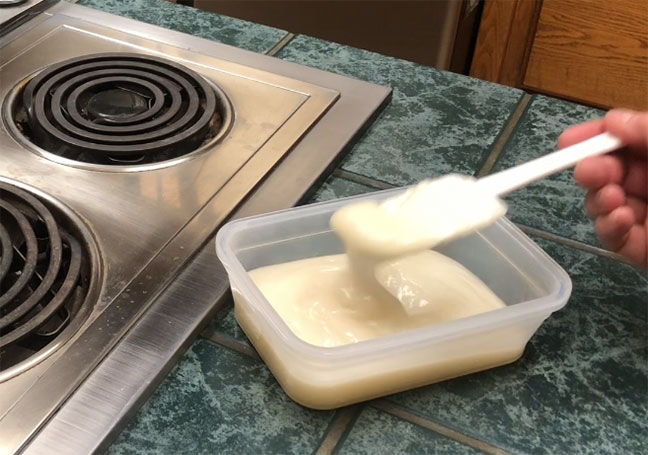
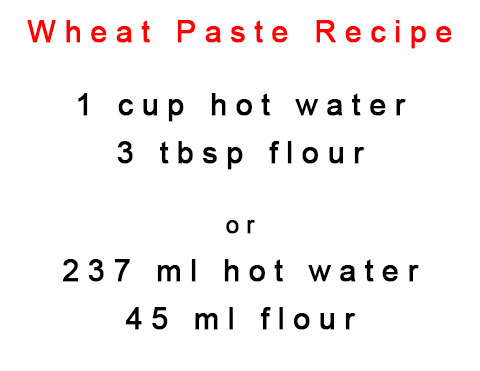 The recipe I use is basically one cup of water and 3 tablespoons of wheat flour. As you’ll see in a minute, a little more water is involved in the process. This recipe makes the amount of paste you see in this container, enough for several sheets of bookcloth. I’ve also included the metric recipe here, if you’re so inclined.
Start with one cup of very hot tap water. Pour this into a pot and ready it on the stove, but don’t turn on the heat yet.
In another container with a small amount of cold water, add and mix three tablespoons of wheat flour. 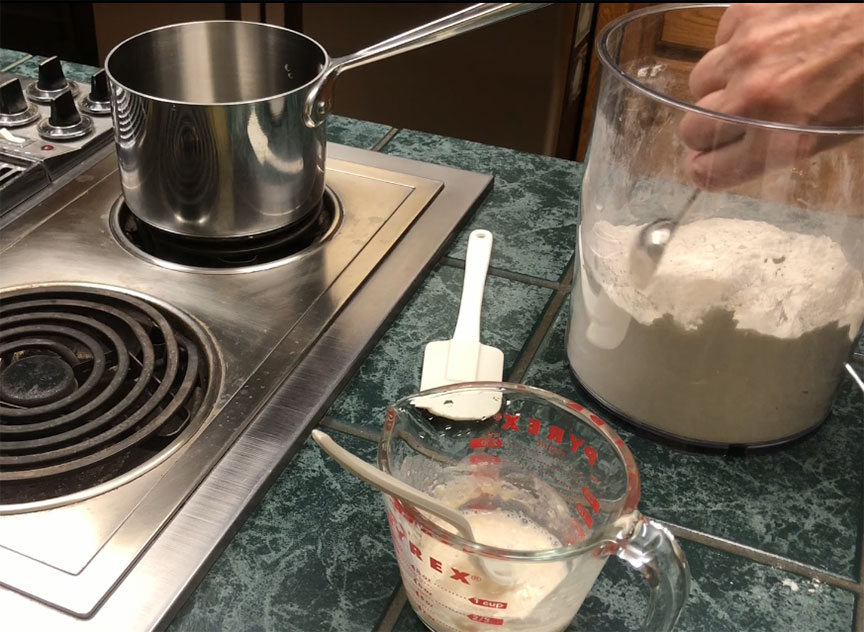
Mix this really well so that there are no lumps. You want enough water so that you can get a thin gruel-like mixture, but don’t use too much water for this or you’ll have trouble getting the right consistency for the paste. Stir this until you have a creamy consistency without any lumps.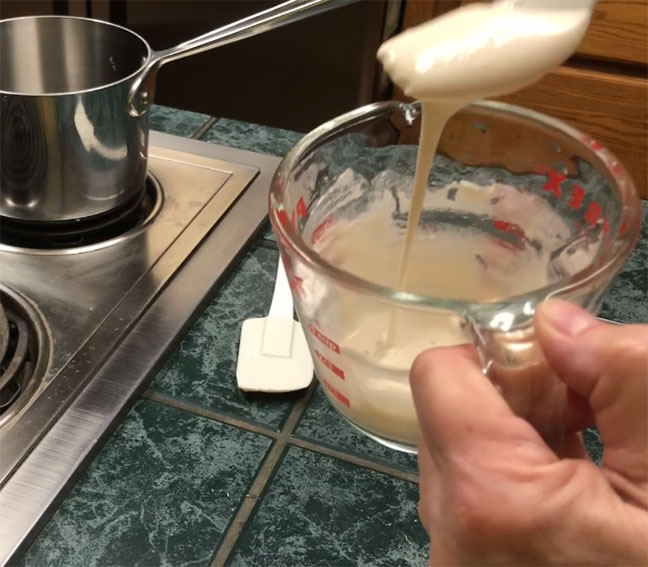
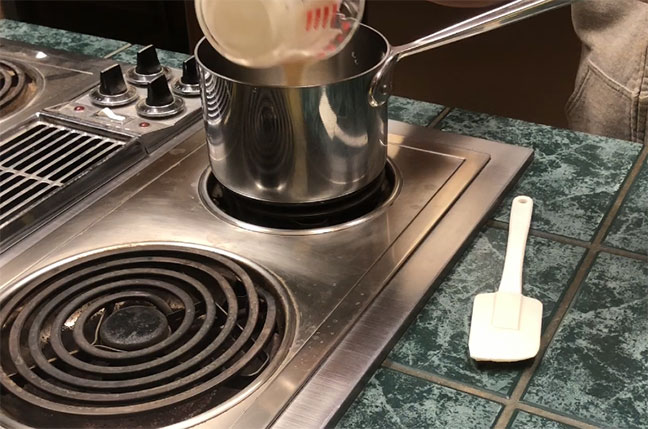
Pour this mixture into the pot of water on the stove. I haven’t turned the heat on yet. This water is still only tap water hot. I don’t turn the burner on until I finish adding the flour mixture. Once you have this slurry poured in, turn the burner on High and bring to a boil. Stir this mixture constantly.
 It won’t take long – just a few minutes and you’ll start to see the consistency change. It will become glossy, translucent and thickened, like gravy. If you pre-stirred the dry flour in cold water, there should be no lumps. However, if you do end up with some lumps you can mash them up and stir them in or run the finished paste through cheesecloth and sieve them out.
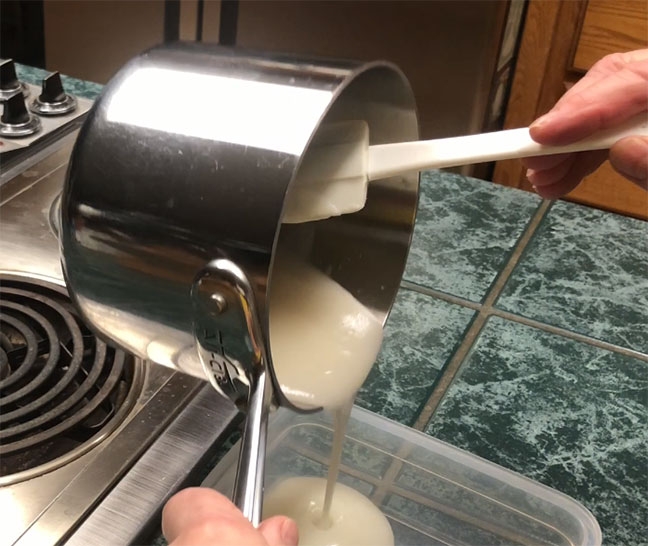
![]() Continue stirring for a couple of minutes to allow it to thicken a bit, and then take it off the burner and let it cool. Continue to stir it a little while the pan cools so you don’t burn it from the residual heat. The paste will continue to thicken as it cools. Once it’s cooled off a little I pour it into a container while it’s still liquid enough to pour.
Continue stirring for a couple of minutes to allow it to thicken a bit, and then take it off the burner and let it cool. Continue to stir it a little while the pan cools so you don’t burn it from the residual heat. The paste will continue to thicken as it cools. Once it’s cooled off a little I pour it into a container while it’s still liquid enough to pour.
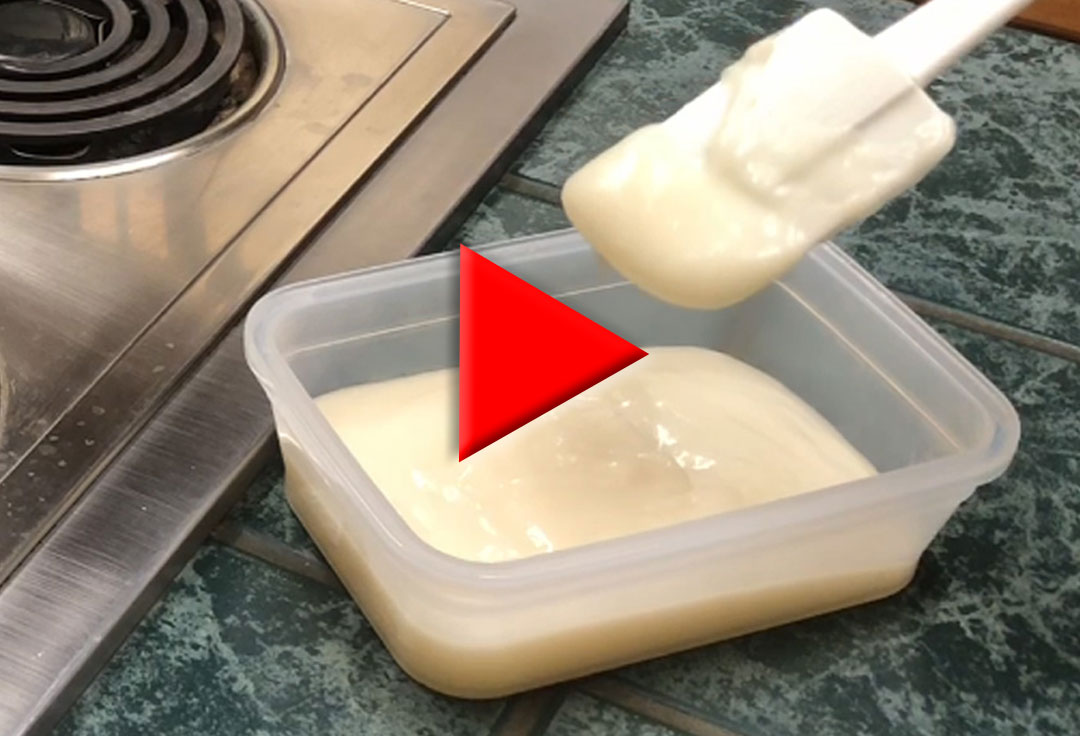
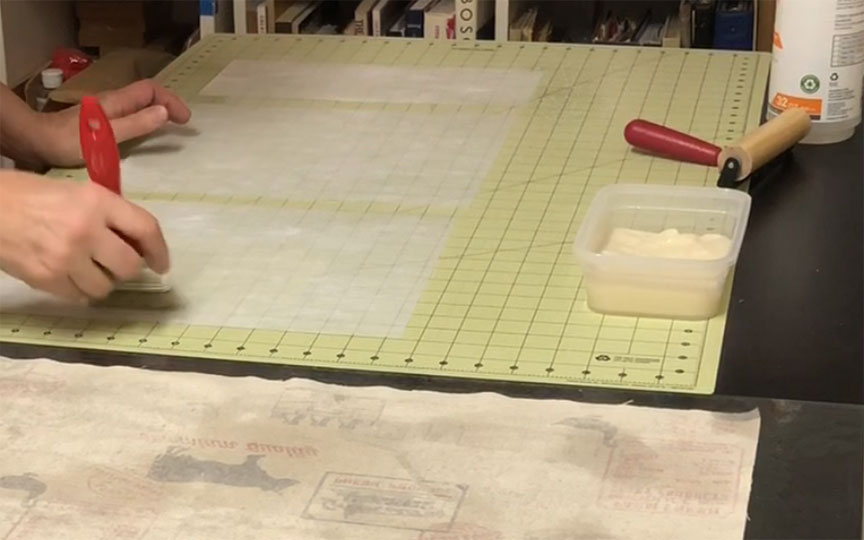
 Now it’s ready to be used.
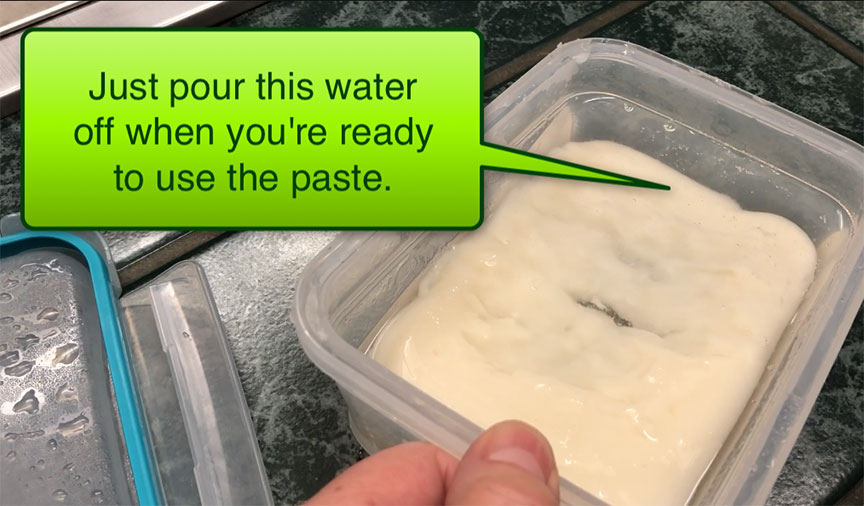
 This paste doesn’t last long in the refrigerator, maybe a week, so I often cut the recipe in half, and throw out whatever I don’t use. You can put a layer of water on top of the paste to slow down any mold growth, if you do choose to save it in the frig.
 You can also use clove oil as an anti-fungal and anti-bacterial – (about 2 or 3 drops for this amount of paste), or you can use a canning process – reheating the remainder in an appropriately covered jar to sterilize it (if you’re familiar with canning jams or jellies) .
Also, if you’re concerned about insects, you can add a bit of copper sulphate to keep the pests away. I’ve never had any issue with bugs, but it might depend on where you live. Damp or humid areas might have more problems with insects than dryer areas.
I prefer to use the paste when it’s fresh, and most of the techniques for preserving it seem like overkill since the paste itself is so easy to make, so I just toss what I don’t use. From beginning to end it takes less than 10 minutes!