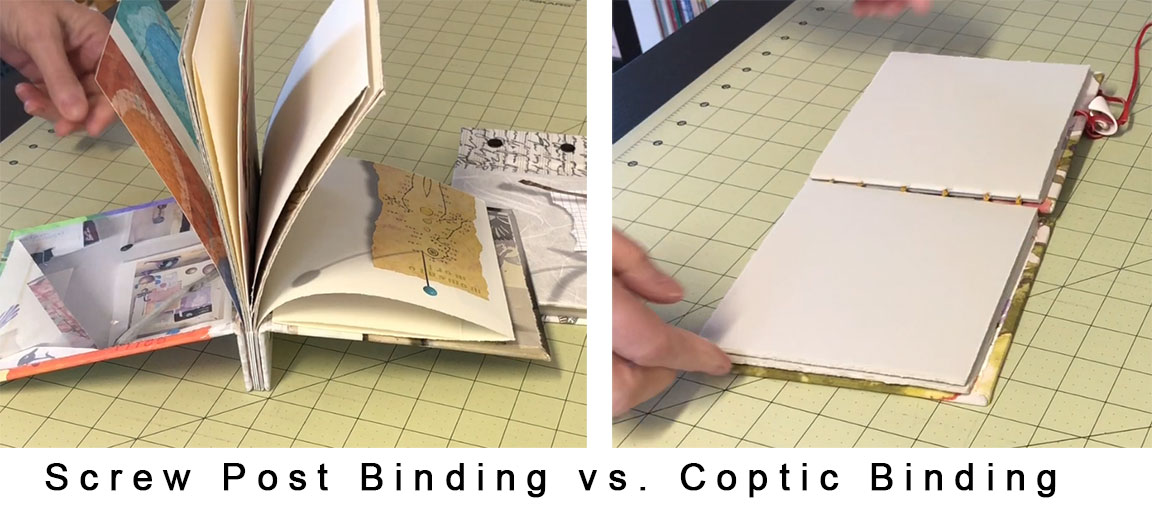
Screw Post Binding
The Screw Post Binding method is the classic binding used on scrapbooks and is a fairly easy book to make. It has several great attributes.
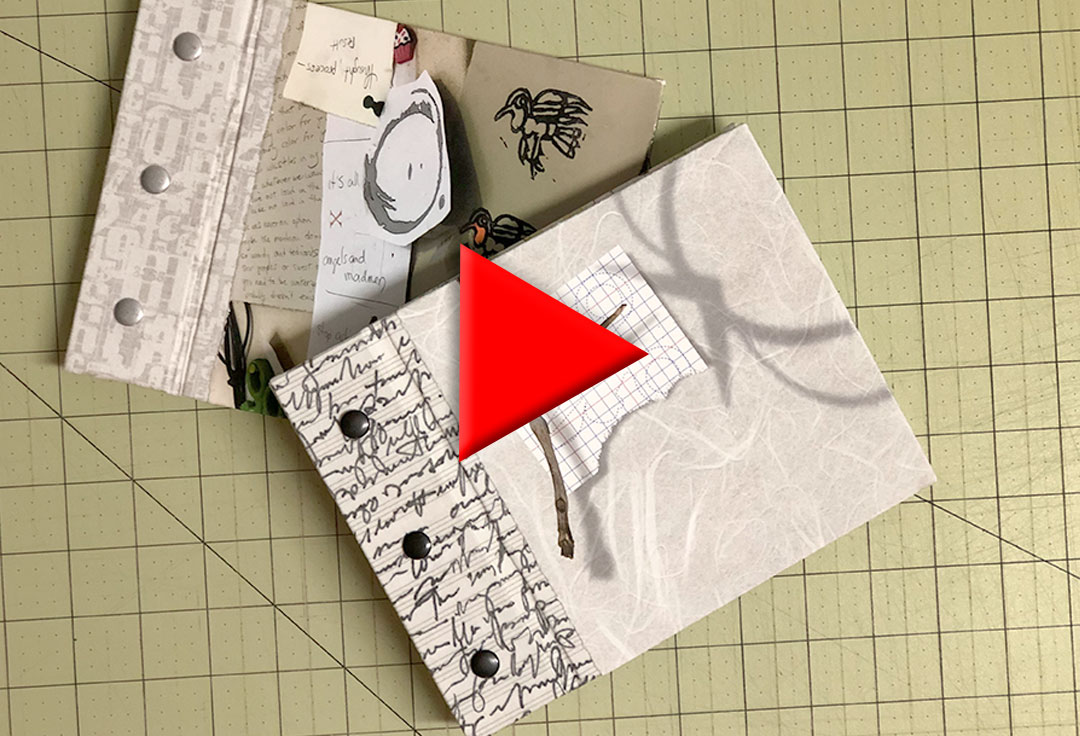
Click to Watch the Screw Post Binding Video Tutorial
First, you can add, remove or rearrange pages anytime you want by simply unscrewing the posts and removing the covers.
Second, you can add spacers inside the spine area to add some extra space for certain pages that contain thicker items, like tipped-in photos or pockets with items in them. You can also add or remove these spacers anytime you want.
Third, this is a great book for single pages consisting of different kinds of paper. So, for instance, if you wanted to add a printed menu or a theater program, it would be easy to do.
Disadvantages
One disadvantage of the Screw Post Binding is that the pages don’t lie flat like they do with some other binding techniques, like a book bound with the Coptic stitch, for instance. And the thicker the paper you use, the more difficult it is to fully turn the pages.
So, you can use thinner paper to mitigate this somewhat. Also, making sure the grain of the paper runs parallel to the spine will help a little, as will making your book longer than it is wide (which I didn’t do here). Folding or hinging the paper so that it turns more easily makes a big difference and is what I opted to do with this book.
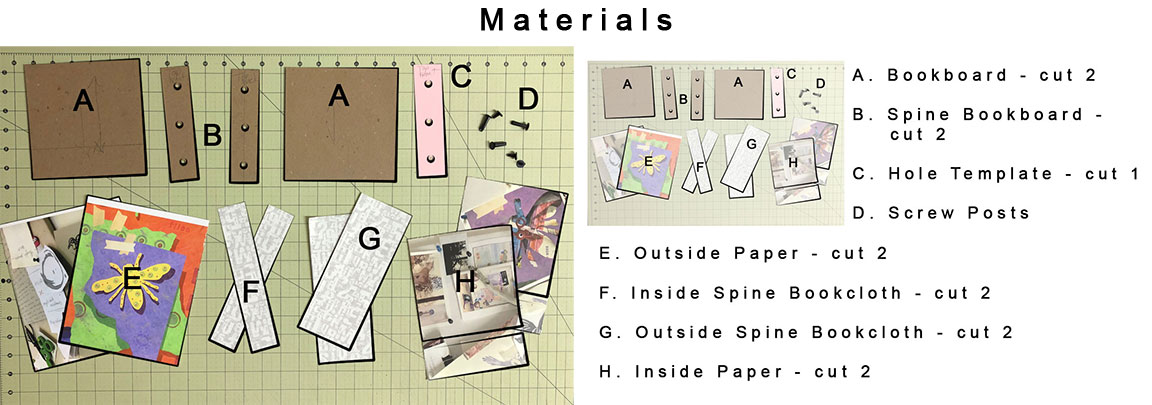
Getting Started – Gather Your Materials
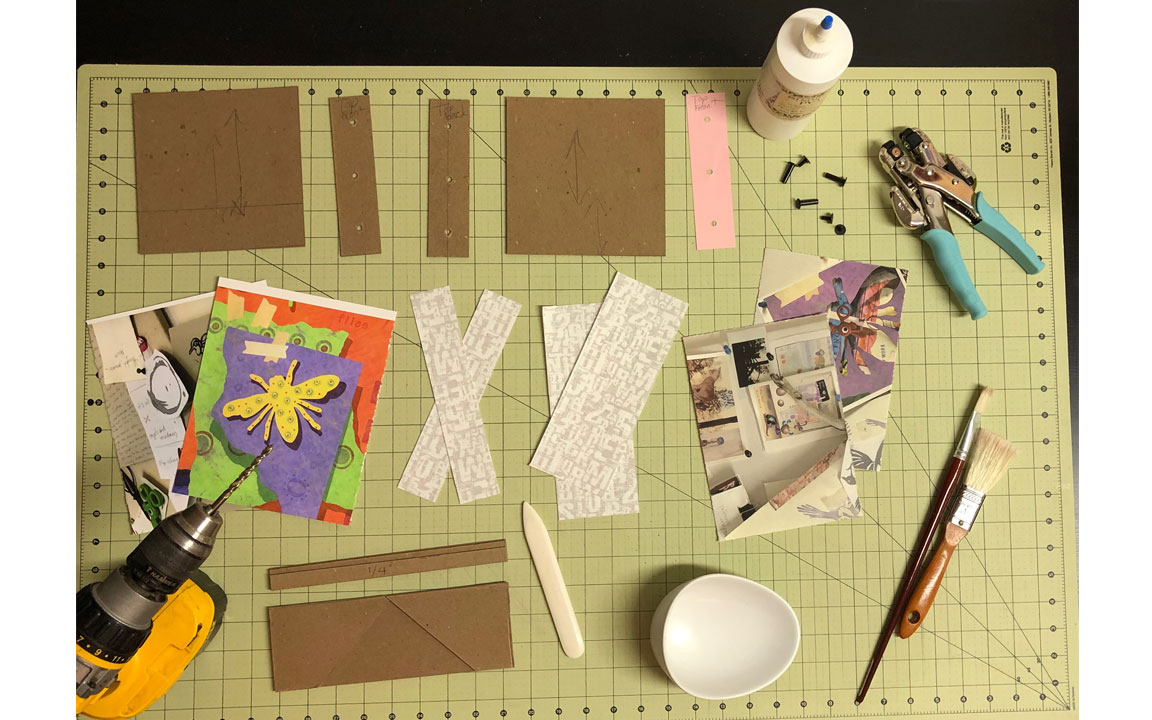
So, to get started you want to gather your materials. I use bookcloth for the spine pieces inside and out. This creates the hinge for the whole book and bookcloth holds up much better than paper.
I use paper for the outside cover and the inside endpapers, and bookboard (binder’s board), of course, for the main structure. This consists of two boards for the front and back, and two narrow boards for the spine. You’ll need some screw posts of the right length, equal to the depth of your paper plus both covered bookboards.
Size Guidelines
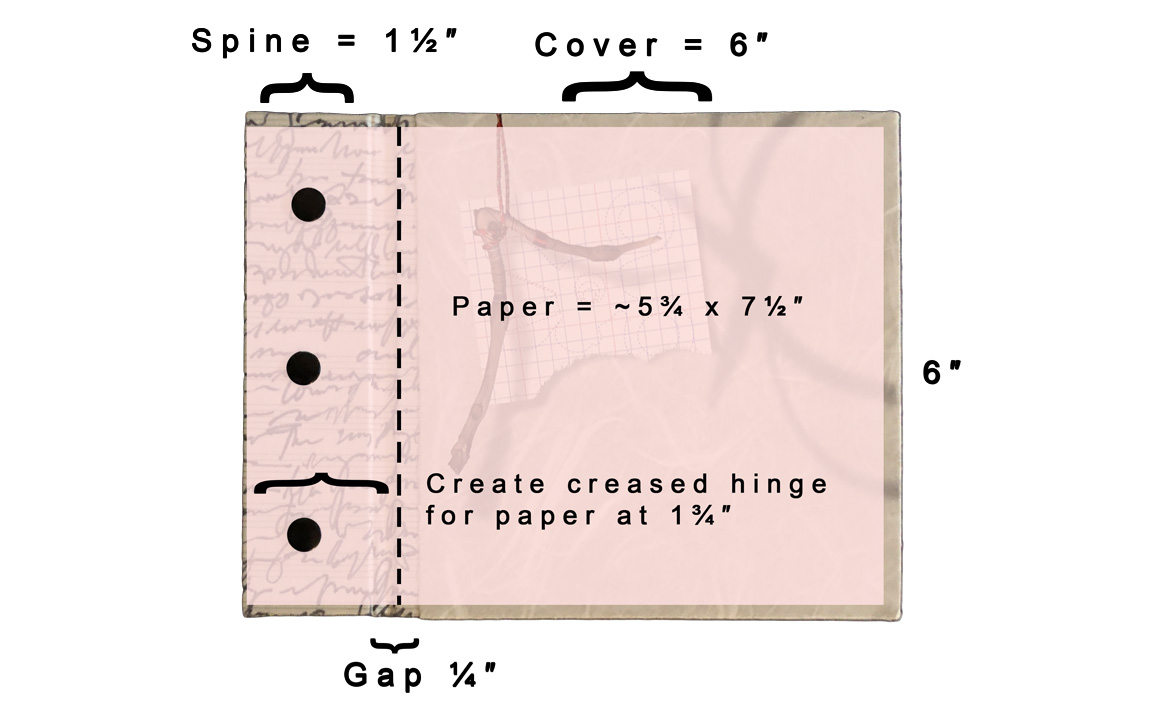
The following graphic will give you some general sizing guidelines for the parts for constructing the cover. These really are just guidelines, and your specific book parts will define the final measurements.
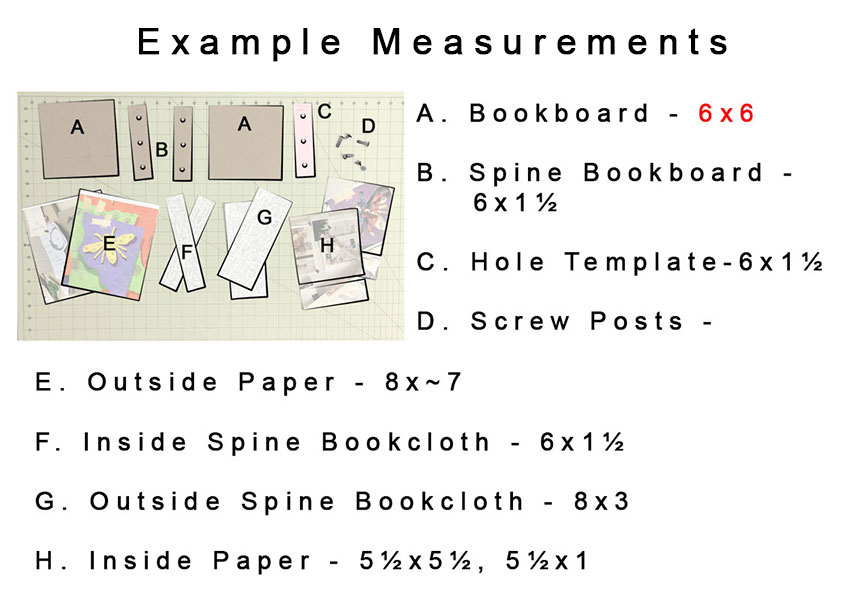
In general I allow 1 inch margins for the overlap of the cover paper. For the book pages, in this example, I use paper that is 5 ¾ inches by 7 ½ inches. The template for the holes should be the same dimensions as the spine with the holes appropriately placed.
Other Tools and Materials
You’ll also need brushes, some PVA glue, a bone folder and a hole punch or drill. I use both a hole punch AND a drill. I have a couple of other useful tools that I made that I’ll show you as we come to them in the instructions.
Punch Holes in the Spine
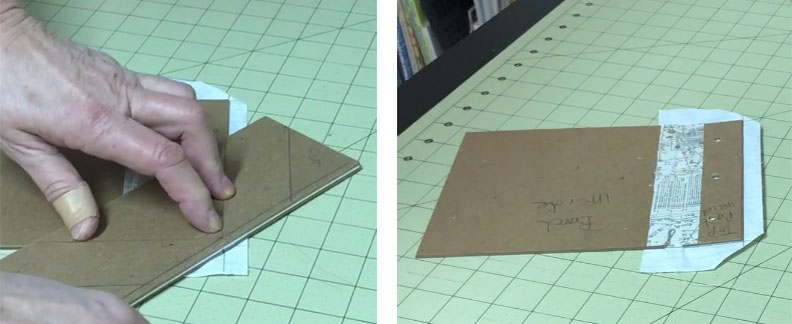
 Before you start gluing things together, measure and punch the holes in the two spine pieces. Be sure to make and use a hole template, and mark it so you know which is the front and the top. In addition to marking the holes on the spine pieces, you’ll want to use this on the pages of the book as well as any spacers you use. It’s important that all these various pieces line up perfectly and a template is the best way to ensure that.
Mark the Bookboard
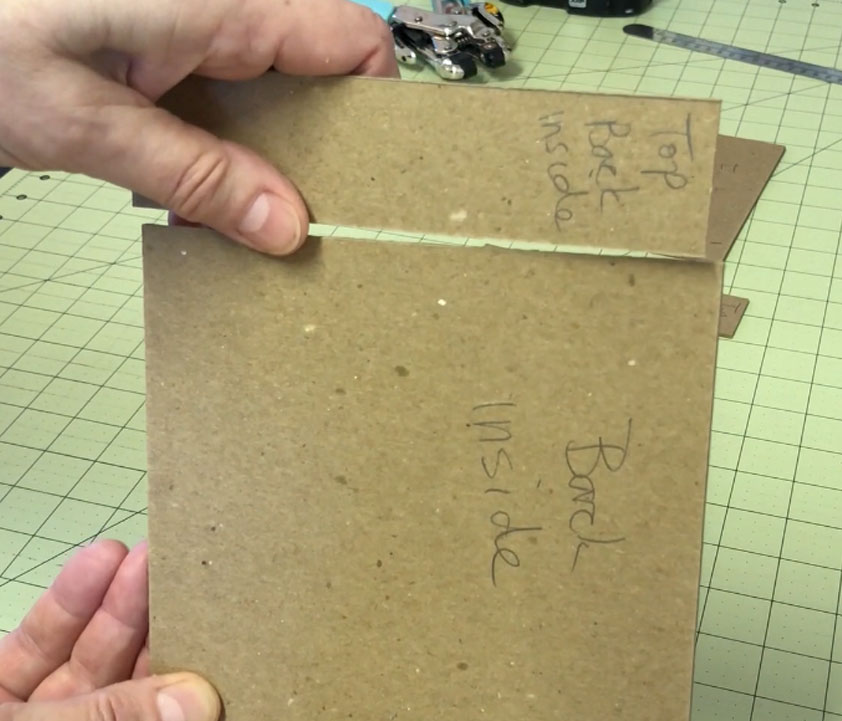 I also mark all pieces of the bookboard so I know where they are supposed to end up once I’ve punched the holes. It’s easy to get things confused and turned around as you’re working. When you mark these be aware of how they will eventually go together and mark them accordingly.
Punch the Bookboard
I punch these holes with a hole punch first. You can use a drill to do this, but I find that the drill leaves a lot of excess on the edges that I have to clean up, and I can’t seem to be as accurate with it as I want. Using a hole punch first removes a lot of cardboard that otherwise just gets shoved around the edges of the hole.
When I punch the spine holes I punch one board first then use that board as a template for the other board. I really want these two boards to line up perfectly. I compare them again to my paper template and if it’s off at all, I make a new template from the boards I just punched.
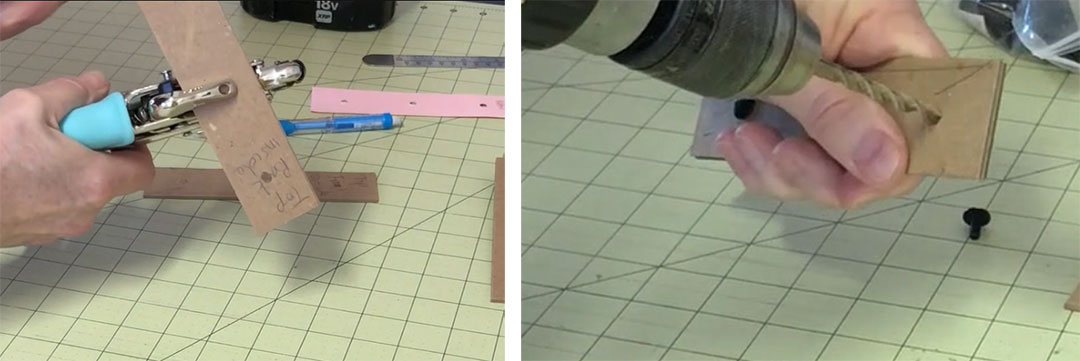 My hole punch is just a bit too small for these screw posts, so I finish off the holes with the drill and place the screw posts in them to make sure everything is lining up correctly.
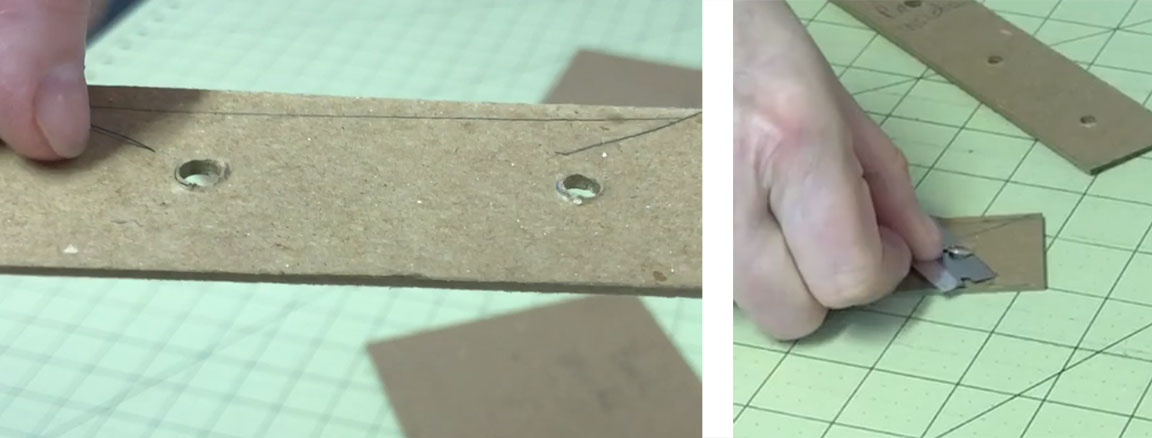
Clean up the Post Holes
Since I’ve already removed most of the board, that doesn’t leave much to clean up. I do this with a razor blade held parallel to the board and just shave off the little edges that the drill leaves behind.
Time to Start Gluing – First, the Inside Hinge
So, now you’re ready to start gluing everything together. Start with the smallest piece of bookcloth that is the inside hinge (piece F in the materials list above). I place the bookboard on my work table exactly where I want it and hold it in place with weights to make the gluing easier.
I’m using a ¼” spacer that I’ve made by gluing pieces of bookboard together to get the space just right. You could also just line this up on your cutting mat. (I need a ¼” space all the time, so this spacer comes in really handy. I have several of them in varying thicknesses.)
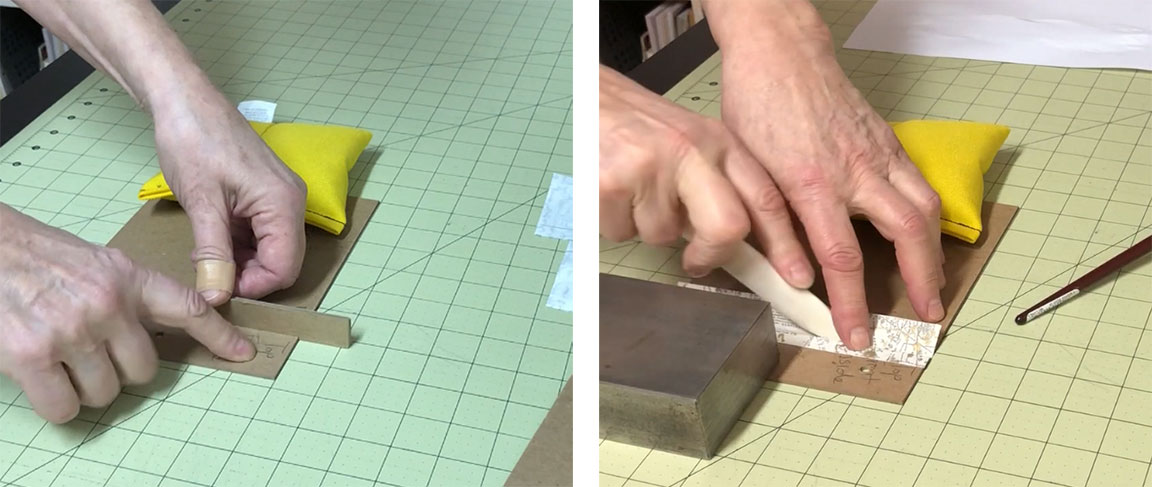
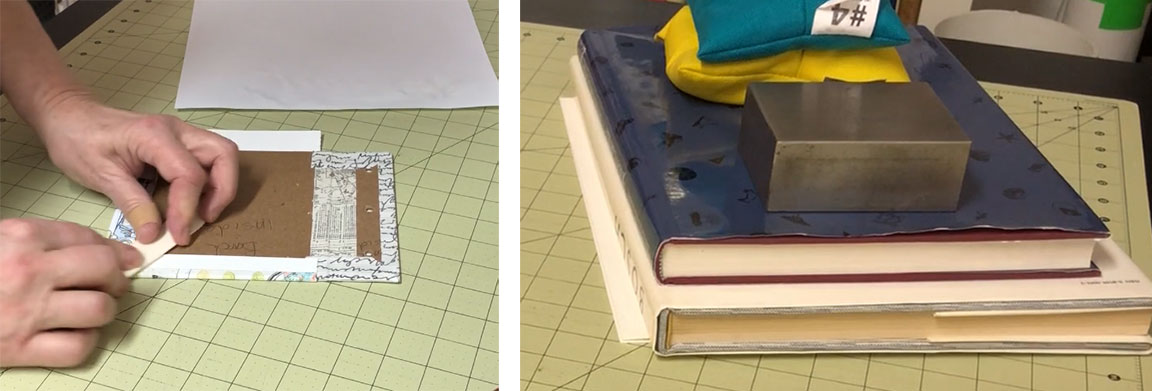
Place the bookcloth piece on a piece of scrap paper and apply PVA glue to the wrong side. Carefully place the strip across the gap you left between the two pieces of bookboard. Press one side down and then use your bone folder to push the cloth evenly into the gap.
Once you’ve pushed it into the gap, pick it up off of your work surface so it doesn’t get permanently glued down and then press down the other side. Put this first side under a weight while you finish the second side the same way.
Next, the Outside Hinge
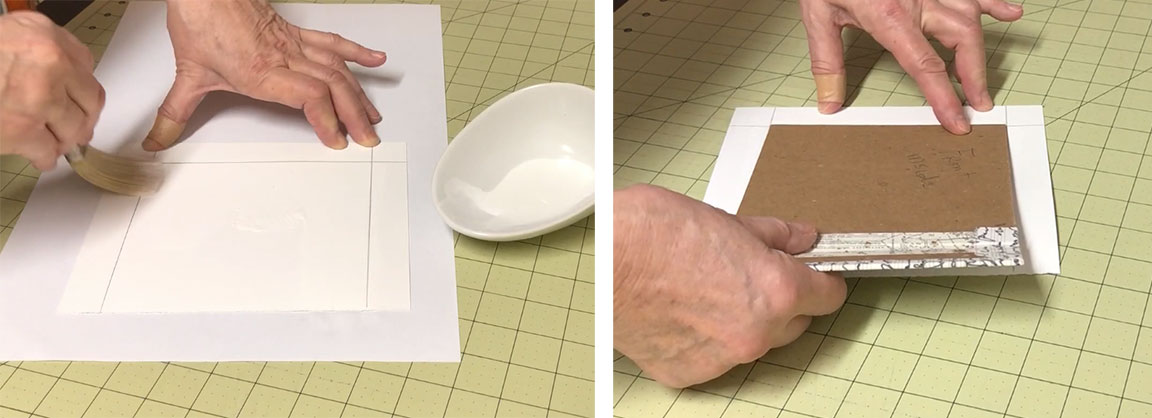
The next step is to apply the outside bookcloth, which will complete the hinge of the book. I draw margins on the wrong side of the bookcloth so I know exactly how to position the board once I have it covered with glue. In my case I have 1 inch margins top and bottom and a ½ inch margin on the outside. This piece should overlap the hinge area and fall onto the other board by at least ½ inch.
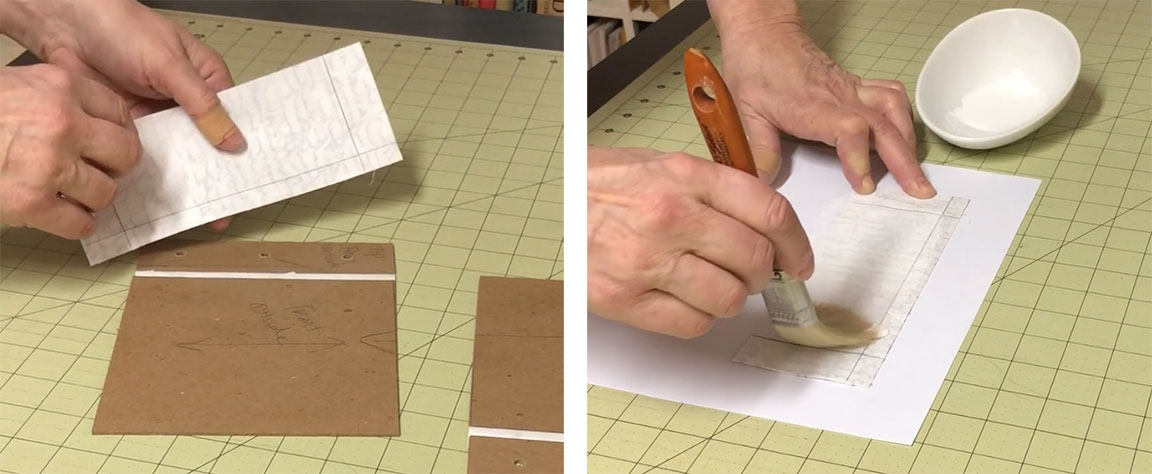
As usual, apply glue to the back of the cloth on a scrap piece of paper. Don’t apply the glue all the way to the edges yet. Just concentrate on the area inside of the margins you’ve drawn. You don’t have to be very careful about this as you will be applying glue to those edges soon.
Remove this piece of bookcloth from the scrap paper and place it on your work surface. Carefully align the correct side of the cover, following the guidelines that you have drawn on. Turn everything over and press down the cloth, making sure that you firmly press the bookcloth down into the gap. You want it to completely adhere to the bookcloth in that gap that you applied from the other side. 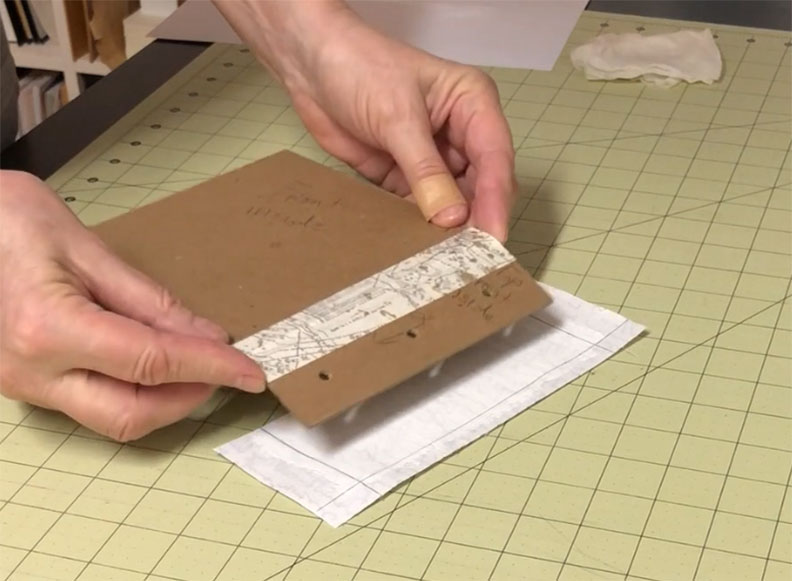
I have narrow strips of bookboard the same thickness as the board I’m using that I place in small gaps like this to press those gaps down firmly and to help them dry correctly. Weight this side down and follow the same process for the other side.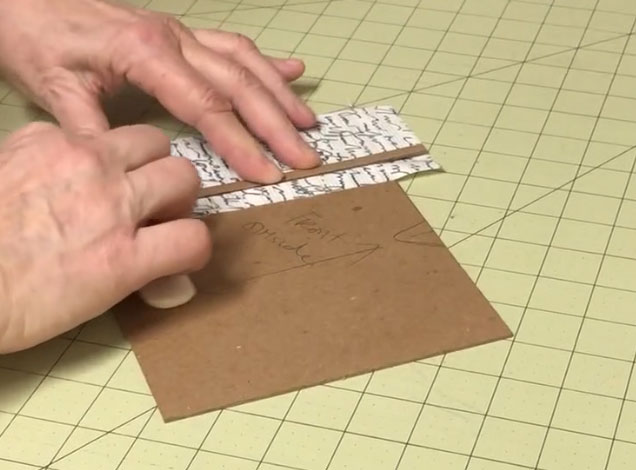
Finish the Hinges
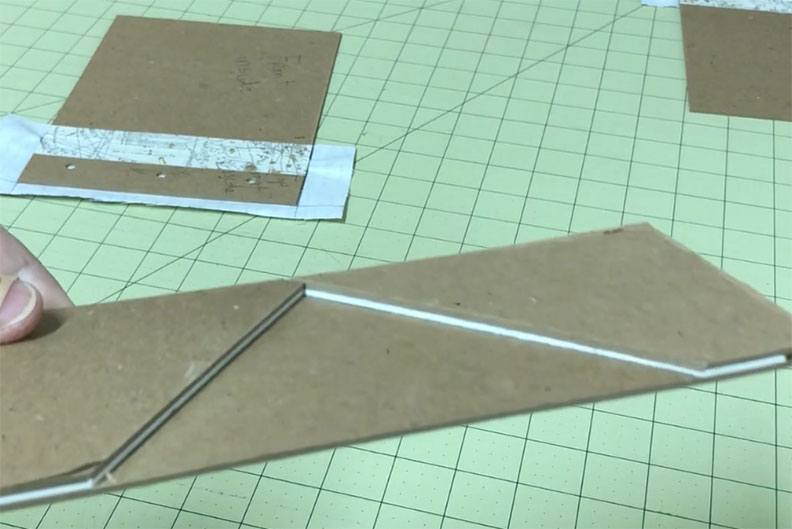
Once both sides have had a few minutes to dry, you’ll want to trim the corners and then glue down the margins. Trim the corners at a 45 degree angle, leaving an extra ¼ inch of bookcloth from the corner of the bookboard. If you cut the cloth right at the corner you won’t be able to cover the board.
 I cut these corners all the time so I’ve made a template out of glued together bookboard that I can just slide over the corner of the bookboard and cut against. You don’t need to make this tool, but if you’re making a lot of books it makes that particular step much faster.
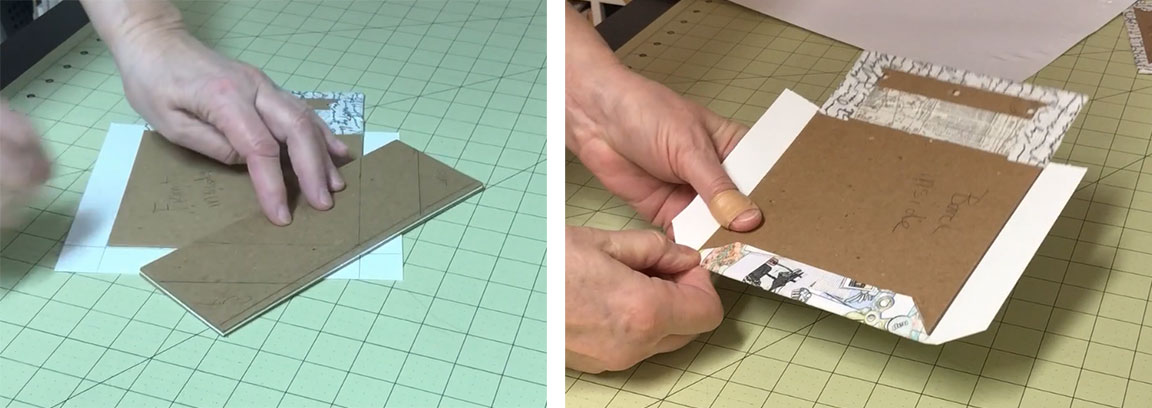
Place the cover with the wrong side up on a scrap piece of paper and apply glue first to the long margin, applying glue also to the extra bit that you left at the corner. Fold this over and firmly press it down, paying particular attention to folding in that small excess piece to cover the corner. Push this all down with your bone folder.
Then apply glue to both of the smaller margins and press those down. Be sure to press these margins firmly down into the gutter. Put this cover under a weight while you follow this same process on the second side.
Apply Outer Paper Covers
The next step is to apply the outer covers. Mark the wrong side of these papers with the appropriate margins so you’ll know where to place the board once the paper is covered with glue. The paper should overlap the bookcloth about ¼ of an inch along the spine side of each cover. I allow for one inch on each of the other sides, and trim and mark my paper accordingly.
 Once you have your margins marked, place the first piece upside down on a piece of scrap paper and apply glue to the area inside the margins. You don’t have to be careful about this process; it’s just not necessary or desirable to cover the whole paper with glue at this point.
Remove the scrap paper and place the glued cover paper on your work surface. Line up the cover with the guidelines that you drew and press down firmly. Reinforce the bond with a brayer or by using your bone folder. Then put this under weight while you follow the same procedure on the second cover.
Once you have both sides covered place them both under weight for a little while to make sure they are firmly glued. I use blotters to separate them. This helps to absorb moisture and speed up drying.
Finish Outer Covers
The next step is to cut the corners on the cover papers, just as you did with the bookcloth earlier, being sure to leave that ¼ inch gap of paper near the corner of the bookboard.
 Apply glue to the long side making sure to also apply glue to the corner bits. Fold this over, pressing it down firmly, paying special attention to covering the corners of the bookboard with the excess paper that you allowed for.
 Apply glue to the other two margins, folding them over and firmly pressing them down. Place this cover under weight as you work on the second cover. As you can tell from my narrative, I always put what I’ve just glued under weight while working on the next step.
Finish off the second cover the same way and place it under weight.
Glue the Endpapers
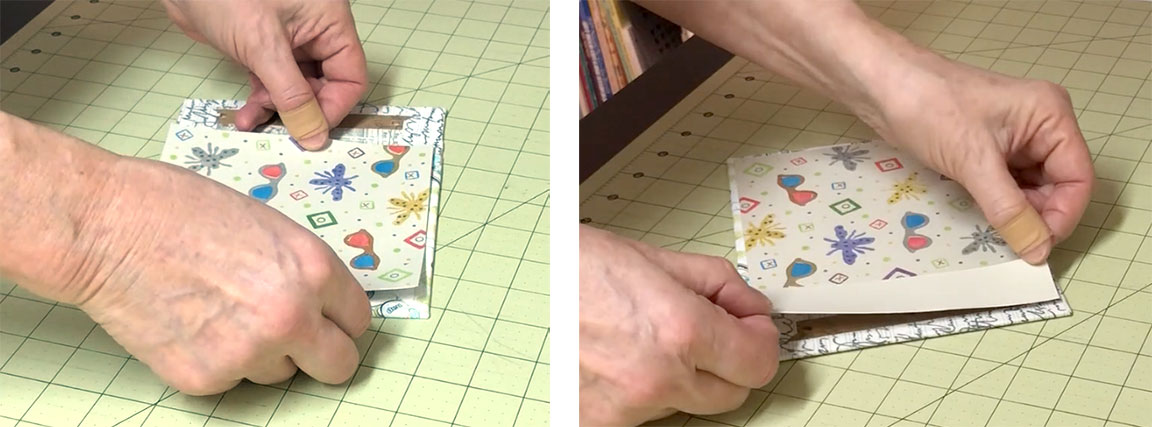
The last pieces to glue are the endpapers. I do this using two separate pieces on each side. If you try to do this as a single piece of paper all the way across both pieces of bookboard, your book won’t open correctly.
You don’t necessarily need to cover the smaller piece of bookboard. Once the book is screwed together, you won’t see this area at all. I like to do it just so the pieces look finished when you unscrew the book. A small unnecessary detail really.
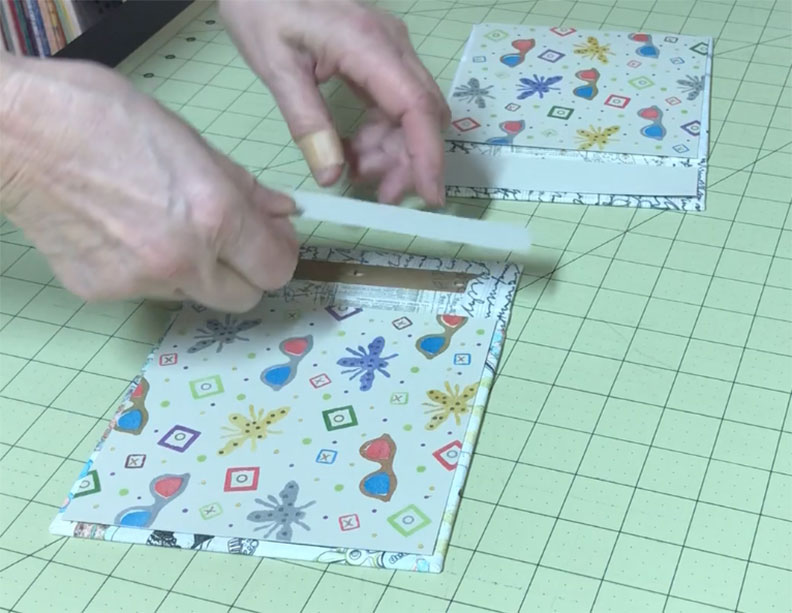
As always, place the endpaper upside-down on a sheet of scrap paper and apply PVA glue. Carefully put it in place, allowing ¼” all the way around. Press this down firmly, going over it with a bone folder to make sure it’s pressed down evenly. Apply glue to the small spine piece, if you’ve chosen to do this step, and firmly press it down.
Place this side under a weight while you are doing the same process to the other cover.
Once you have finished the second cover place both covers under weight and allow them to dry thoroughly before you add paper. I like to let them completely dry overnight pressed between blotter paper to help absorb any moisture.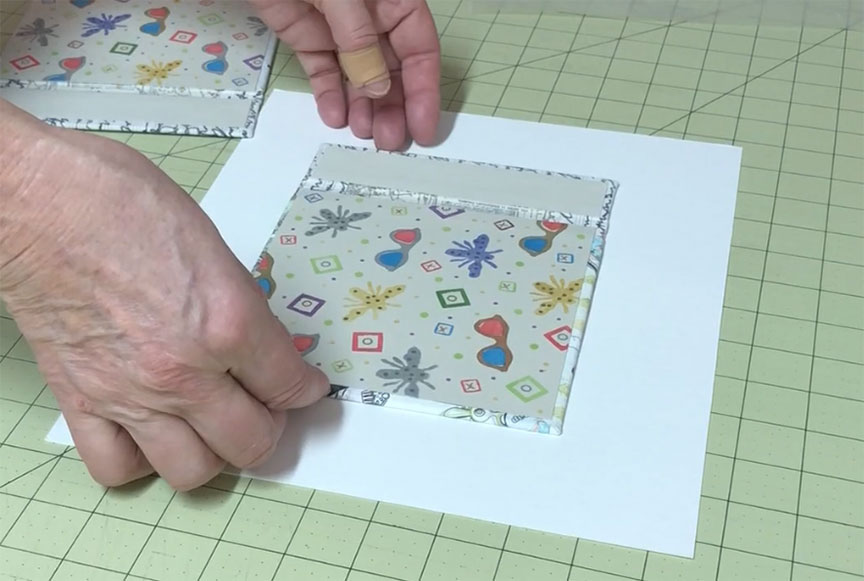
Prepare the Paper
While the covers are drying you can prepare the paper. The paper needs to be the length of the entire book cover, so if your cover is 6 inches wide and the spine piece is 1 ½ inches wide, then your paper needs to be 7 and ½ inches wide. You don’t need to allow for the ¼ inch gap because that extra will allow the paper to sit inside the edge of the cover a little bit, which you want.
 I cut spacers from archival cardstock the width of the piece of bookboard that the screws go through, in this case 1 ½ inches. Adding spacers between the pages of the screw post binding gives you more room to add thicker paper, tip in photos, create pockets for loose items – things like that. You can always add more spacers as necessary.
Use your hole punch template to mark the spacers. Be careful not to get the spacers turned around once you’ve marked them. I usually stick a post-it note on the top front to be sure they stay oriented the correct way.
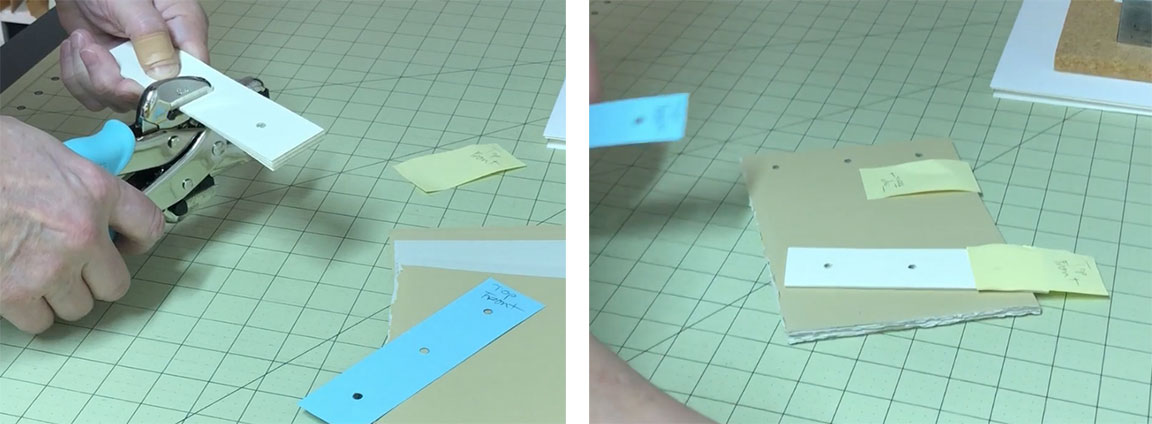 Mark and punch the pages the same way. Again, be careful not to turn the pages over and confuse the orientation. Another post-it note here will help keep these organized as you punch them.
Prep the Holes in the Spine
The last thing you need to do before you start adding your pages to the book is open up those holes that you punched in the bookboard, which are now covered with bookcloth and paper.
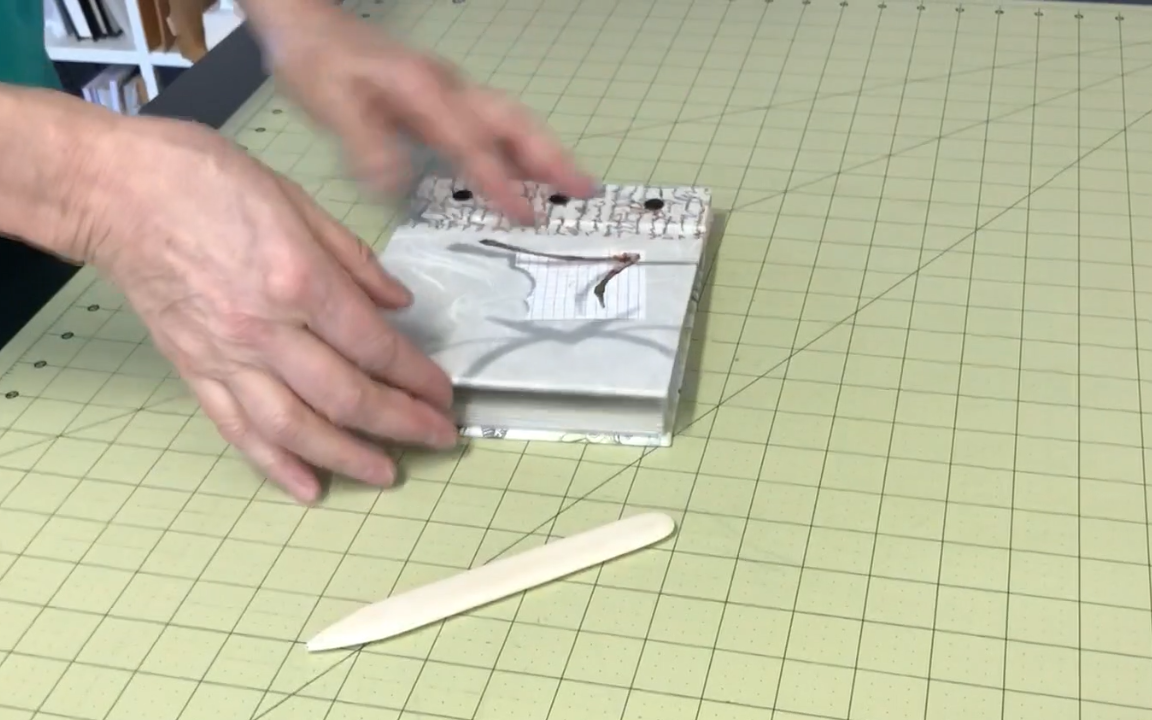
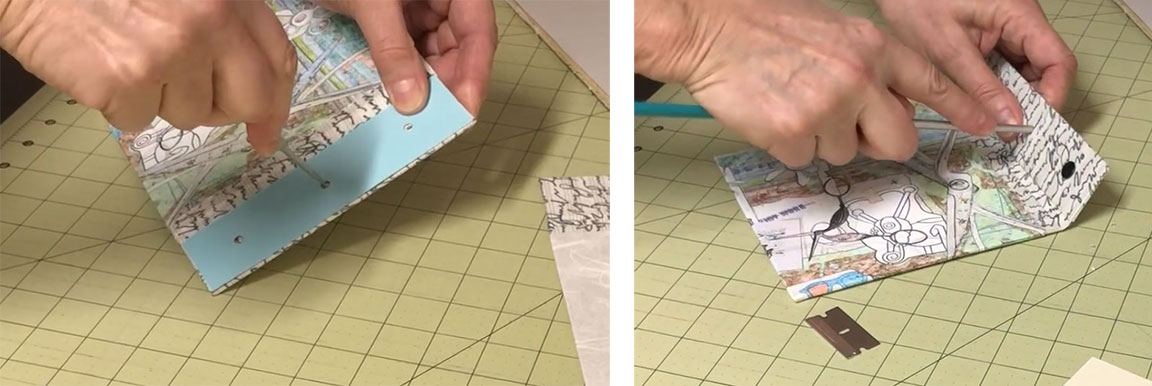
I use the template again to find where the holes are, rather than struggling to find them through the cloth. Poke a hole with something sharp and then open up those holes so they’ll accommodate the screw posts.
I start with a very sharp awl-like tool to start the hole and then use the end of a paintbrush handle to open the hole up. The paintbrush works perfectly because the size of the handle is graduated, so I get exactly the size I need. Clean off any excess material that gets pushed through with a razor blade.
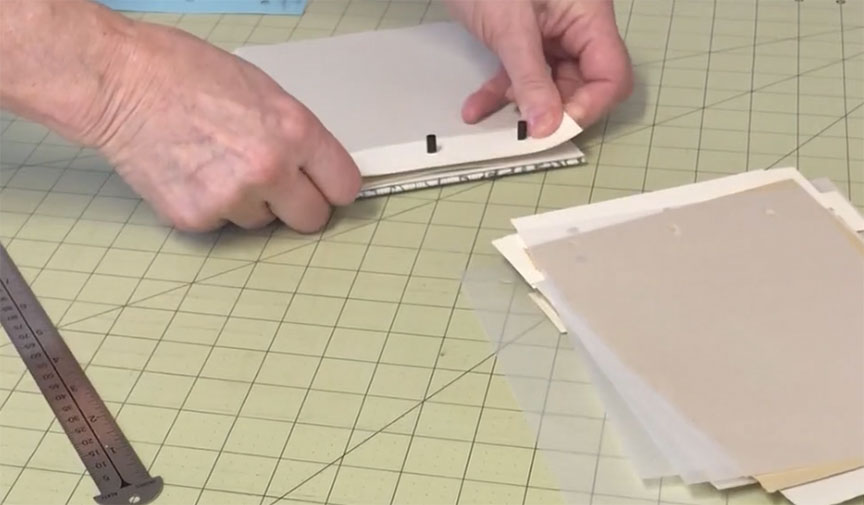
 Make sure your screw posts fit through the holes and then you can start assembling the book.
Crease and Fold the Paper
 One other thing you might want to consider doing if your paper is particularly thick, like the drawing paper I’m using here, is to crease and fold it at the hinge. Otherwise the paper will be so stiff that the book won’t open properly.
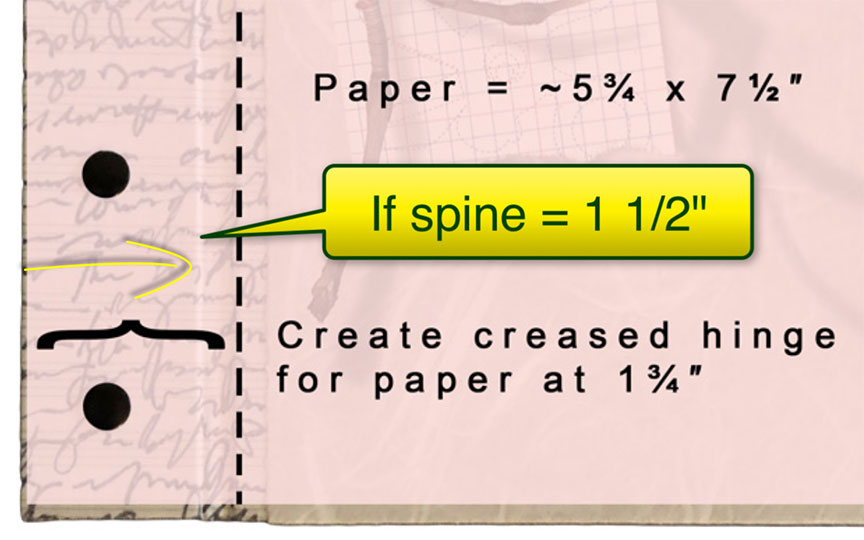 If you do this, make the crease about ¼ inch out from the edge of the spine bookboard pieces. In other words, if your spine pieces are 1 and ½ inches, the crease should be at 1 and ¾ inches.
Use a ruler and your bone folder to score the paper on both sides at the fold point. This will make it easier to fold and will also keep the fold nice and sharp.
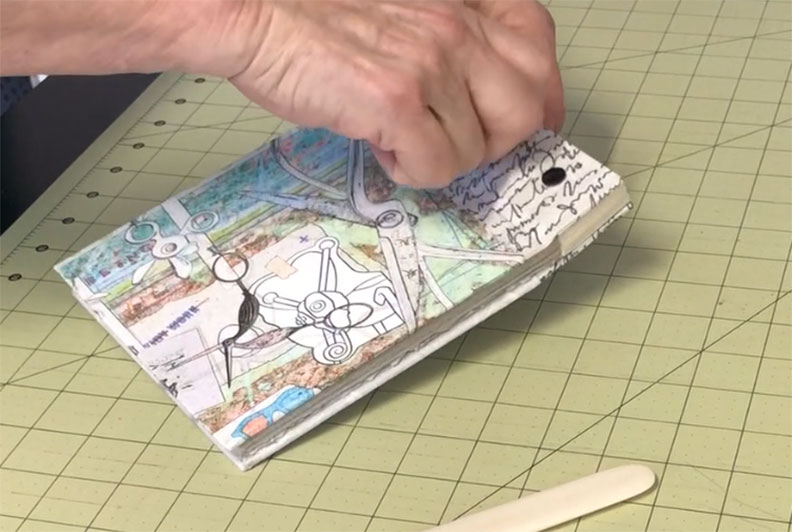
Put Your Book Together!
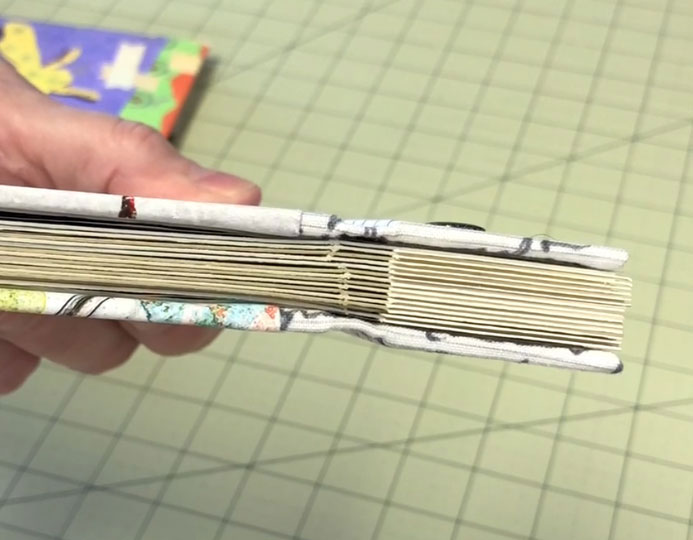
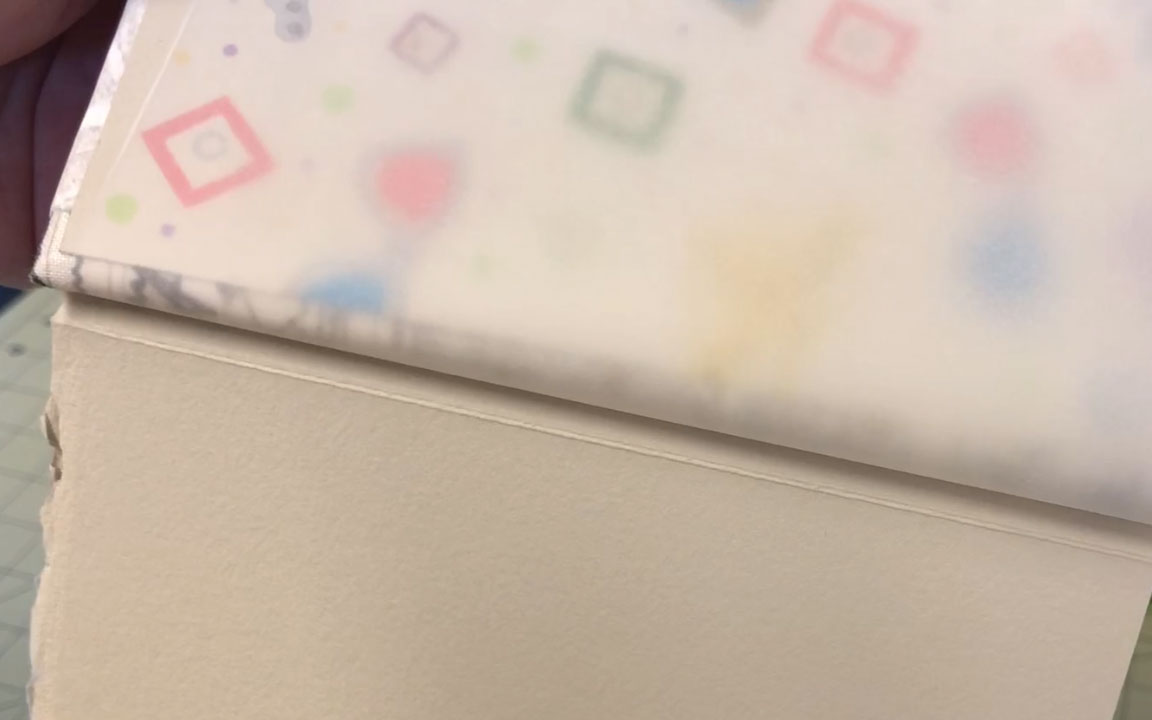
Layer the pages and the spacers, if you’re using those. For the book I’m making here I’m also adding interleaving in between each page, so this book could be used as a sketch book and any drawing material won’t rub off on the opposite page.
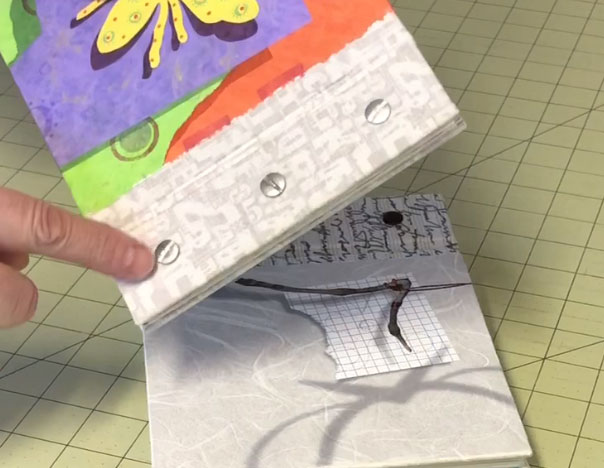
 Once you’ve added all your pages place the back cover on and screw in the other half of the posts. The cover should be flush with the end of the posts. Otherwise the screw tops won’t screw down far enough and will leave a gap. These don’t need to be super tight – just tighten these with your fingernail. You could also use a coin, but if you are using anodized screw posts you want to be careful not to scrape off the coating.
 And that’s all there is to creating a book using the Screw Post Binding method.