Design and Print Your Own Bookcloth
This tutorial will show you how to print your own designs onto fabric and turn this printed fabric into bookcloth for all of your bookmaking projects!
I have another video here that shows you how to turn any regular fabric into bookcloth that you can use for your book projects, and I’ll go through that process again at the end of this tutorial. But, what if you have a design that you’ve created yourself and you want to print that on fabric?
This instruction will show you a couple of ways to prepare your fabric so you can print on it from a laser printer or an inkjet printer. I talk about the second process, which is my favorite of the two, near the end. So, you can just jump to the end if you want to cut to the chase.
First, determine if your printer will work for this technique
But before you do that, you need to be aware that the single most important aspect of your printer is that it prints with ink that is not water soluble. You will eventually be getting this paper damp with glue, (even if you use my second technique) and you don’t want the ink to run. So, this is important no matter which method you use.
It’s not always easy to tell from the technical description of your printer whether the ink is water soluble or not, and it has nothing to do with the brand. I have an HP desktop inkjet printer that will not work for this process and an HP large format inkjet printer that DOES work for this. So, the only sure way to know is to test your printer before you start on any major project to make sure that it will work.
Do a test first
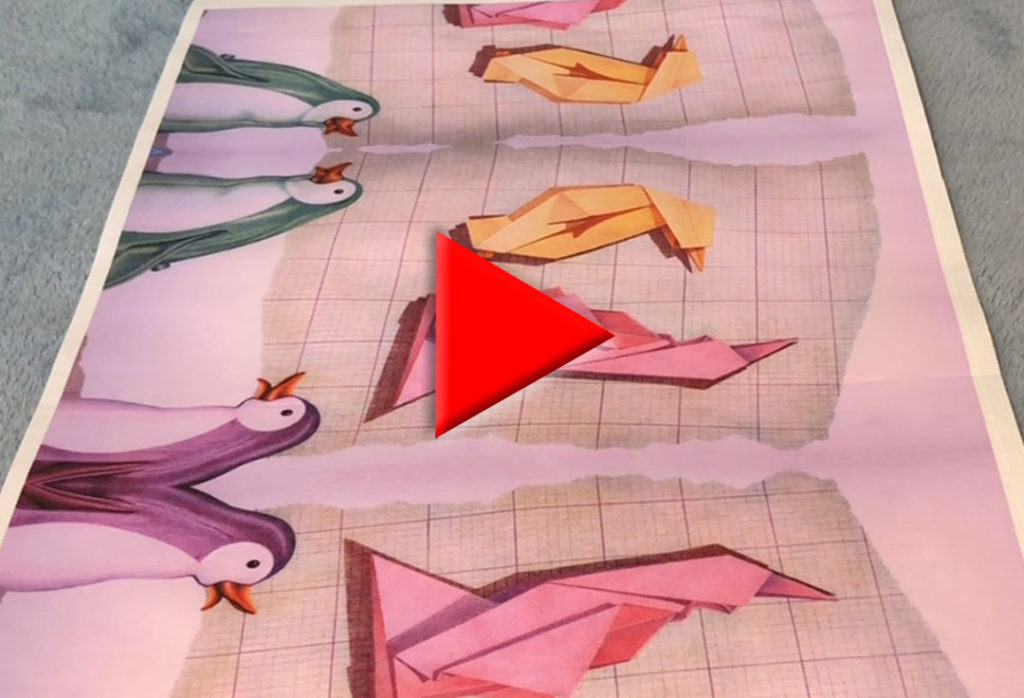
These two images are both from my desktop printer. One is printed on paper-backed fabric using the technique I will show you in a minute. The other is just printed on regular paper. I’m going to get both of these wet so you can see what happens when your printer ink is water soluble. I’m even going to heat set one half of this fabric print to see if that helps any.
So, as you can see here, once the fabric gets wet the ink just runs and melts together. The side I heat set is no better than the other side. And it’s actually quite a bit worse on the fabric just in general. The image printed on paper may seem to be holding up. But, if you press on it a little or just let it sit you may see the ink running off of it. So even if you think it seems moderately successful on paper, you should still test it on fabric before launching full steam into a big project.
There are a lot of different ways that you can chemically prepare your fabric ahead of time to keep this from happening. I don’t have to do any of that because I have another printer that DOES work for this process so, fortunately, I’ve never really had to pursue those other options.
This example was printed on my large format printer, which is also an inkjet printer. As you can see here nothing happens to the ink when it’s wet. It doesn’t run or drip. So, it will stand up to all of the gluing that you will need to do without ruining your image.
So, once you have proven to yourself that your printer will work for this process, you can start preparing your fabric.
Method number 1 – using freezer paper
The first method I’m going to show involves freezer paper that you can buy at any grocery store. This paper is shiny on one side. The shiny side is the side that you will adhere to your fabric using an iron. By the way, I also make quilts, and you can use this same process to print images that you want to use for your quilts.
Cut your paper and your material to more-or-less the size that you want. I always cut both pieces a bit larger than the final size and then trim everything to the exact size once I’ve ironed the two pieces together.
Place the freezer paper on your ironing board or work surface shiny side up and place your material face up on the shiny side of the freezer paper.
Iron the pieces together
Iron the two pieces together with your iron on its hottest setting. If you think your material is the least bit susceptible to heat then use a barrier fabric to keep from scorching the target fabric. I almost always use cotton for this process and it will take a very hot iron.
By the way, you can use plain white fabric for this process or add to a print that already exists on the fabric. I iron it from the material side first to keep an eye on the fabric and keep it from getting wrinkled. Once I’m sure I have it stuck down from this side I turn it over and also iron it from the paper side.
Trim the combined fabric and paper
Once you’ve ironed the fabric front and back and you’re confident that the freezer paper is firmly attached, trim it to the size that you want to run through your printer. For a desktop printer that size might be 8 ½ x 11 or 8 ½ x 14 – for a large format printer that could be almost anything.
I am a little paranoid about getting these fabric “sandwiches” jammed in my expensive printer. I always iron them one more time after trimming just to make sure everything is firmly stuck together.
Load it into your printer and print!
Once you have the fabric and freezer paper firmly ironed together and trimmed to size then just load it into your printer and print on it as you would any piece of paper. Be careful to load it so that you’re printing on the fabric and not on the paper side. That may entail putting it into the loader upside down, depending on your printer configuration.
Iron the image to set the ink
Once the image is printed I peel the freezer paper off and then iron the fabric again with a very hot iron to really set the ink. I don’t actually know if this is necessary or not, I just always do it. That’s probably a leftover from setting fabric paint back in the day.
Make this printed fabric into bookcloth
Now you’re ready to make bookcloth out of your design. To do that you’ll permanently seal the back with paper. The whole point of sealing the back of the fabric with paper is to stabilize it and make it possible to use the fabric to cover your books. If you skip the step of applying a backing paper you risk having glue come through the weave of the fabric and ruining your cover. That’s what happened here:
So, you want to apply the backing paper. But, you also want to glue it down with something washable and reversible. Wheat paste is, even once it’s dried. Wheat paste is water soluble, so if it gets on the front of the fabric it’s no big deal. It can be washed off even after it completely dries.
You don’t want to use PVA glue when you’re making bookcloth. Just like using fabric without first backing it with paper, if you use PVA glue here you risk it being pushed through the weave of the fabric, ruining your fabric.
PVA isn’t reversible. Once PVA glue dries, it’s permanent.
First, make some wheat paste
So, first, make some wheat paste, which is very simple to make and will take you about five minutes. I’m not going to go through that process here, but you can watch my brief video here on making wheat paste to learn how to do that, or read the written instructions here.
Gather the rest of your materials
You’ll also need some rice paper, or some other thin paper to back your fabric with. Rice paper is best because it’s thin but strong when it’s wet. It’s also archival, so it won’t turn your books yellow and brittle. Here’s a great source for cheap rice paper:
You’ll also want a firm surface to attach the bookcloth to while it dries. I’m using a glass shelf that I bought at Ikea.
Cut enough rice paper to more than cover the fabric. You’ll want the paper to fall past the fabric and adhere to the glass. If you try to do this with one continuous sheet of paper you will find it hard to manage once it’s wet and covered with paste. I always cut several smaller pieces because they’re easier to handle.
Prepare the materials
Before positioning your fabric on the glass lightly spray the surface with water so the fabric won’t slide around. Place the fabric right side down and smooth it out.
If your rice paper has been cut from a roll then it’s probably all curled up. If that’s the case, spray it lightly with water to relax it. Cover the first piece thoroughly with paste.
Apply the rice paper to the fabric
The next part is the trickiest, but there’s no reason to rush this process. The paste will stay wet for awhile and it’s pretty easy to untangle your paper when you’re using smaller pieces like this. So, take your time and place the paper so that it covers your fabric with the margins of the rice paper falling onto the glass.
I use a brayer to gently roll the air bubbles out of the rice paper. Start from the middle and roll out toward the edges. Then, brush the paper lightly with a dry brush to remove any small air bubbles. Pay attention to the edges where the paper is overlapping the glass and make sure it’s adhering to the glass.
Continue until all of the fabric is covered
Apply paste to the next piece of rice paper. Carefully line it up with the first piece. Make sure not to leave gaps where there is no paper and keep the overlap with the first piece to a minimum. The second piece is usually a little trickier because of the alignment issue. Just take your time and move the second piece around until you get it where you want it. Remember, you don’t have to hurry this process.
Make sure the entire piece of fabric is covered, with paper also adhering to the glass all the way around. This is what will allow it to dry nice and flat. Use the brayer to roll the bubbles out of each piece after you get it into place. Then finish it off by brushing out any small bubbles with a dry brush.
Allow it to dry
Allow this all to dry thoroughly. I usually let it dry overnight. Or I dry it out in the sun if I’m in a hurry to use it. Once it’s dry, take a sharp knife and cut through the paper around the outside edges of the fabric. The fabric might stick a little bit to the glass but once you’ve cut all the way around you should be able to just peel it off. Now your bookcloth is ready to trim and use.
Now for Method 2!
And this brings me to Method 2 for printing your own images on your bookcloth. As I mentioned earlier, this one is my preferred method. Make the bookcloth FIRST, and then print on it.
Once the fabric has been covered with rice paper and allowed to thoroughly dry, it is extremely stable. This makes it very unlikely that it will jam in your printer. It’s much easier to load, particularly if you’re using a large format printer, and it prints perfectly. This method makes me much less paranoid about running fabric through my printer.
You can do this with material that’s already been printed on or with plain white fabric. This isn’t a way to circumvent making sure that your printer uses non-water soluble inks, though. It’s still going to get damp once you start using it to cover your books. Because of this you still need to test your printer and make sure it’s appropriate for this process.
So, that’s it. That’s how to create your own bookcloth using your own designs.


