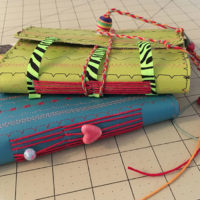
The Long Stitch
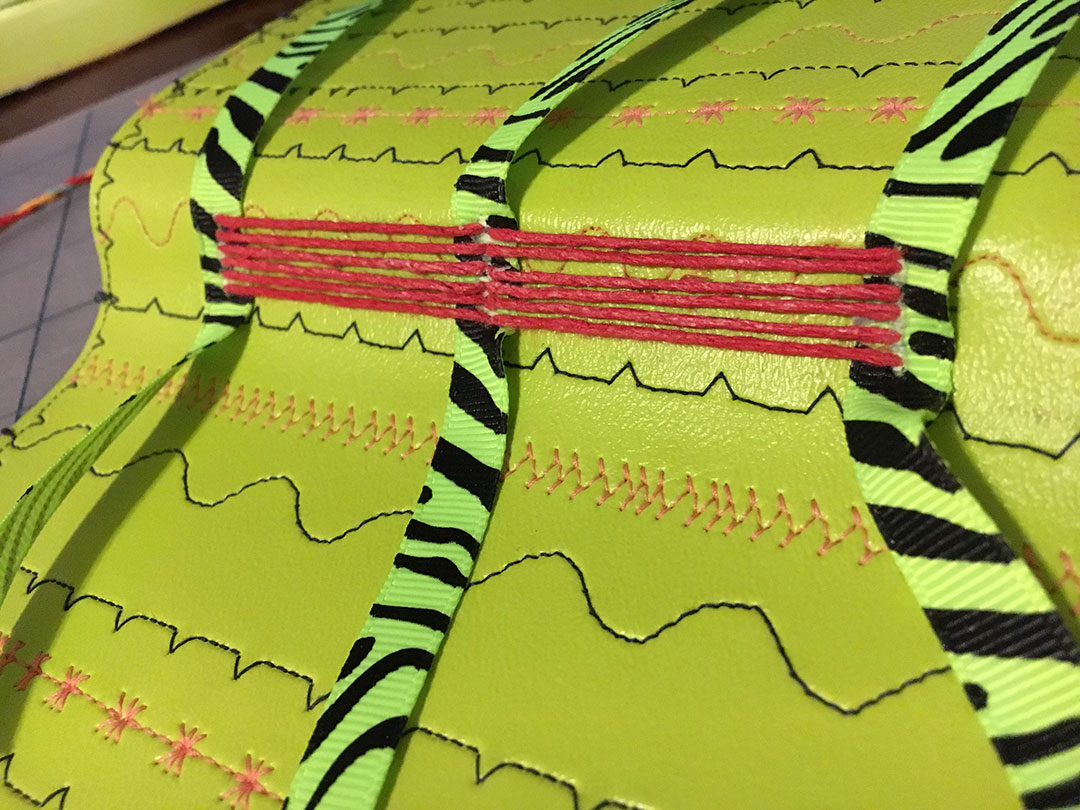
Long Stitch Close-up
This is a clean, simple and quite lovely binding stitch. It is easy to master, allows for creative decorating and has the advantage of allowing your book to lay flat when it’s open.
 You can view a video of this process here:

…or follow the written instructions below.
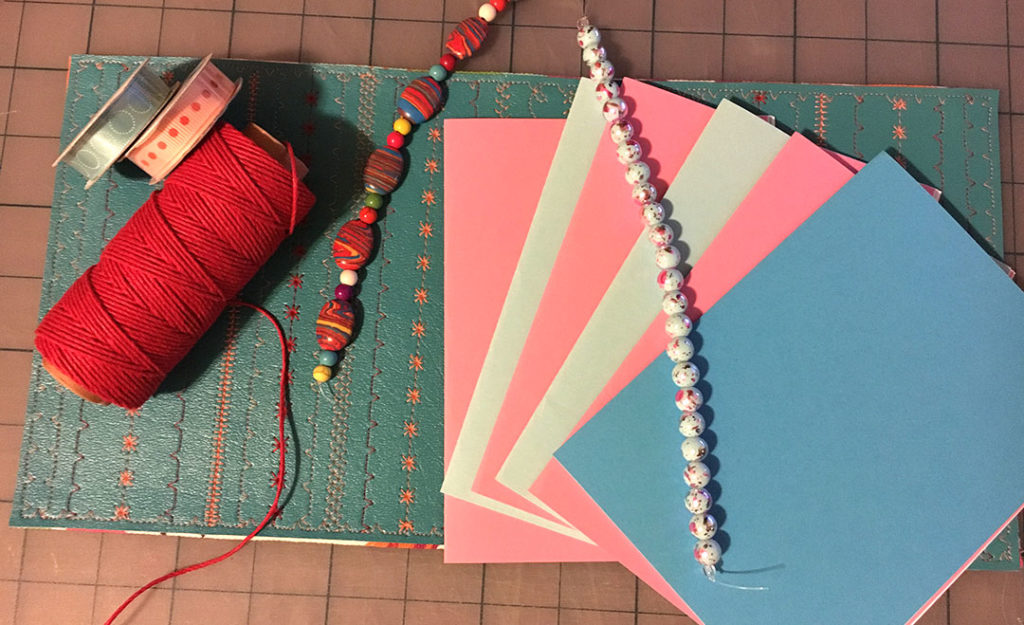
The Long Stitch is a very simple example of a sewn binding and the materials are easy to gather together. The following is a simple beginner’s list:
- Paper to create the signatures
- Leather or heavy material (such as upholstery material) for the cover
- Large needles for punching holes and for sewing
- Thread
- Ruler for measuring and cutting against
- Scalpel, razor blade or X-Acto knife
Optional:
- Bone folder
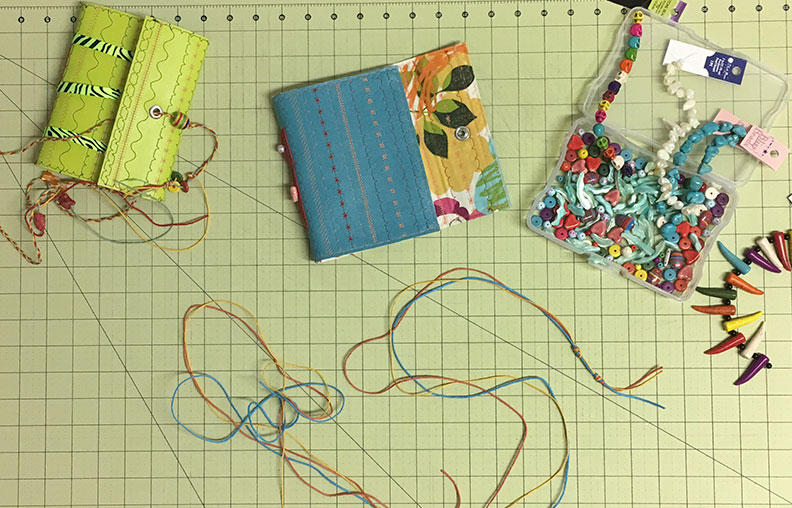
- Beads or other decorative elements for embellishments
- Beeswax for strengthening the thread
- Cutting mat
 Prepare Your Signatures
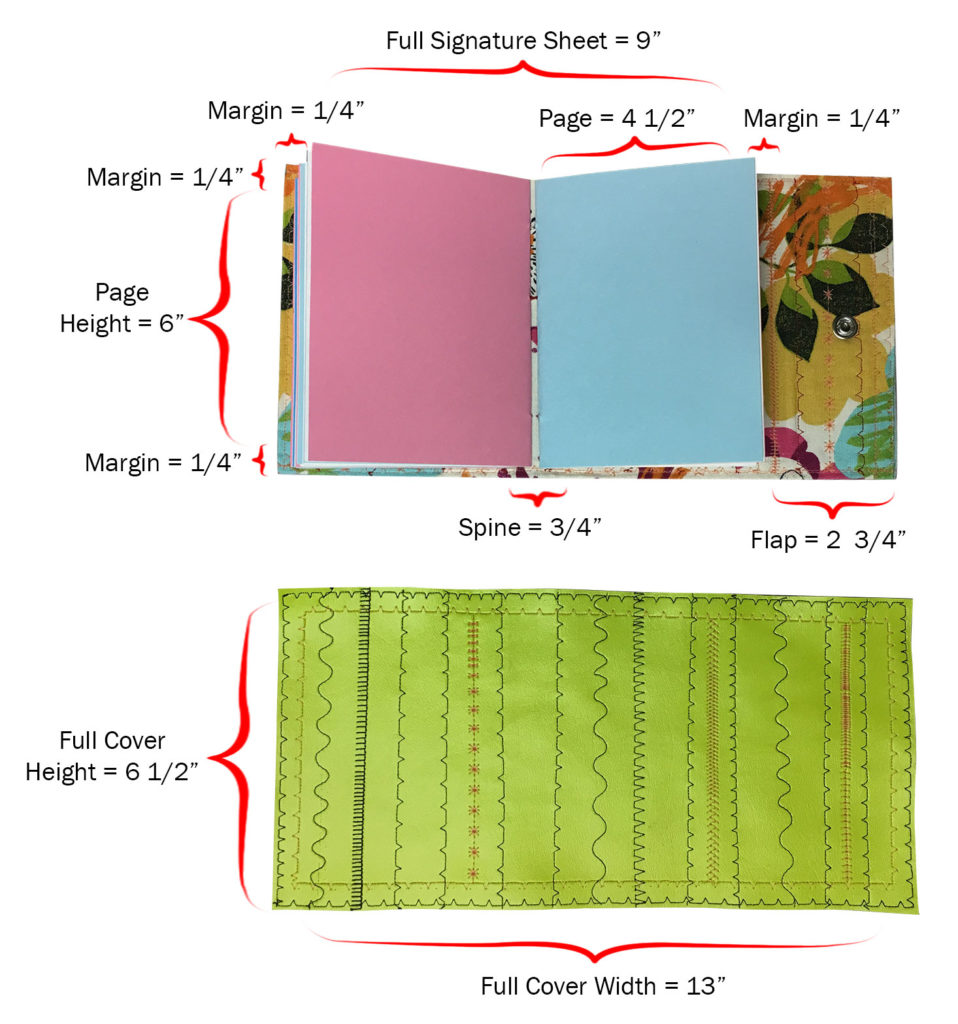
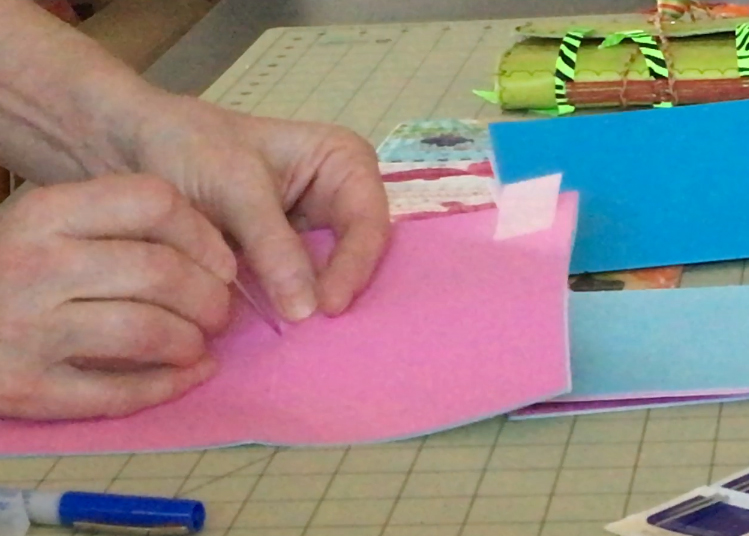
Decide on the dimensions of your book pages. In both of my examples the textblock is 4 ½ x 6 inches. To create your signatures you’ll want to cut the paper to twice the width since it will be folded in half. In this case the paper was cut to 9 x 6 inches.
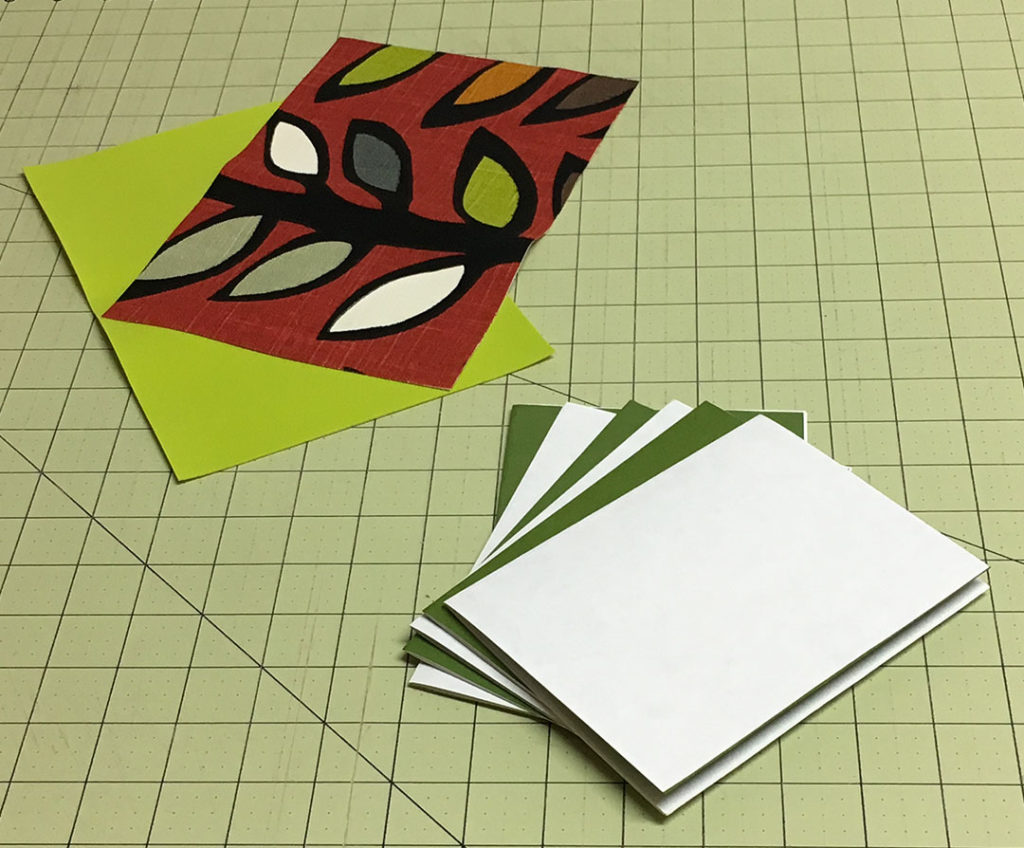 Fold the paper in half to create a folio. Put four folios together to create the signature. In my example I have used six signatures to create the book. You can mix and match the papers as I have done in this example, using alternating thin and thick papers just to add some color and variety. Use a bone folder to smooth and burnish the fold.
Prepare Your Cover
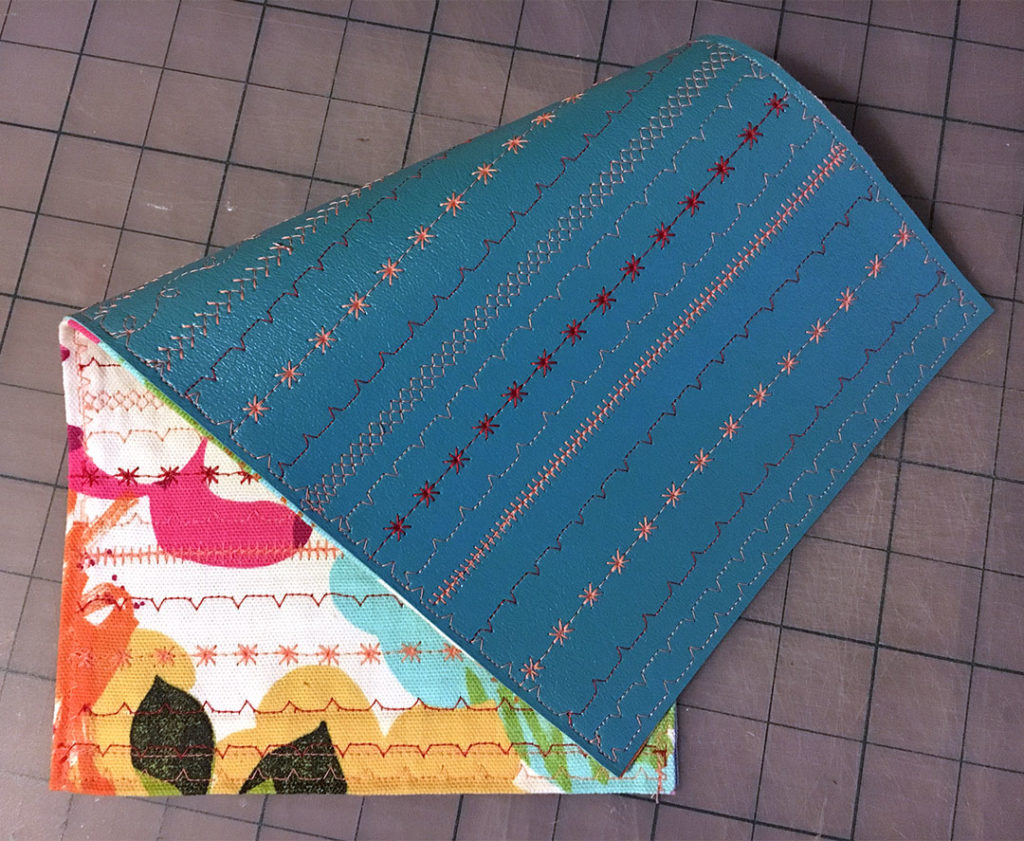
Cover Inside and Outside
Add an extra ¼ inch to each of three sides as you determine the size of your cover. In my example I have also added a flap that can be folded over and tied. Don’t forget to add additional room for the spine, which will be the width of all of your signatures grouped together.
So, the final size of the cover in this case is 6 ½ (the six inch height of the paper plus ¼ inch extra on top and bottom) by 13. The 13 inch dimension is arrived at by adding the front and back covers (4 ½ times two = 9 inches) plus ¼ inch for each edge (= another ½ inch) plus the spine (= ¾ inch in my example. Your mileage may vary, depending on the thickness of the paper you use.) So far that adds up to 10 ¼ inches. I added another 2 ¾ inches for the flap that wraps around the front for a total of 13 inches.
Pre-Punch Holes
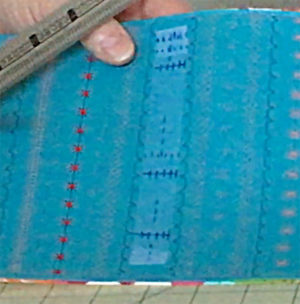 Carefully measure three holes in the signatures from head to tail, as well as measuring matching holes in the cover, times as many signatures as you are using. If you have six signatures then you will need a row of six holes across the spine, and three holes from head to tail.
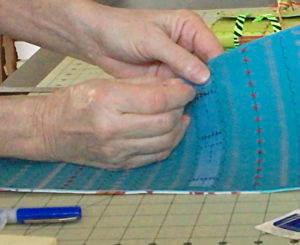
You’ll want to pre-punch the holes in the cover and in each signature before you begin sewing. This will make the sewing process much easier.
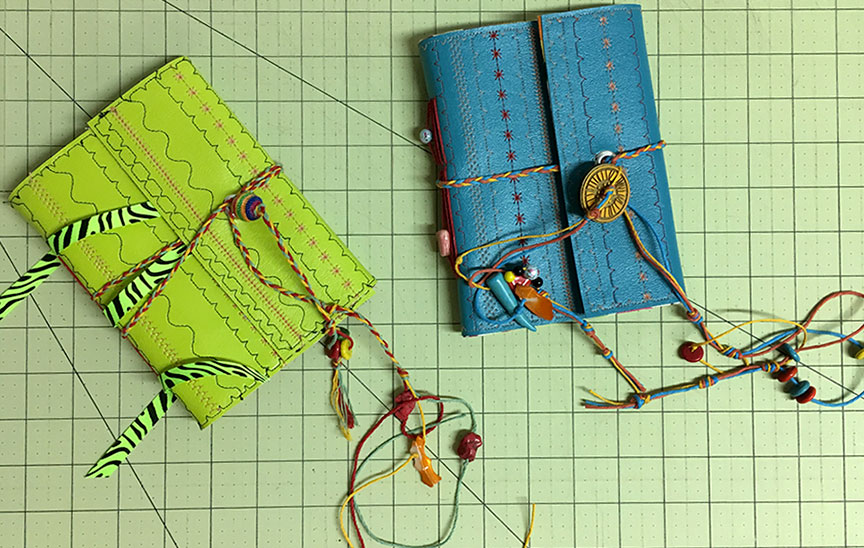
In one of my examples (the green book) the holes are one inch from the head and tail (top and bottom of the book) and then one hole is in the center. In the other example (the blue book) the middle hole is offset to give the book some asymmetry, so that hole is not in the center.
It doesn’t matter where the holes are as long as the holes in the signatures line up with the holes in the cover. Remember that you are making the cover a bit larger (¼ inch margins on each side) so do the math accordingly.
Start Sewing!
A general rule of thumb when cutting a length of thread is to start with a piece that is six times the length of the spine. This will often be enough to finish the book, although this depends on a lot of things, like how many signatures you are using. Don’t panic if you run out – it is easy to add thread.
Release the tension from the thread by running your thumbnail lightly down the length of the thread a couple of times. This will help keep it from tangling as you sew. Also, waxing the thread with beeswax will help strengthen the thread and also help with the tangling issue. Then, thread your needle.
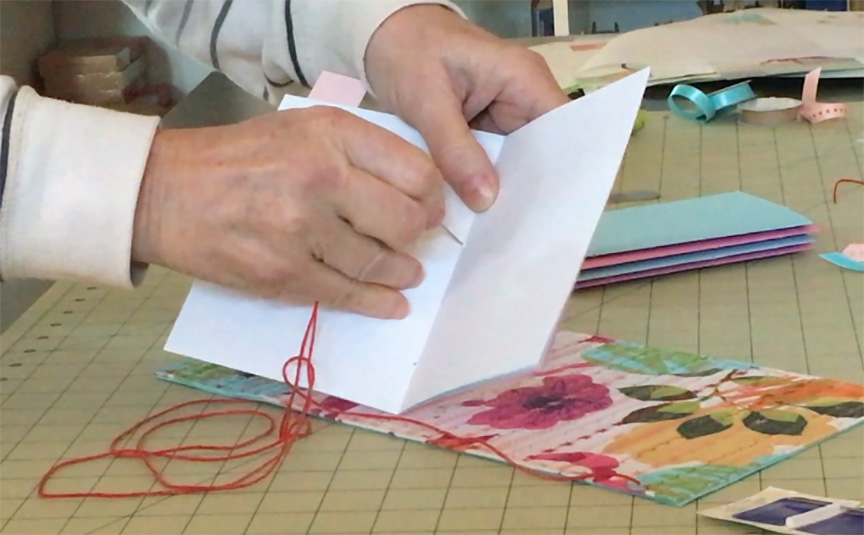
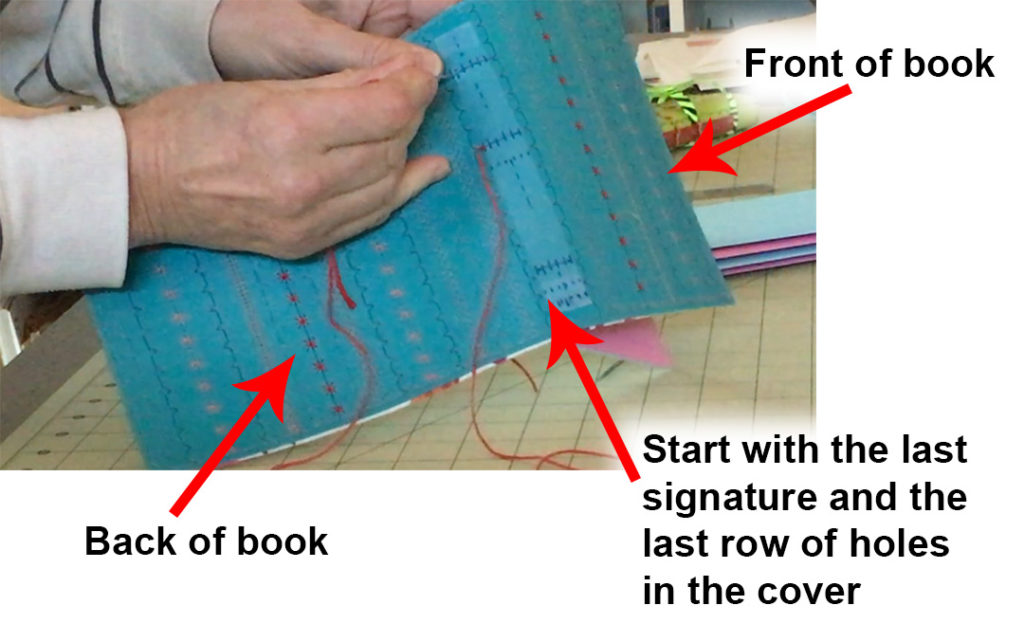
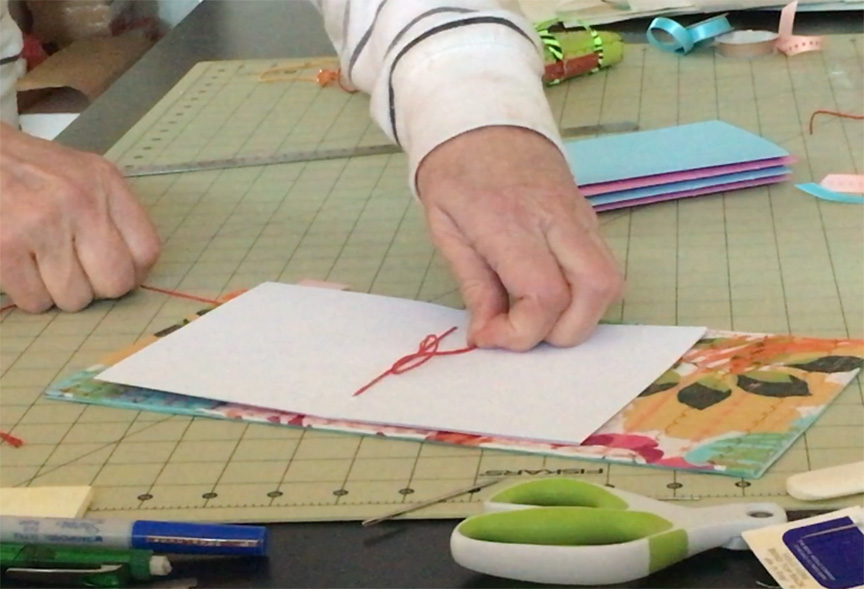
Start with one signature (which will actually be the last signature in the book) and sew through the middle hole inside the signature and out through the corresponding hole in the cover, leaving a tail several inches long trailing behind inside the signature. You will eventually tie a knot with this thread tail.
Sew back up through one of the outer holes (head or tail, it doesn’t matter) then sew back out through the original center hole where you started in both the signature and then the cover.
You will now be on the outside of the cover. Sew through whichever cover hole at the head or tail that you didn’t use in the previous step and through the corresponding hole in the signature. You should now be back inside the signature.
Pull each stitch tight, but don’t get crazy and pull everything too tight – you risk skewing the spine of the book or tearing the signatures. Make it taut, but not overly tight.
For the last stitch with this first signature you will go back out through the center hole in the signature, but not through the cover.
At this point you should tie a simple knot with the loose tail. You can trim this thread now or later.
So now you have one signature sewn in – the last signature in your book. You will continue this process with the rest of the signatures – first stitch in through the center hole and out one of the outer holes in both the signature and the cover, (Again, you can use the spare needle trick to find the correct hole) back in through the corresponding center hole in the cover and the signature and back out the other outer hole, back up through the center hole in the cover –
Remember, that last stitch through the center hole, whether it comes in through the cover or out through the signature always ends up inside, between the cover and the signature. This positions it correctly for the next signature.
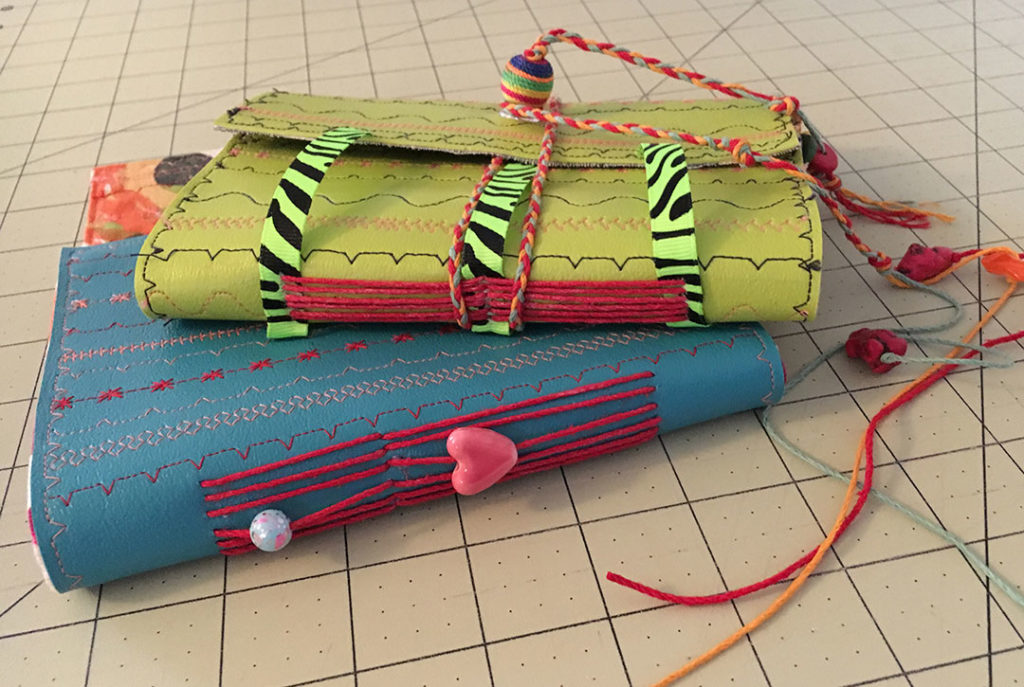
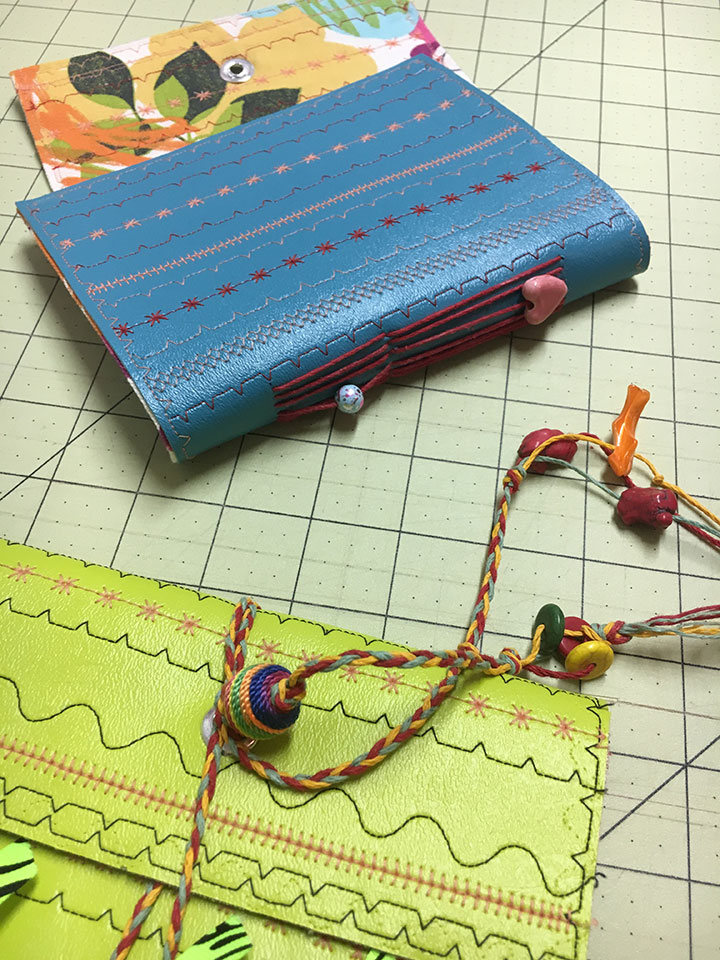
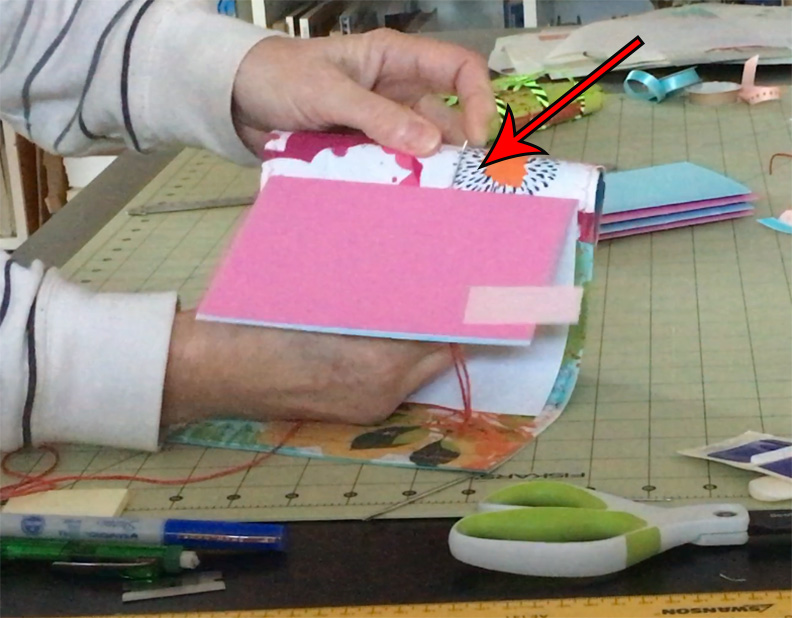
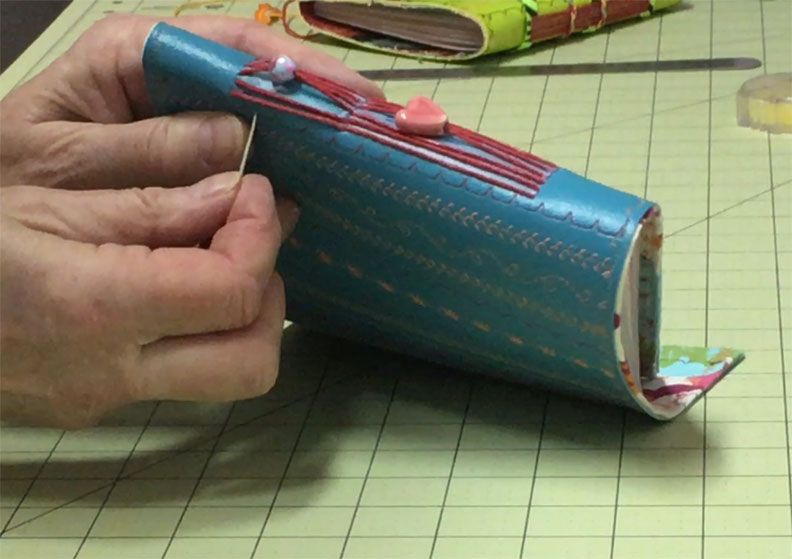
While you are sewing, don’t forget to add whatever decorations or embellishments you had planned for the spine.
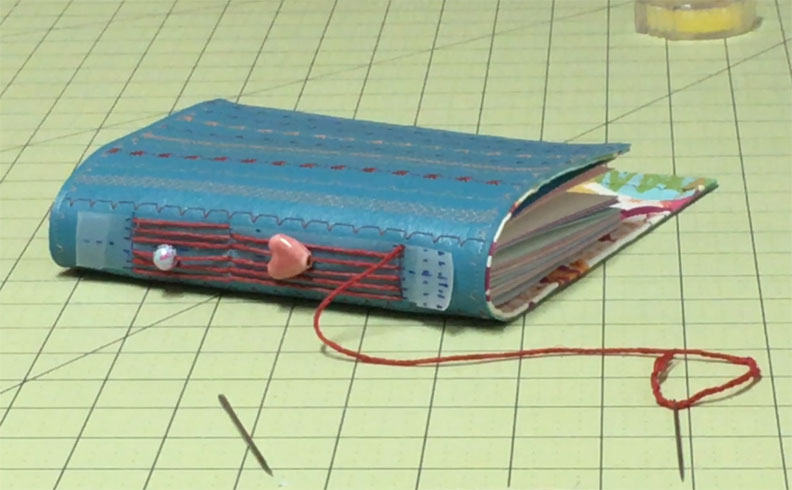
Your last stitch on the final signature, which is actually the first signature in the book should come all the way through both the cover and the signature, ending up inside the signature where you can tie it off with a simple knot.
If you used the tape technique to mark the holes in the cover of the book, you can remove that now. Just use a needle to carefully release the tape from the cover and remove any pieces.
Finishing touches
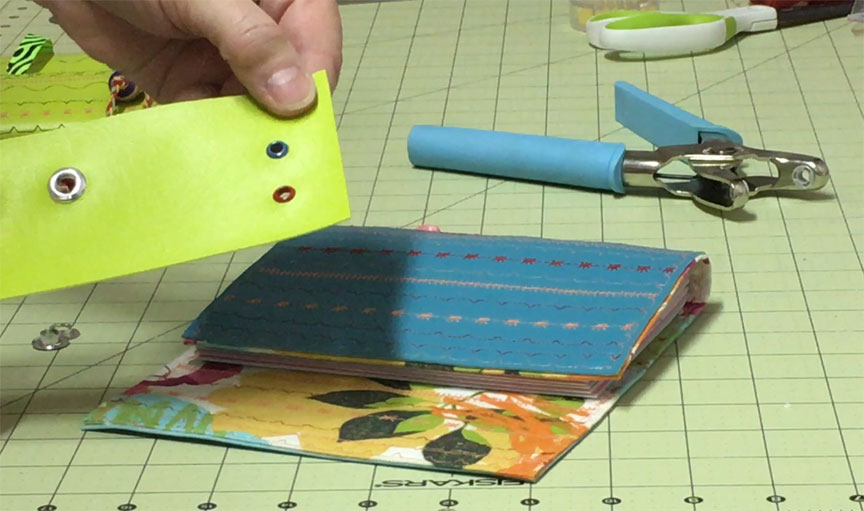
There are numerous ways to add a tie or wrap to your book to keep it closed. If you want to contain the tie so it doesn’t get lost you’ll want a hole in the cover. You can just poke a hole or you can dress it up a little by adding an eyelet. This generally takes a specialized tool. You can just follow the directions that come with the tool to add this decorative effect.
Braid together colorful twine, jute or yarn, adding beads or buttons as stops and decorative elements to finish off your book.