
This tutorial will show you how to make a very common, traditional hardcase, or hardbound, portfolio. There are so many uses for a portfolio like this – you can use it to contain drawings or prints, images or a resume that you want to use for a job interview, wedding vows or maybe a short story or poem
Add a Clasp
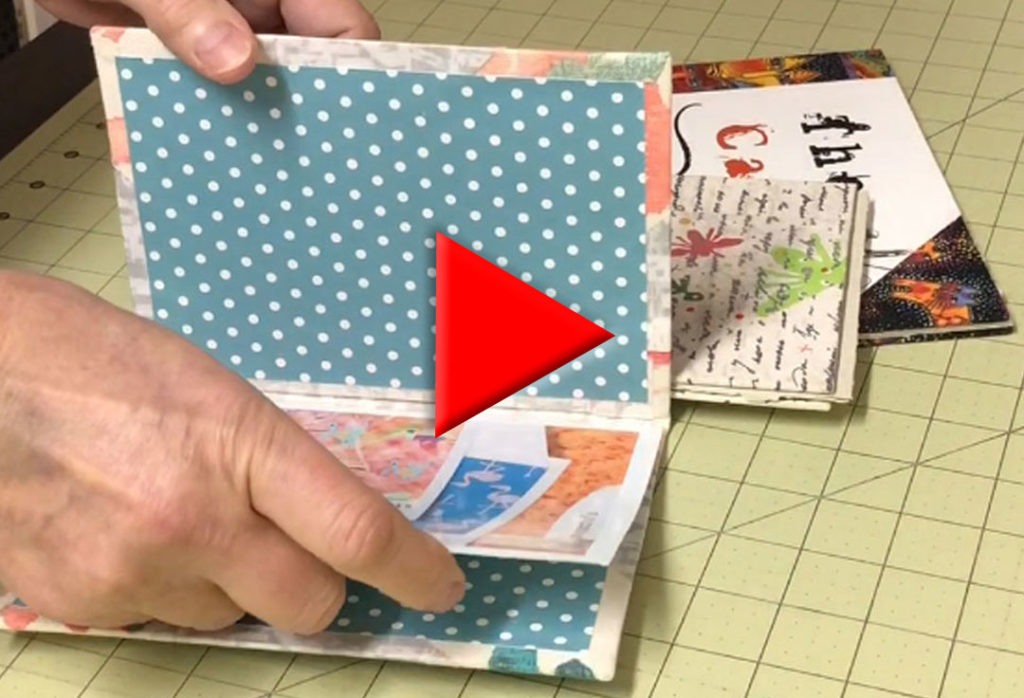
You can add a little clasp of some kind if you want, – this one is a magnetic snap – or add corner or side envelopes inside for holding paper, or just leave it in its traditional state as a folder.
Gather Your Materials
Your first step is to gather your materials together. I like to use bookcloth for the corners and spine, and paper for the outside cover and inside endpapers. One reason I like to do it this way is that the nice sharp edges of the paper cover up all of the edges of the unfinished bookcloth, preventing any possibility of fraying.
You need two pieces of bookboard the size of the finished portfolio. The outside spine should be 1 inch longer both top and bottom to give you enough to fold over and can be any width you want. The inside spine should be ¼ inch shorter than the bookboard both top and bottom. The corner pieces can also be any size – I like to cut them from 4 or 5 inch squares for portfolios of this size, then cut them in half diagonally.
The outer paper should be one inch larger than your bookboard on three sides to fold over. The final overall width will depend on the width of the spine bookcloth because you only want to cover ¼ inch of the edge of that, so to make it easy just cut your paper the width of your portfolio plus 1 inch and then trim it before you apply it. The inner paper should be ¼ inch smaller on all four sides.
You’ll also want PVA glue and a bone folder.
Start with the Spine
Start with the outside spine piece, placing it face down on a piece of scrap paper. I use a ruler weighted down with heavy weights to use as a marker for the correct placement of the bookboard once the spine has glue on it. Even though I’m going to be moving this setup in a minute, I do this now, just so I don’t get glue on that top inch yet.
You can see here how you can easily use the ruler to measure both the sided-to-side placement as well as the up and down placement of the board. You might also consider making a spacer out of glued-together bookboard. I have one that measures a quarter of an inch that I use all the time, but I want the gap for this portfolio to be a little wider, so I’m just going to add another piece of bookboard once it’s time to use this tool.
So, apply your PVA glue to the back side of the spine. Remove the barrier paper and replace it with a clean piece, or just put the glued bookcloth on your table or cutting mat, lining it up so you know where the center is, and place your ruler one inch down from the top, placing it so you have an obvious tick in the center of the spine.
I often apply a bit more glue to the edge of the bookboard, but then I’m notorious for over gluing, so this probably isn’t necessary.
Glue down the Covers
Glue the first bookboard down, aligning it to what you’ve identified as the correct mark left-to-right and using the ruler as a stop top-to-bottom. Press this down, making sure it is firmly adhering. If you’ve made a spacer, use this now in the center to give you the correct spacing. If you don’t have a spacer, use the marks on your ruler to find the correct placement.
Place the second bookboard in position and press this down. Remove your spacer right away, as you don’t want it to permanently stick.
Turn this piece over and apply glue to the top and bottom margins and press them down firmly, paying particular attention to the gutter. Make sure that area is firmly adhered.
Now Work on the Inner Spine
Once you have both margins glued down apply glue to the inner spine piece. Carefully place this so that it’s centered top to bottom. Use your bone folder to press it into the gap between the bookboards. Pay particular attention that you get the front and back pieces of the bookcloth glued together. I will often place a narrow piece of bookboard into that gap with weights on top to make sure those pieces are glued together.
Glue The Bookcloth Corners
The next step is to glue the bookcloth to the corners. I draw 1-inch borders on the back so that I can easily get the placement just right. If your bookcloth has a particular direction, cut the corners appropriately and then mark the bookboard and the backs of the corners so they end up in the right place.
Apply glue to just the corner area first. You don’t have to be too careful about this, as you will eventually be gluing the margins down as well. However, you’ll want to trim the corners first, so you don’t want those edges to be too messy with glue. Place weights on each corner as you prepare the next corner to be glued.
Trim the Corners
Once you have the corners glued on you’ll want to cut off the extra material at the corner to reduce the bulk before you fold the margins over. I do this so often that I’ve created a template that I can cut against without having to measure or be particularly careful lining it up on the cutting mat.
This template is made from book board, creating a 90 degree corner that will fit over the corner of the cover, and has a 45 degree angle corner cut, leaving ¼ of an inch material between the corner and the cut. This gives me the perfect cut for turning and gluing the corner material and makes it easy to trim all corners quickly.
You don’t have to make this little tool – it’s just a handy thing to have. You can also just use your ruler and your cutting mat to get the correct angle on the cut.
Once you have your corners trimmed, pre-fold the margins and cut off any overlapping ears if your portfolio is small enough for the corner pieces to overlap. Again, this reduces any potential bulk on the inside.
Finish the Corners
Next you’ll want to glue down the margins of the corners. Do this on a piece of scrap paper to catch the mess. BTW, when I have poured too much glue for the previous step, I cover it with a bit of waxed paper to keep it from drying out. That’s what you see me using here – the excess glue on the paper.
For these kinds of corners it doesn’t really matter where you start. First glue one side of the corner, taking care to glue down the excess bit left at the corner. Push this excess in with your bone folder, smoothing it down and making sure the corner of the bookboard is completely covered.
Here’s another look at folding over the little corner piece. If you are new to covering bookboard you can see a quick video about how to deal with corners here:
Once you have that corner fold just right, glue down the other margin and smooth all of this down with a bone folder. I often tap the corner lightly just to knock down the sharp quality of it.
Follow this same procedure for the rest of the corner pieces. Put the corners under a weight for a little while to make sure they are firmly glued down.
Attach the Outside Paper
The next step, once you have all of the corners glued down, is to attach the outer paper. These pieces are larger than the bookboard, with one-inch margins on three sides, and a ¼ inch margin on the spine side, which makes it very difficult to figure out where to trim the corners. I use tracing paper to make a template. This makes it easy to cut the paper to the right size. Just mark where your corner edges are and the edge of the spine bookcloth, and then mark ¼ inch margins greater than these marks, so your paper overlaps all of those edges. Here’s a view of what my final template looks like:
Before you make use of your template, turn the paper over and mark 1-inch borders on the 3 appropriate sides, if you allowed for 1 inch on those margins as I have. By the way, if your paper has a particular orientation, be sure to be aware of that as you mark and cut.
Once you’ve marked the margins turn the paper back over and cut the corners along those two cut lines. Once again, watch the orientation of your paper if it has a directional pattern. Turn the paper back over, place it on a piece of scrap paper and apply PVA glue to the entire surface. Remove it from the paper and place it on a clean piece of paper or on your work surface and position the bookboard according to the borders you previously drew.
Press this down firmly and then quickly, before the glue dries, press down the three margins. If it has started to dry a bit, you can always touch up the glue on those areas. Place the first side under weights while you work on the second piece. Finish the second side exactly the same way.
Add a Clasp
Once you’ve finished both outside covers, you only have one or two steps left, depending on how you want the finished portfolio to function. You still need to add endpapers to the inside. You can also add a clasp of some kind.
I’ve created a separate video showing how to add a clasp, which you can view here. If you choose to do that you’ll want to add it now, before adding the endpapers.
Add the Endpapers
The rest of this video will be about adding the endpaper, which is a very simple process. Turn the endpaper upside-down on a piece of scrap paper and apply PVA glue to the entire surface. Carefully remove it from the scrap paper, avoiding getting glue on the front, and carefully align it so that you have an even 1/4 inch margin all the way around. If your paper has a particular orientation, be sure it’s headed the right way. Press this down and put it under a weight while you prepare the second endpaper. Place waxed paper between the portfolio and the weight.
Follow the same process with the second endpaper and place the entire portfolio under weight and allow it to dry thoroughly. While letting it dry overnight I remove the waxed paper and place blotter paper front and back to ensure that everything dries thoroughly.
So there you have it. That’s all there is to creating a simple hardcase portfolio.

