Make Your Own Rubber Stamps
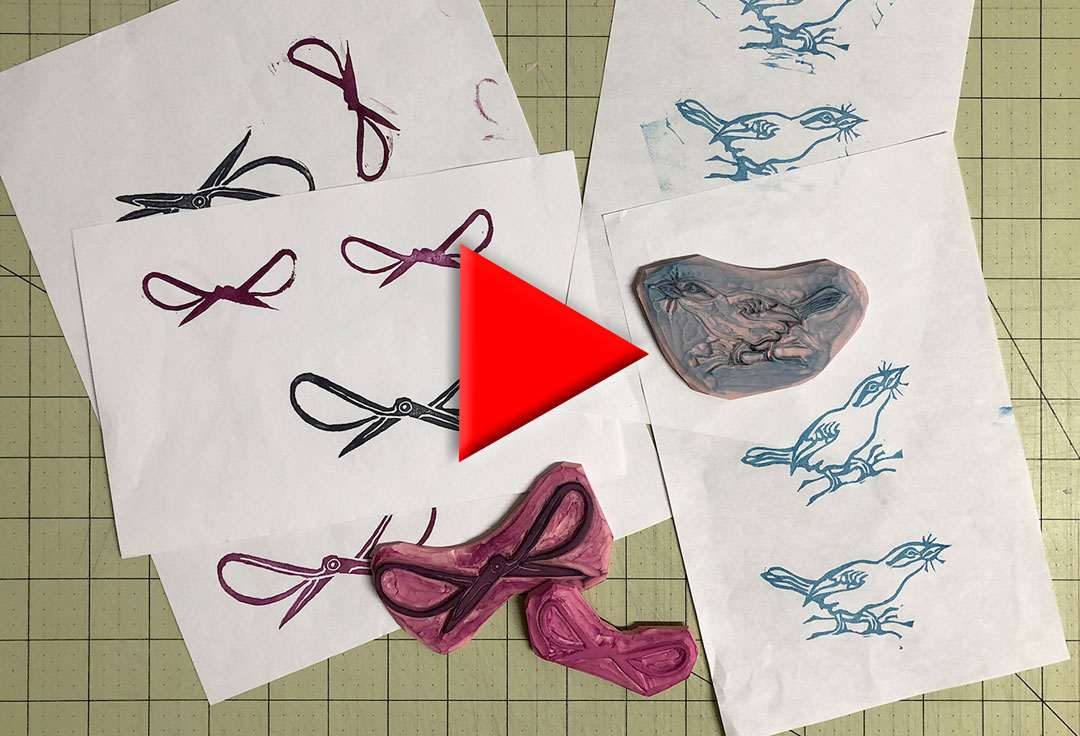
Click to Watch the ‘Make Your Own Rubber Stamps’ Video Tutorial
 With a few easy-to-get supplies it’s simple to carve your own rubber stamps.
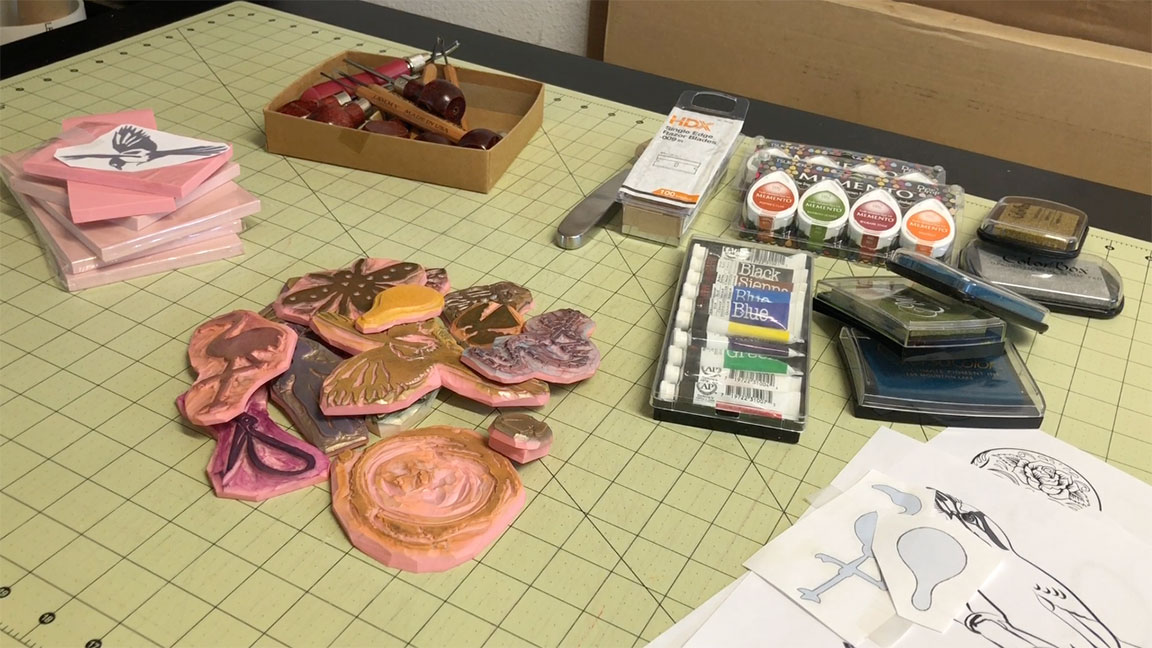 You need some material to carve, something to carve with and a design to carve. And of course you’ll need some paint or ink to stamp with once your creation is finished.
Get some stuff to carve
The material you need to carve a stamp is cheap and easy to find. Speedball is a company that makes lots of different printing supplies and they make this pink rubbery stuff that they call Speedy Carve. It’s reminiscent of a giant pink eraser. It is very easy to cut into and is also very durable and doesn’t crack or crumble. It’s also possible to carve pretty fine detail with this material.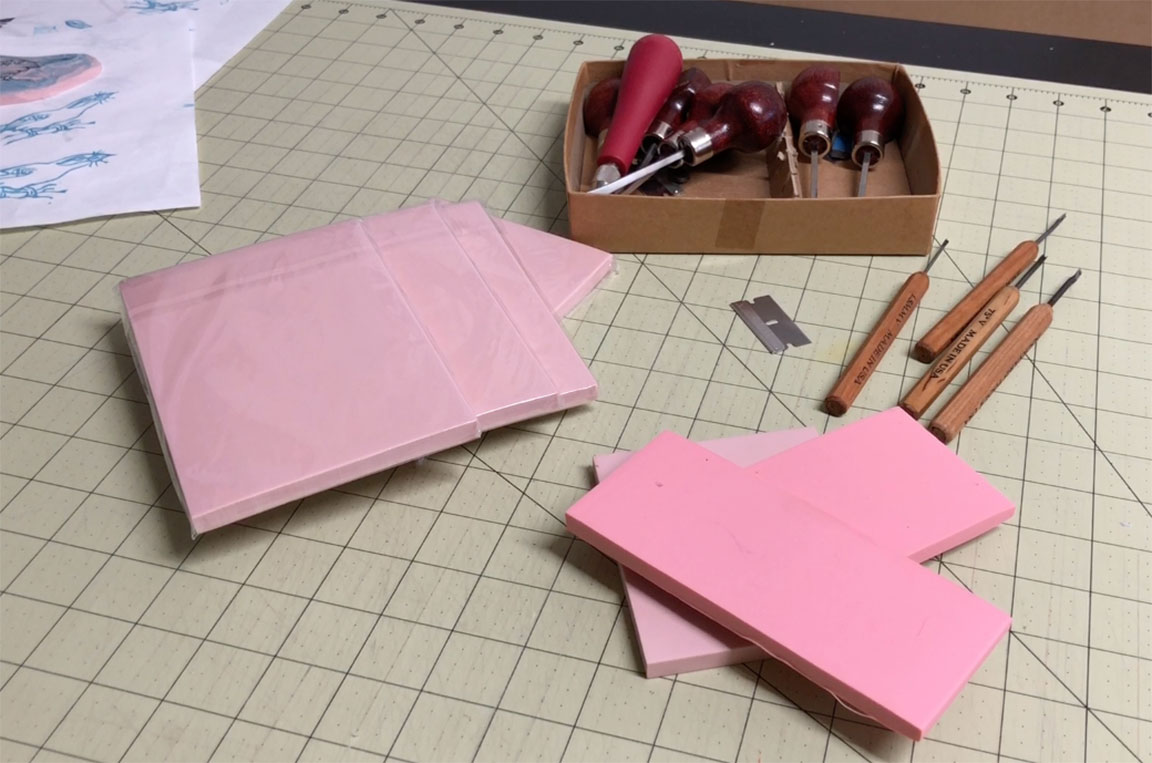
Go generic!
However, I’ve discovered some generic pink stuff that I like a little better than the Speedball brand, for two reasons. First, it’s quite a bit cheaper. I got eight of these 4×6 sheets for 17 bucks. One single 4×6 sheet of the Speedball Speedy Carve is almost 9 bucks. That’s quite a difference.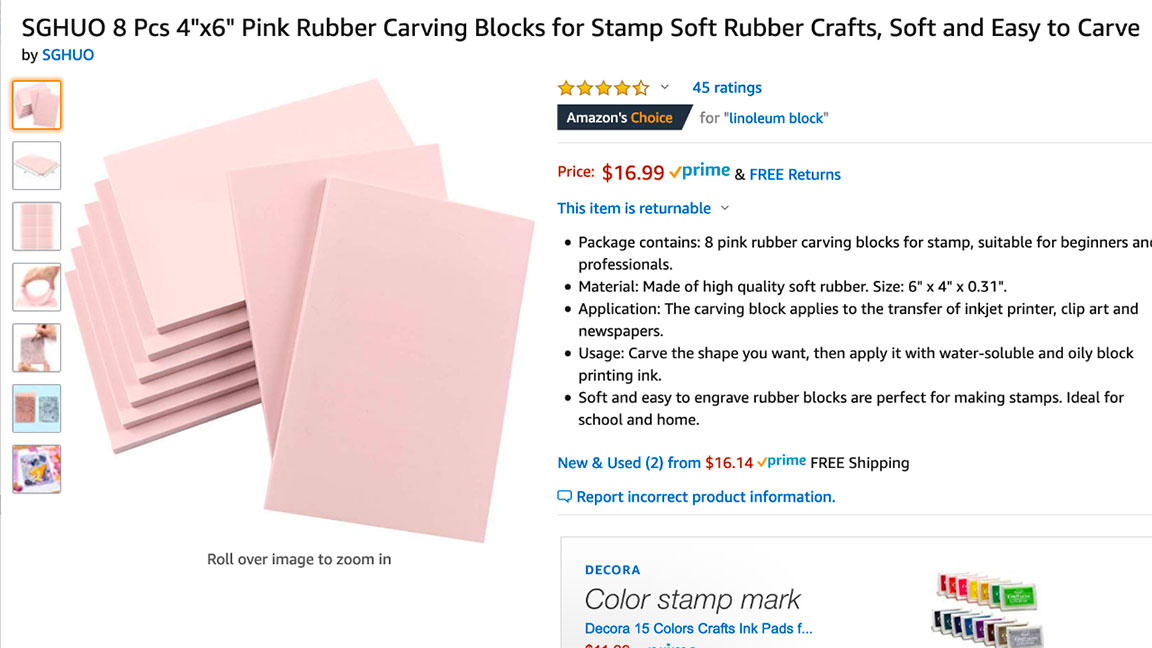
Another downside of Speedball Speedy Carve
The second thing is pretty minor, but it bugs me. The Speedball sheets have this gentle curve to one of the edges. Maybe this is where the machinery that makes these sheets grips them. It’s not a huge issue – I just avoid using that edge when I’m cutting my stamps.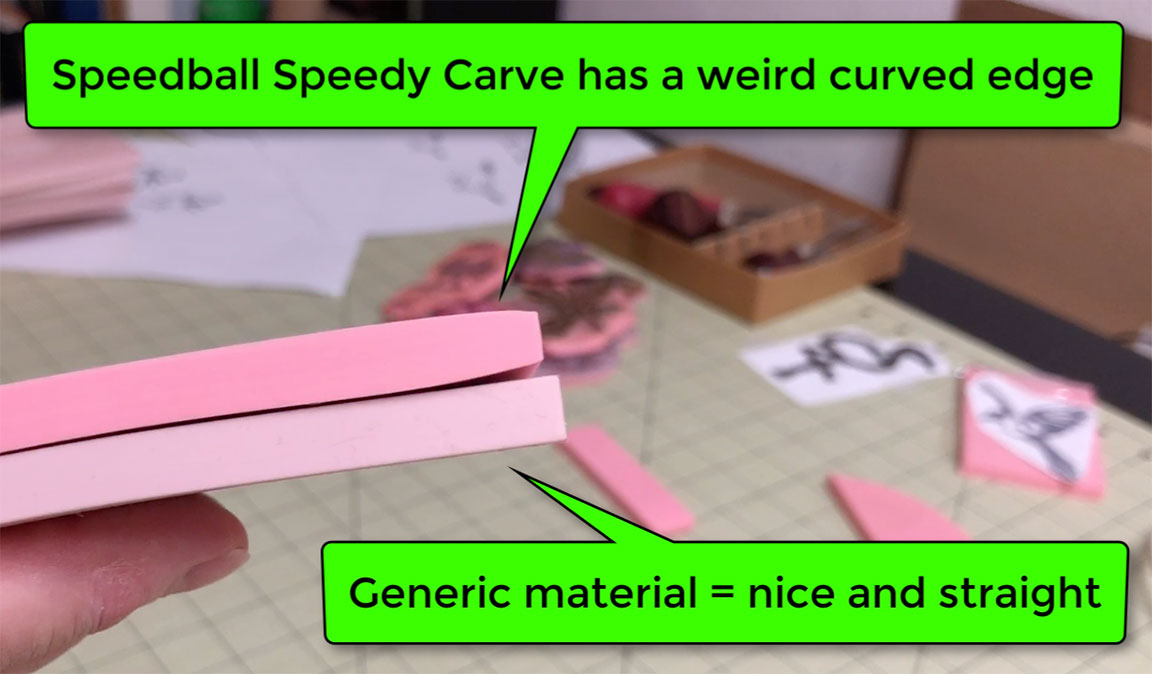
But I have on occasion forgotten to check and I end up with a stamp that I have to remember to rock a little as I ink and stamp so that I get a clear impression. It’s annoying. The generic material doesn’t have that issue.
But it is easy to find
The only advantage I can think of for using the Speedball material is that it is a very common brand and you’ll probably find Speedy Carve at most major craft stores, like Michaels or Joanns.
Some links to both materials
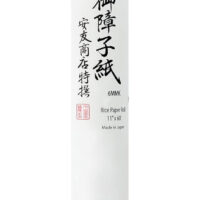
Here are the links to both of the materials I mention, so you can be your own judge.
Many ways to transfer an image to carve
When it comes to transferring an image to the rubber base before you start carving, there are a lot of different ways to do that. The simplest is to just draw it directly on the material. You can use pencil, Sharpie, ball point pen – almost anything that makes a mark will work on this material.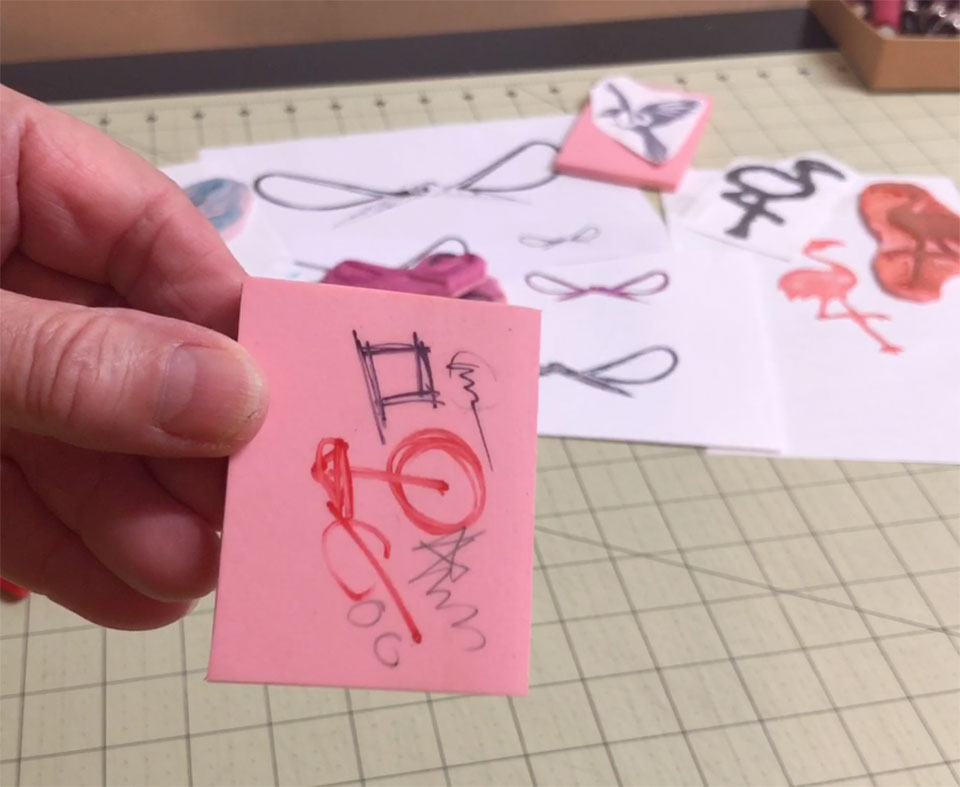
Make some fake ‘carbon paper’
Often, though, you already have a drawing or design that you want to transfer. 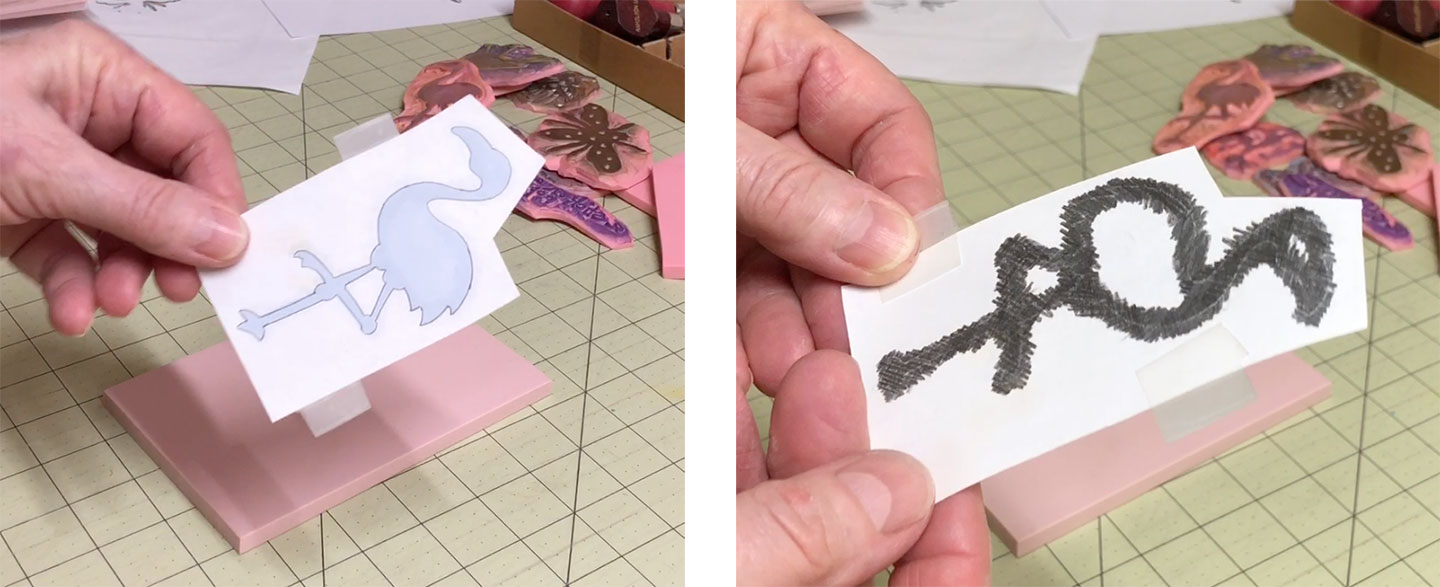 A simple way to trace a design is to scribble graphite pencil on the backside of the image to create a simple “carbon paper” effect and then just trace over your design using a pen or pencil.
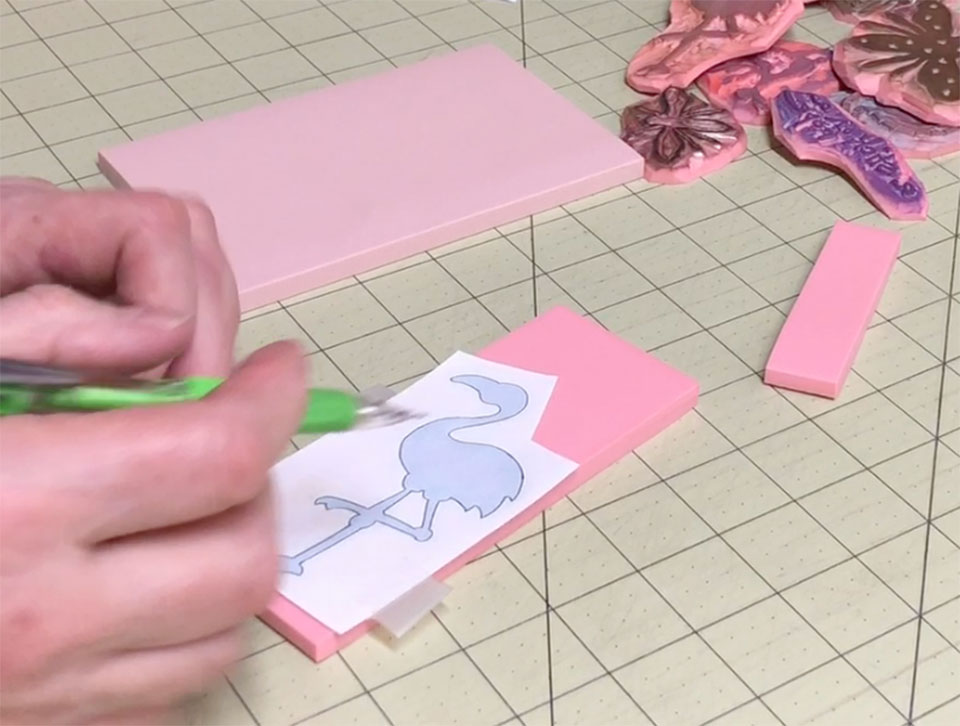
Be aware that if you use this technique the stamped image will be the reverse of the original design.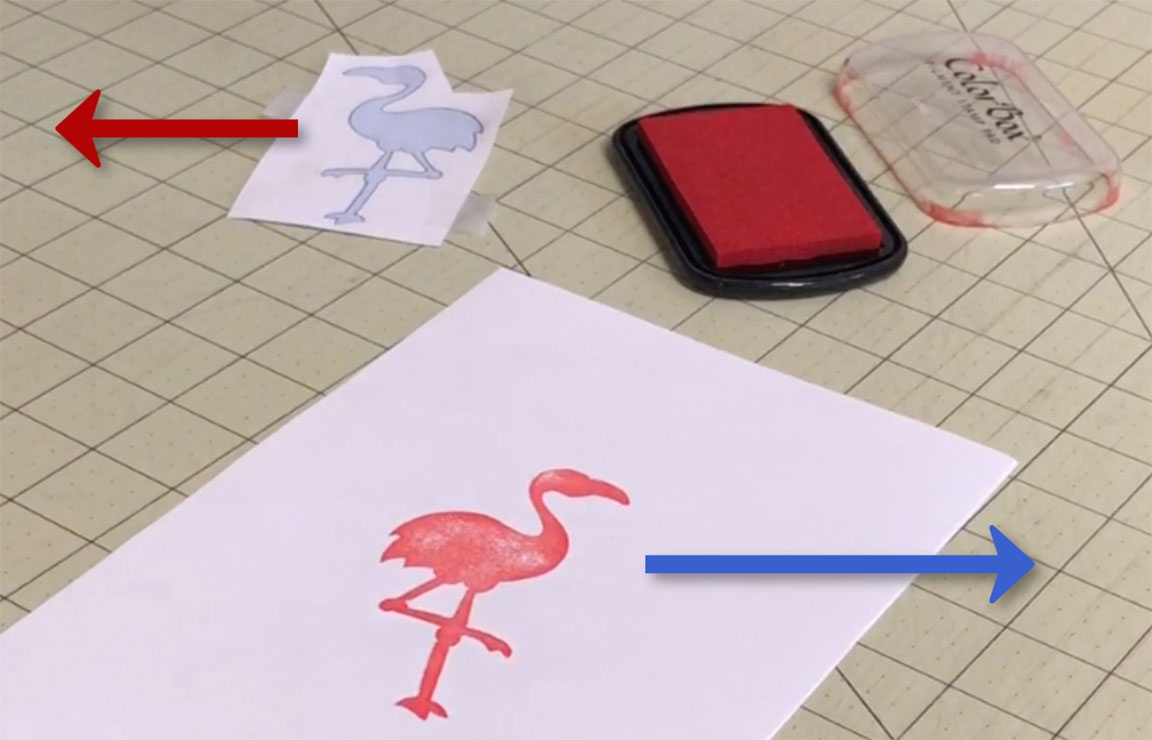
Use a steam iron
Another technique is to use a steam iron to transfer the image. If you have a very complex image to transfer this might the preferable way.
By the way, if you use this technique the stamped image will appear in the same orientation as your original design.
Start by using your desktop printer to print your design
First print your image on your desktop printer. Cut it out roughly around the image area and place it upside-down on the rubber material.
 Set your iron on a medium heat and make sure the steam is on. If you make your iron too hot you may melt the rubber and the image will stick to it.
Don’t let your iron sit in one place for long
Press the iron down onto the paper with a medium pressure, over and over again. Don’t let the iron sit for a long time without moving it or, again, you risk melting the material a little. As the paper dampens and heats up you’ll start to see the image through the back.![]()
Take a peek to see if it’s working
As you are ironing you can peel back one edge of the paper to see if the image is transferring adequately. If it isn’t, just lay it back down and keep ironing. If the image seems clear enough to be able to carve then you can pull the paper all the way off.
You can emphasize the line with a Sharpie
This ironing technique is often adequate for transferring an image that you can see well enough to carve. But, if you’d still like it to be darker before you start carving, you can clarify it with a sharpie, adding weight to lines and details that you might want to emphasize.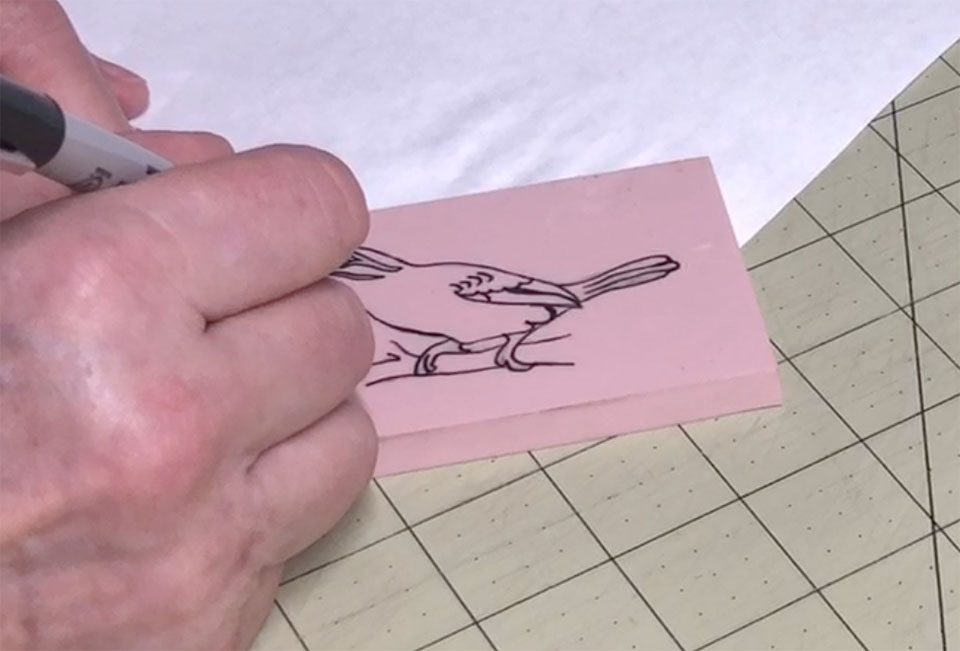
Time to start carving!
So, once you have the image transferred to the rubber material, regardless of how you decide to do that, it is time to start carving.
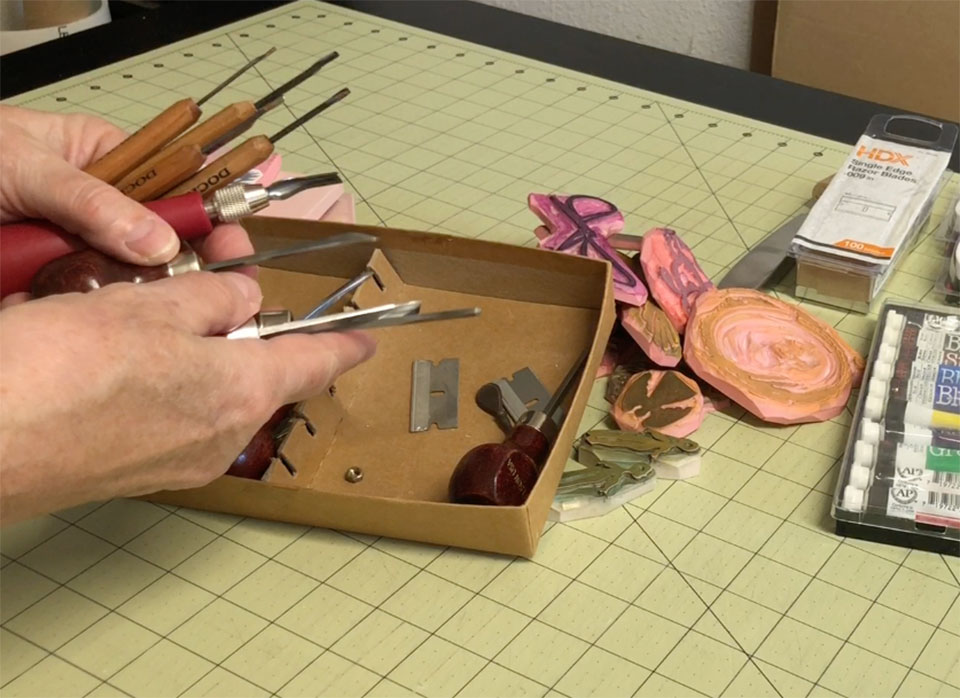 You can buy a wide variety of carving tools – any tools that are advertised as woodcutting tools, or tools used for cutting linotypes, will work quite well for this.
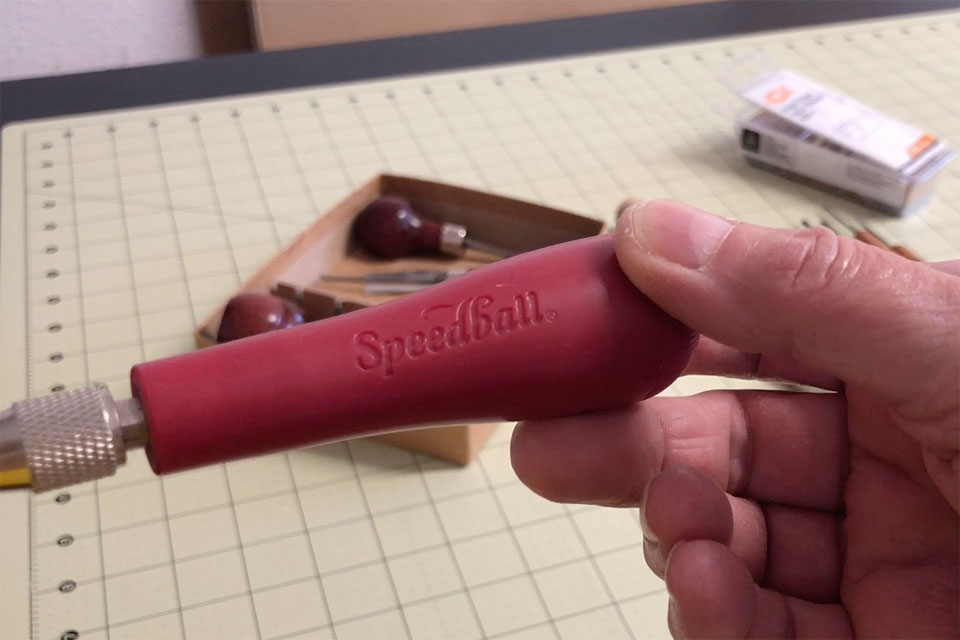 Speedball makes a cheap set for cutting linoleum blocks that has a variety of cutting blades that are stored in the handle. This runs about 10 bucks.
A simple single-edge razor blade
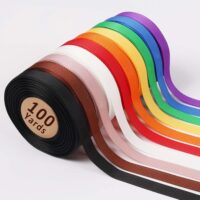
One of my primary go-to cutting tools for rubber stamps is a simple, cheap single-edge razor blade. I buy these in a box of a hundred from Home Depot.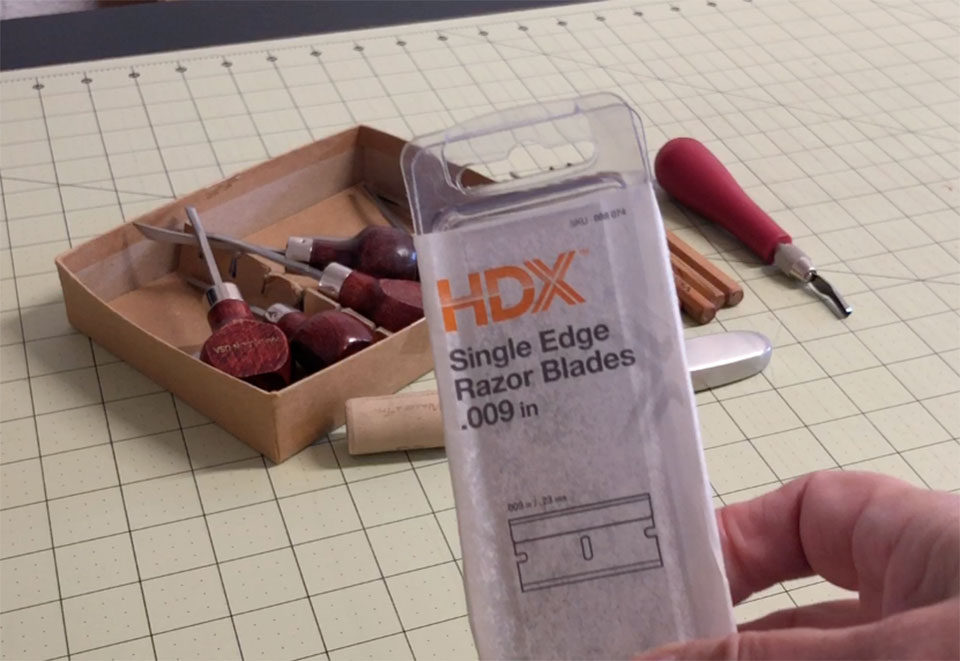
I do all of the initial detail carving with this razor blade. I feel like I have the best control over tiny areas with this simple tool and then I use the other more dedicated tools with broader blades for cleaning up the larger areas.
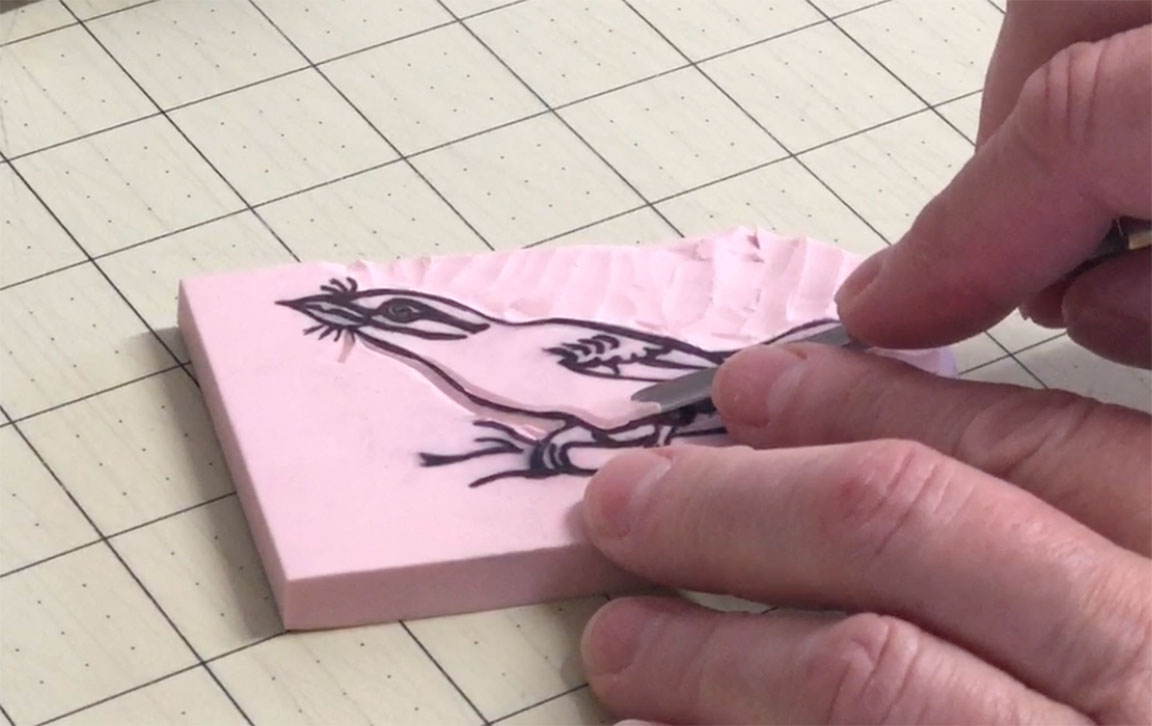
Start by cutting ‘moats’ along the edges of the design
I start by cutting along the edges of the design, slanting the cut away from the outline. Then I make a V-cut in the opposite direction to cut out a slice of the rubber material.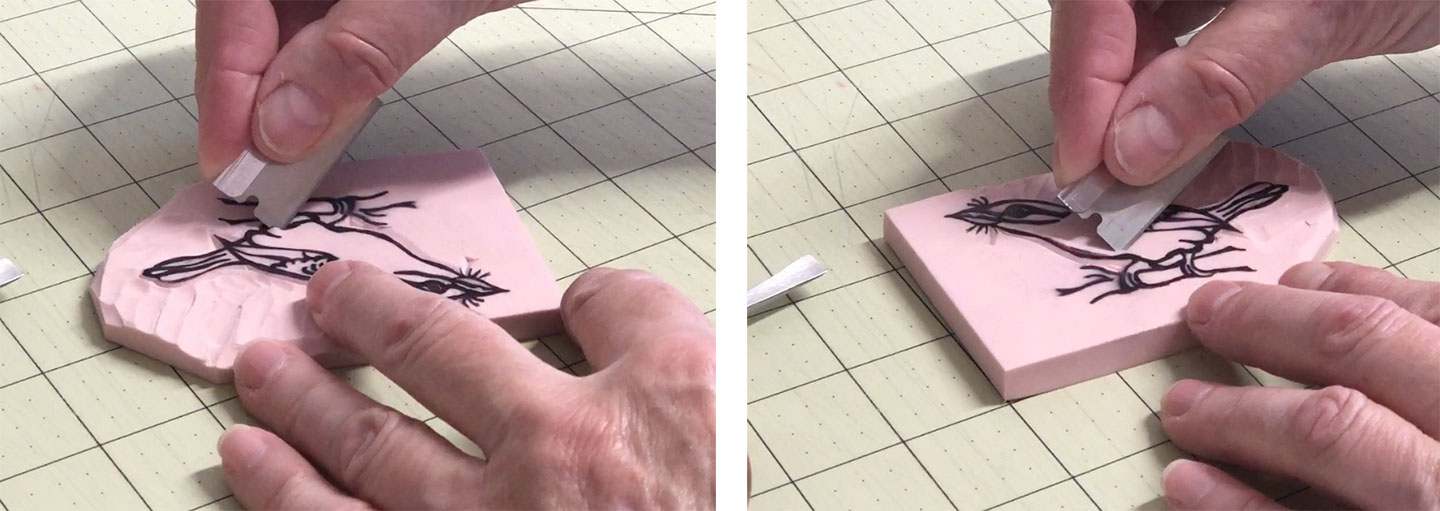
I try to cut at least a sixteenth of an inch of material away when I do this. I’m basically trying to make a clean gutter or moat around all of the details of my design that is very precise.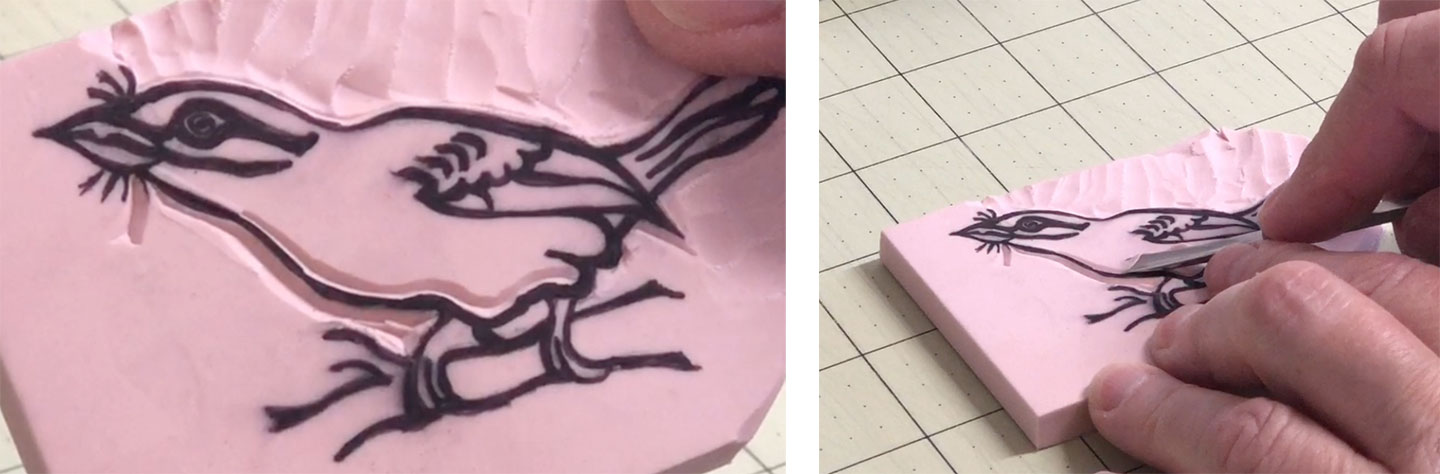
Then use the scoop tools
Then I can go back and easily cut away the rest of the excess material with one of the scoop-shaped or v-shaped tools. You could actually do all of this with just a razor blade, if you had no other tools to use, but the dedicated tools make cleaning up the excess rubber a little faster and easier.
Continue this process
Continue this process of using the razor blade, or other fine-tipped tool, to cut around the edges of the details, and then use a broader, scoop-shaped tool for the large negative areas.
 When you are cutting more delicate interior edges and spaces that are close together you’ll want to use a much lighter touch with your cutting tool than when you are carving the outer edges. Otherwise you risk cutting through adjacent fine lines and losing them. The gutters around small spaces don’t have to be very deep.
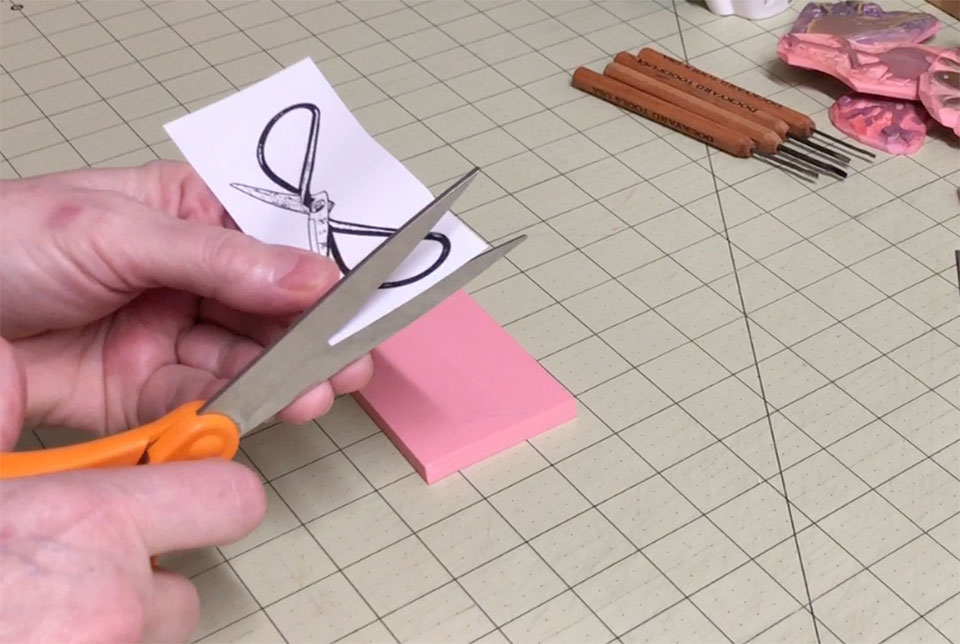
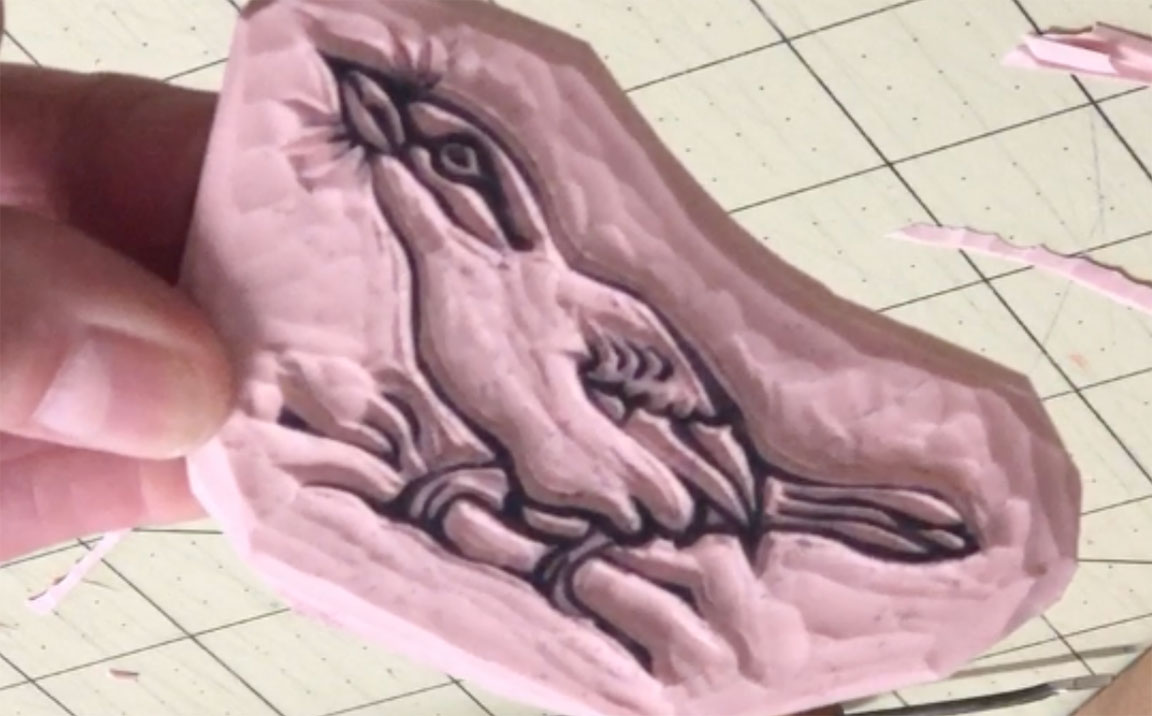
Trim away some excess rubber
If you like your stamps to have nice square corners you can certainly leave them that way. I get tired of cutting away all of the excess rubber and also dealing with ink on the edges when I’m using the stamp, so I always trim my stamps down by cutting away a lot of the excess rubber around the image.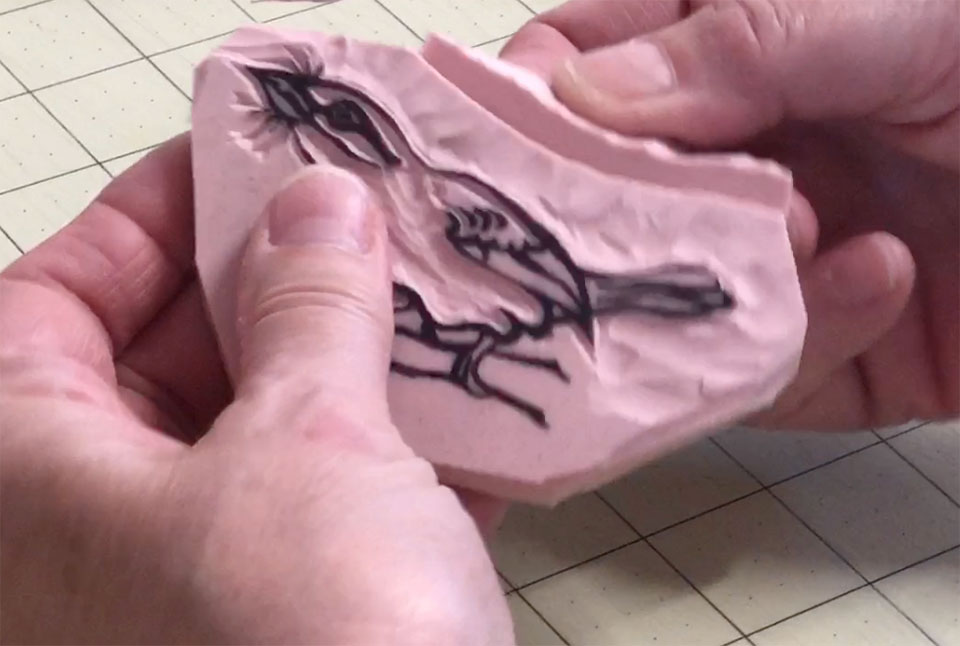
Test your stamp to see how you’re doing
At some point in the carving process you’ll have to ink up the stamp to see what you’ve got so far. The carving may be rough at this point, but this will let you see what is left to be done.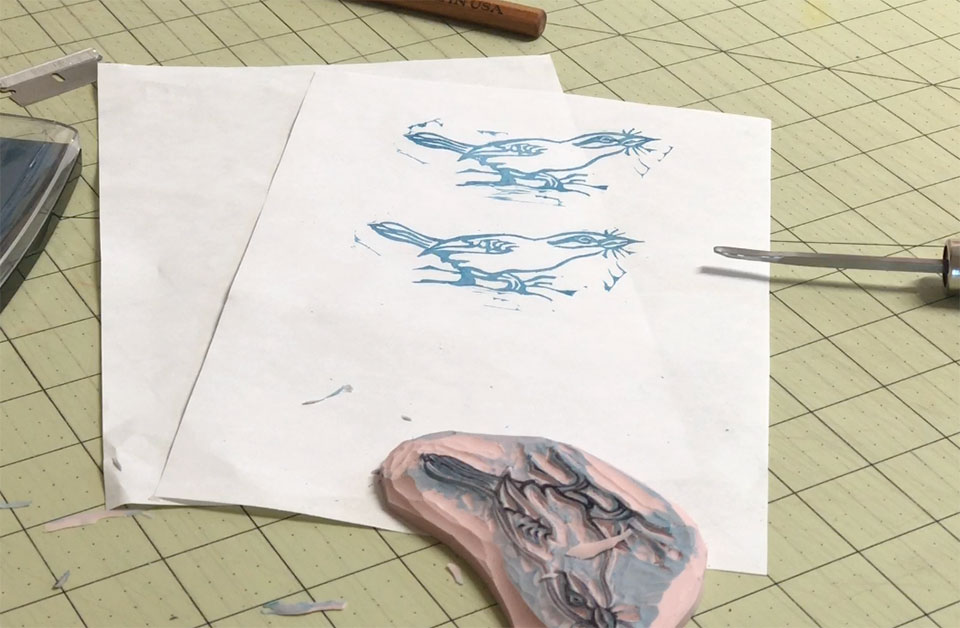
Some people like to leave a little of this excess on their stamp to get that handmade woodcut look and some people like their edges nice and clean. I fall into both camps, depending on the image I’m carving and what I intend to use it for.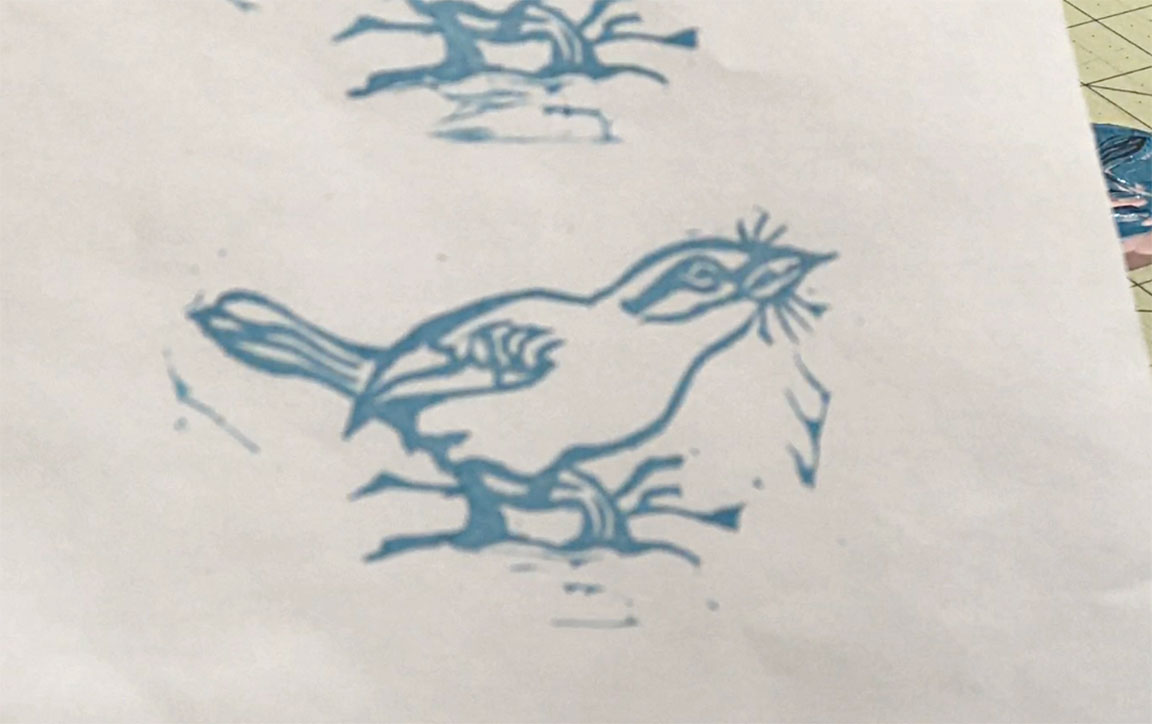
So, there you have it. One simple technique for creating your own rubber stamps.