Scrap Journal with Ribbon Binding
A Scrap Journal, or Junk Journal, with a ribbon binding is a lovely and creative way to deal with all those bits and pieces that you can’t bear to throw away that are left over from other projects .
Click to Watch the Scrap Journal Video Tutorial
It starts with the scraps around your studio
 I end up with lots of scraps from other projects – pieces of bookcloth that aren’t big enough for anything but I can’t bear to throw them away, printed images that didn’t print quite right or that I decided not to use – lots of bits and pieces that end up in a pile somewhere in my studio.
 A perfect use for these leftovers is a Scrap Journal. Some folks also call this a Junk Journal, but these finished books don’t feel like junk to me. They are also sometimes called Travel Journals or Fabric Journals, depending on their content.
You can bind a scrap journal in many different ways
Unlike other book binding techniques that have a rather set pattern for binding, such as a Coptic Stitch or Secret Belgian Binding, a scrap journal can be bound in lots of different ways, with hard or soft covers, open or closed spines.
The signatures I make usually have interesting edges when folded, so I like to use some kind of open spine binding to show off the decorative nature of those folds.
I used a Ribbon Binding for this book
So, the binding I used in this tutorial is a simple ribbon binding. The use of ribbons seems appropriate to the overall nature of the scrap journal and accommodates signatures of varying thicknesses.
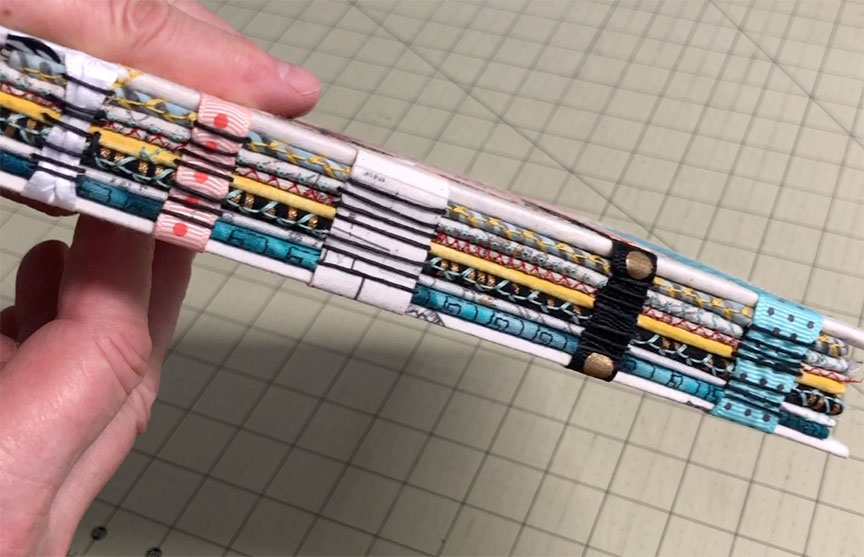 It also would allow you to add pages later if you desired, with a little creative jury-rigging. This binding also allows for lots of room to add images to the pages, or stuff cards or drawings into the book without popping the cover open.
There are three main steps. Step 1:
I think of the construction of a scrap journal as having three main phases or steps: First is the preliminary construction of the pages or signatures. I do a lot of work on the pages before ever beginning the binding process. This includes lots of sewing and gluing that works better when the pages are still loose.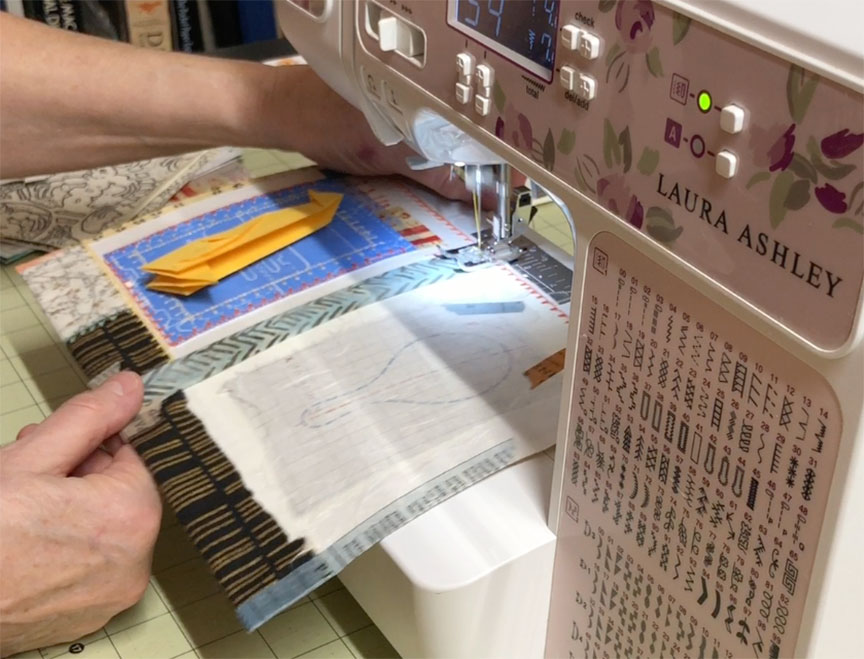
Step 2:
The second step is the binding itself, which includes constructing whatever cover I want to use. The decision to bind my pages happens pretty organically. I usually just get tired of working on them separately and want to see them all together.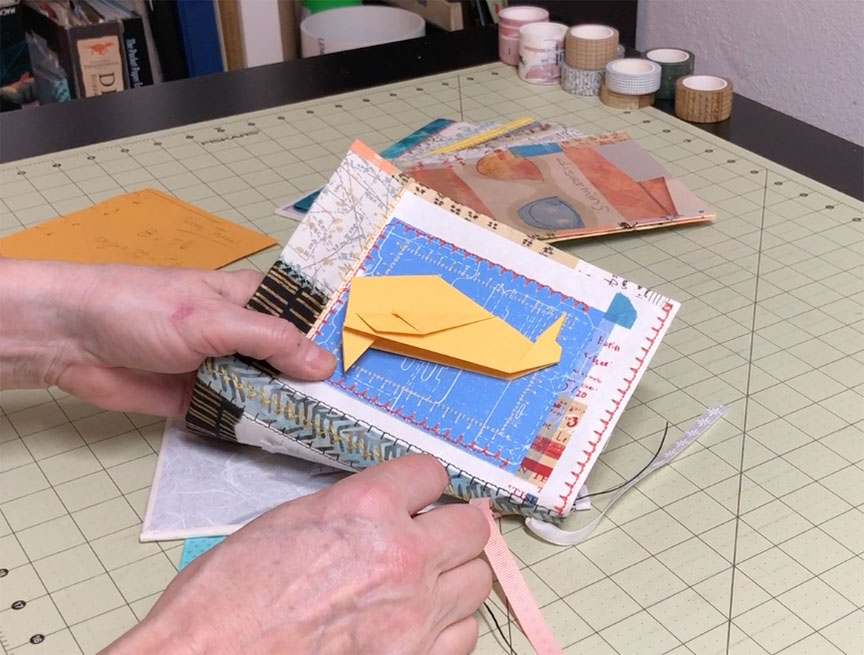
Step 3:
The third and final step is whatever I want to do to the pages once they’re all bound together. This step is ongoing and sometimes the journal is never what I would consider “done.”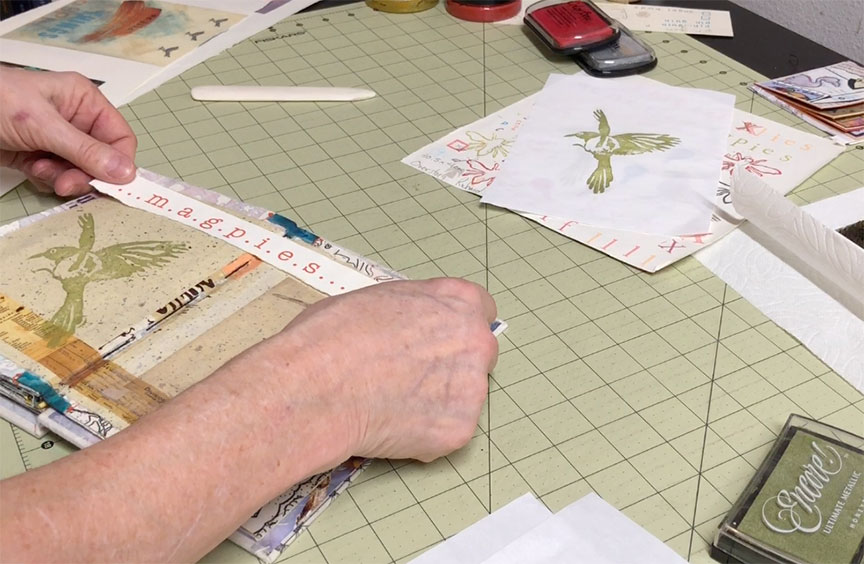
First, figure out the measurements
So, you need to start by figuring out how big you want your book to be. You can do this by deciding what you want the final book dimensions to be and then figuring out the signature size from that, or start with the size of the signatures first.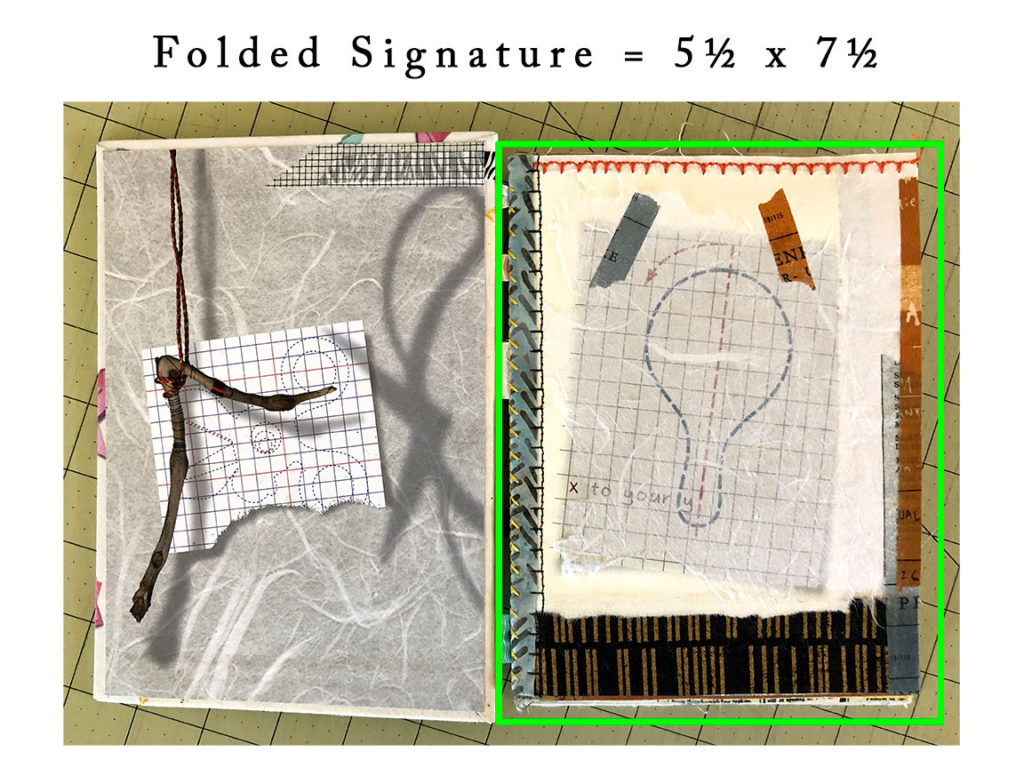
I started with the signature size, deciding that I wanted the folded signature to measure 5 ½ x 7 ½. This meant that the open signature would measure 11 x 7 ½. 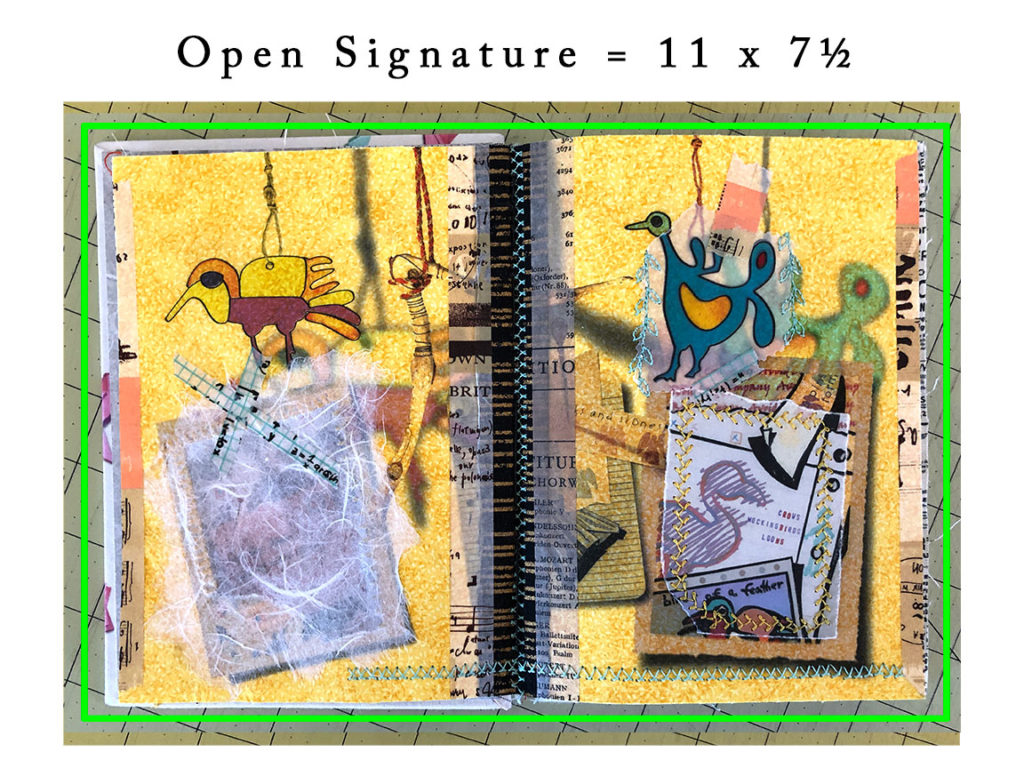
The cover will be a little larger, with ¼ inch margins on three sides, excluding the spine side, so the overall finished book size is 5 ¾ x 8 inches.

Start the construction of your signatures
Once you know how big your signatures are you can begin working on the pieces that you’ll use to construct those signatures. The pages for this book are pretty substantial, so I’m only using a single folded folio per signature. If the pages you make are fairly thin and light you should consider putting three or four folios together to create a signature.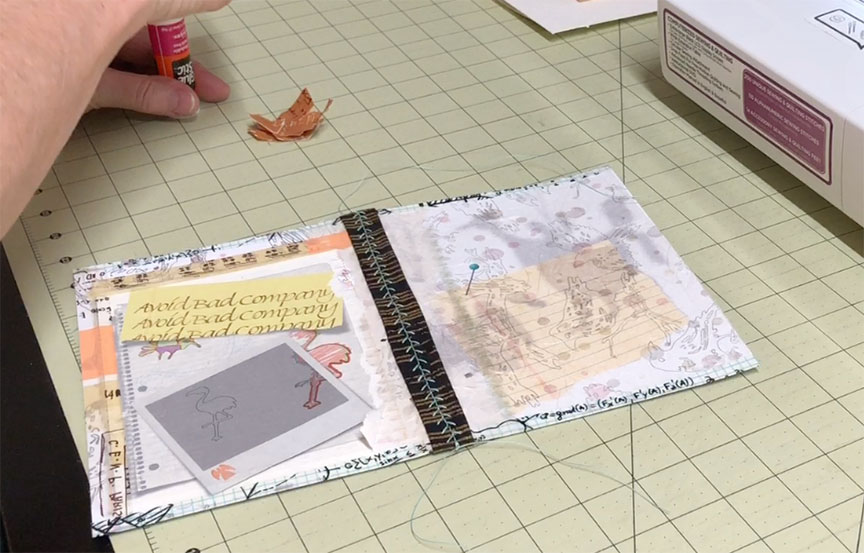
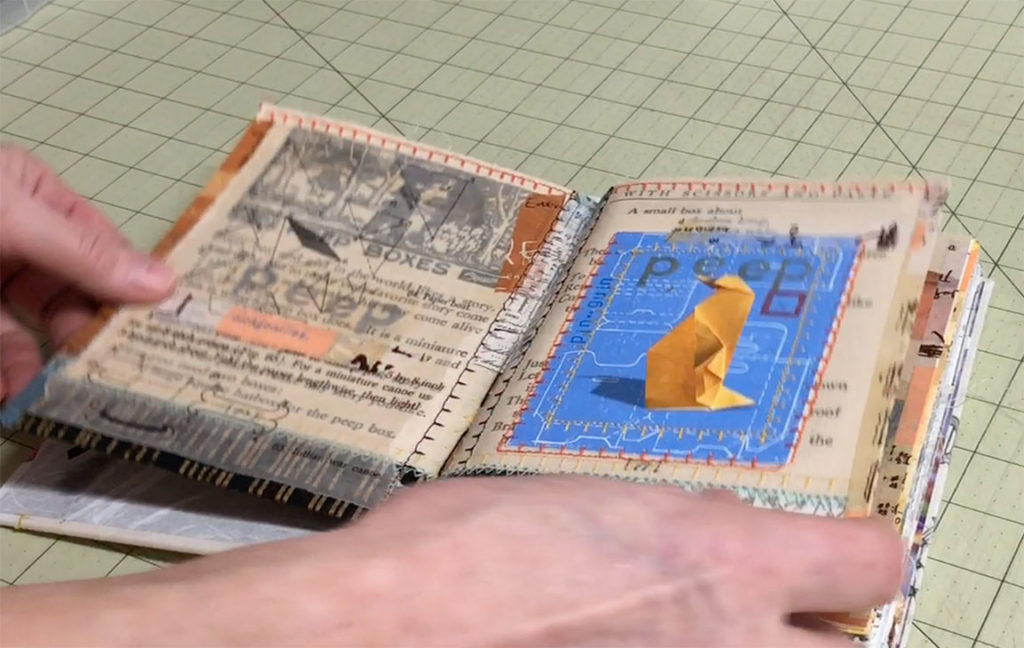
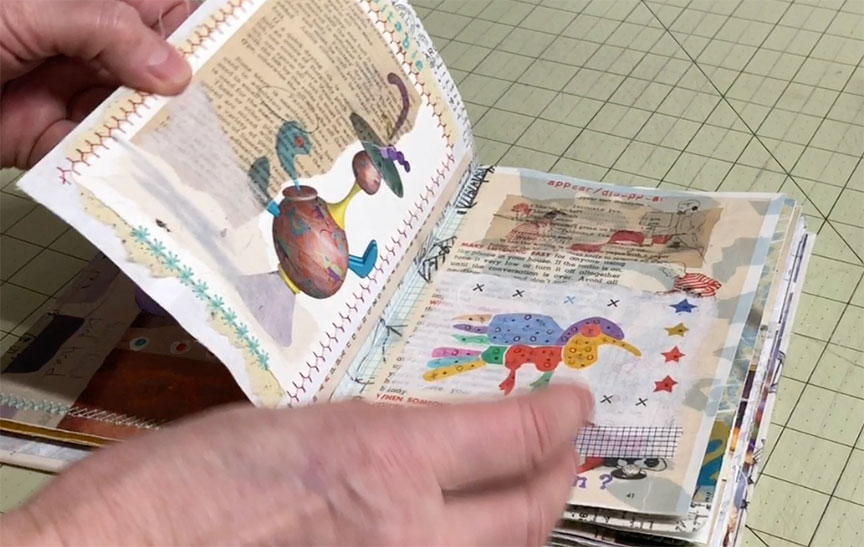
You can combine lots of different elements
Most of my pages are combinations of bookcloth and paper sewn or glued together. I also use regular fabric with no backing to combine two pieces together along the spine. This allows for greater flexibility when folding the signature and helps to keep the pages from springing open.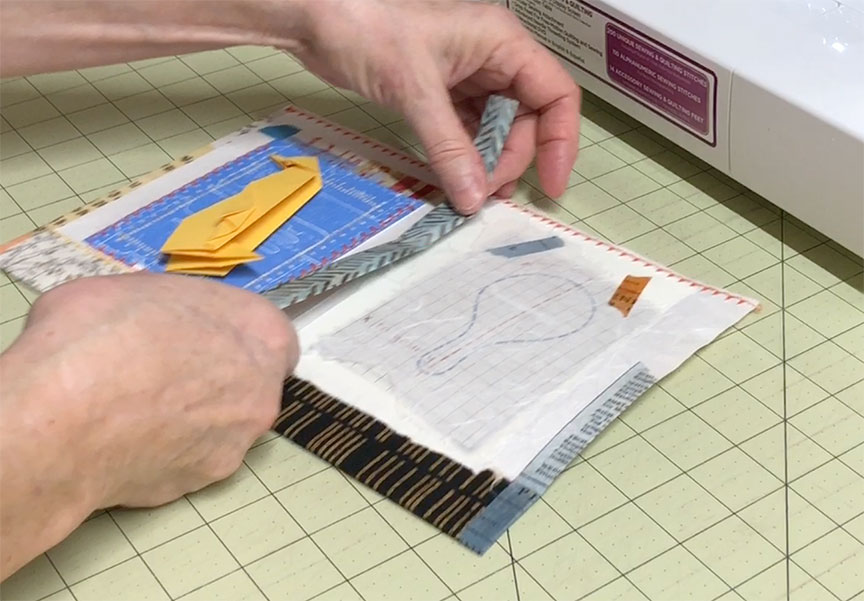
See details in my Scrap Journal Pages Tutorial
I don’t want to go into the specifics of how I work with my signatures here as it would make this tutorial too long, but you can see the details of how I work with individual pages in my video Scrap Journal Pages or follow the written instructions here.
Create the covers
Once you have all of your signatures ready to bind, the next step is to create the covers. For this particular binding you just need to create simple covers without a spine piece, since this is an exposed-spine binding. 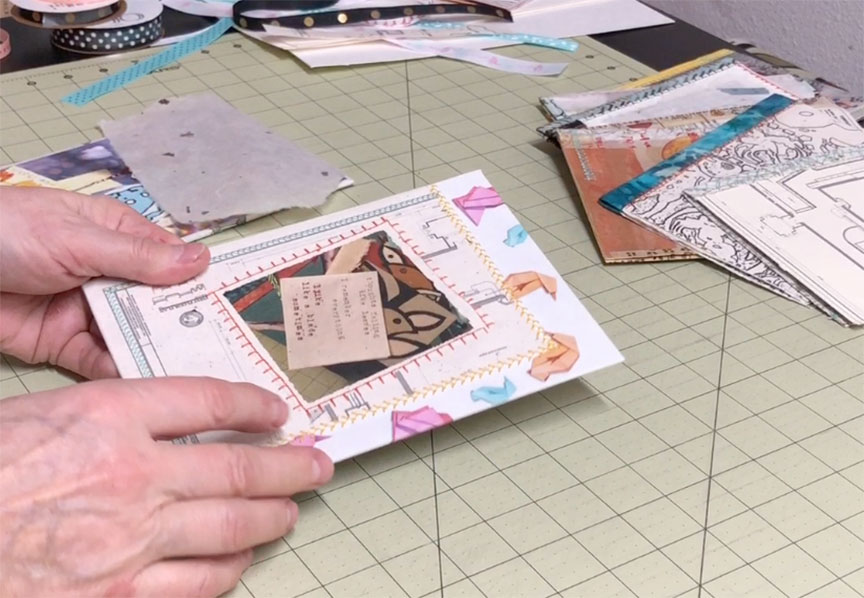 Once again, for the sake of brevity, I won’t go into the process of creating those covers in this tutorial, but you can see the details of how to create simple covers in my brief video Making Simple Covers or follow the written instructions here.
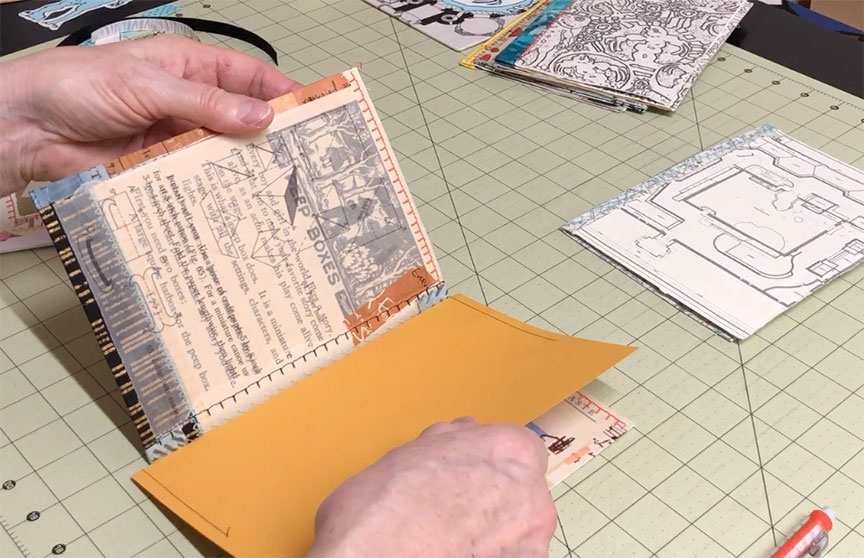
Make your cover unique to your journal
One thing about my cover for this book that I will share here, because it is rather unique to the construction of this scrap journal, was the preparation of the bookcloth that I used on my covers. In keeping with the spirit and nature of the sewn pages, I sewed scrap elements together to create the bookcloth before gluing it to the bookboards.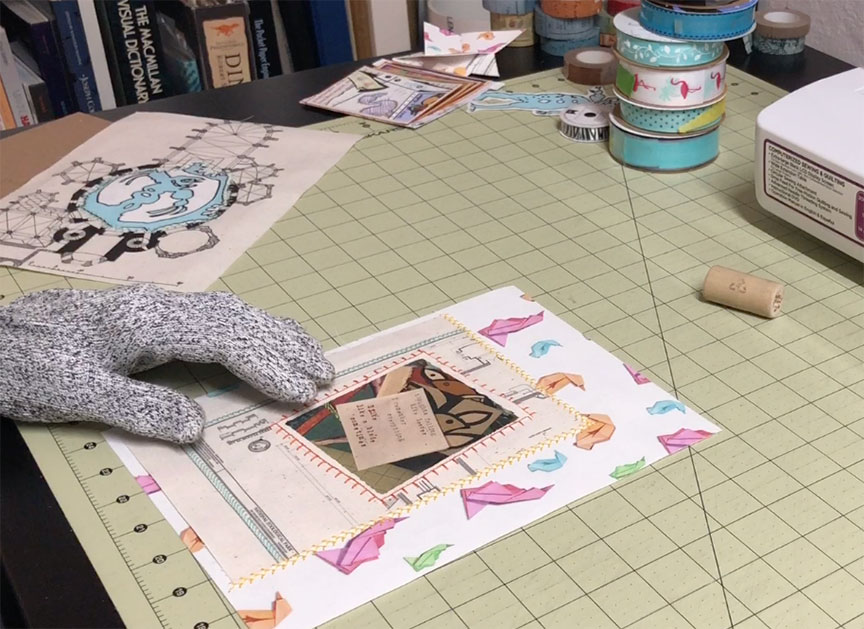
Measurements for the cover bookcloth
I allowed for an extra inch all the way around for the bookcloth. My covers were 5 ¾ x 8 so, as I was deciding on what pieces I would sew together, I kept in mind that the final goal once I was done was a piece of bookcloth that was 7 ¾ x 10. This gives me ample margins for gluing around the edges of the bookboard.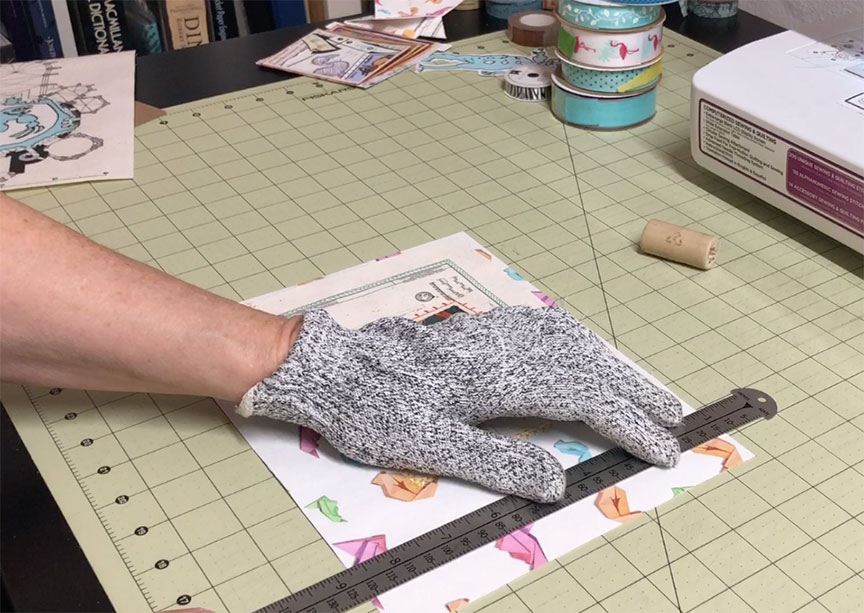
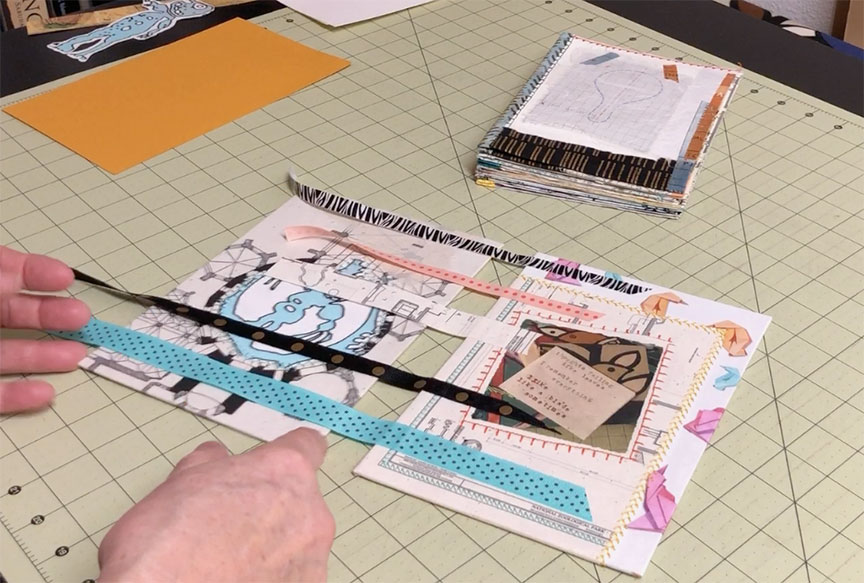
Figure out the ribbons and their placement
Once you have the covers made and they’re thoroughly dry you’ll need to decide where you want to place the ribbons. I always do it in this order because usually the pattern or image on the covers dictates the placement of the ribbons, so I don’t like to make this decision until the covers are finished.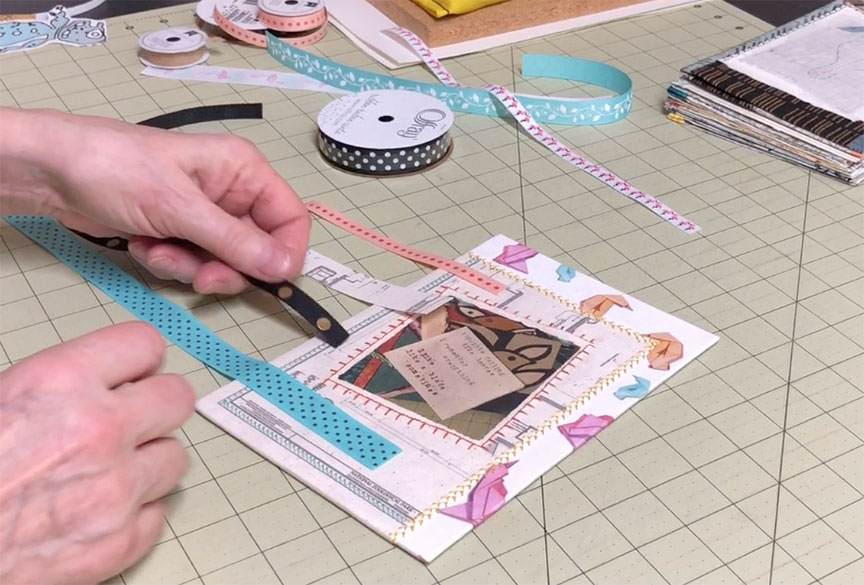
Glue the ribbons to the front cover
Once I have the placement decided and the ends trimmed the way I want, I glue the ribbons to the front cover. Use PVA glue for this so these ribbons are permanent. You don’t want them coming loose somewhere down the road, which is likely to happen if you use a glue stick for this step.
I don’t show that step here but just place each ribbon wrong side up on a piece of scrap paper, spread the glue with a brush and press the ribbon in place.
Allow the ribbons to dry
Once you have all of the ribbons glued to the front cover, place this under a weight and allow it all to dry.
 You can figure out the general placement of the ribbons on the back cover at this point, but don’t glue these down. You won’t do that until all of your signatures are sewn to the front cover. I usually don’t even cut them down until I have all of the signatures sewn in.
Create a hole-punching template
Next you’ll want to make an accurate template of the placement of the ribbons so that you can pre-punch your signatures. Pre-punching makes the sewing much easier.
 I cut a piece of cardstock the same length as my cover. Then I mark the edges of the signatures, which will be a bit shorter than the covers. All of your signatures might not be exactly the same length – mine aren’t, but this will give you appropriate guidelines within which to center your signatures.
Be accurate!
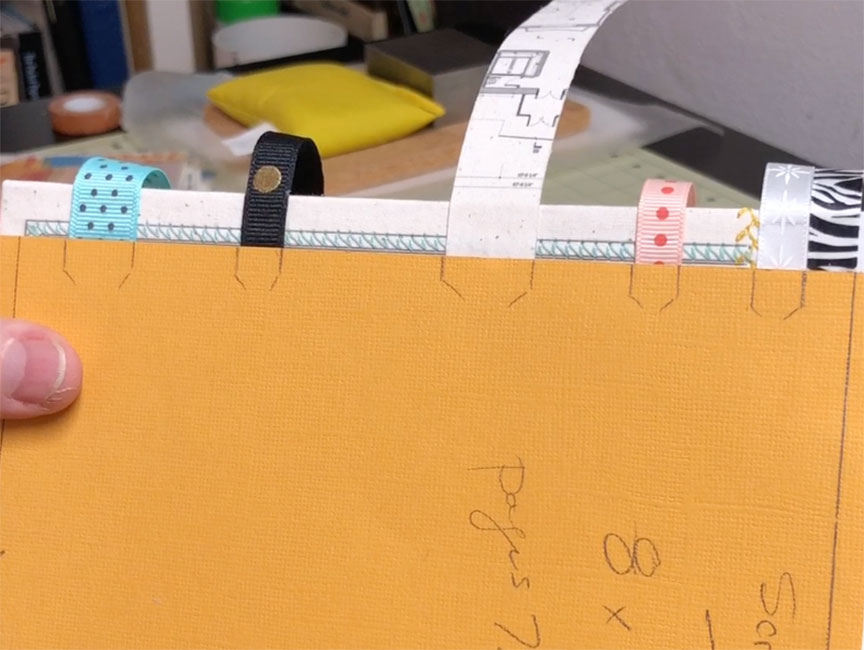 Draw clear and accurate lines marking both sides of all of the ribbons. You’ll want to pre-punch holes in your signatures at all of these marks, and their accuracy will have an impact on the final binding of your book.
Pre-punch the signatures
Once you’ve created your template you’ll want to pre-punch all of your signatures. There are several different ways that you can do this.
Lots of things you can punch into
If you happen to have a punching cradle, use that. You can also use an old phone book or just an old thick book that isn’t important to you. Open it up and use the pages to cradle the signature while you punch into the spine of both your signature and the book.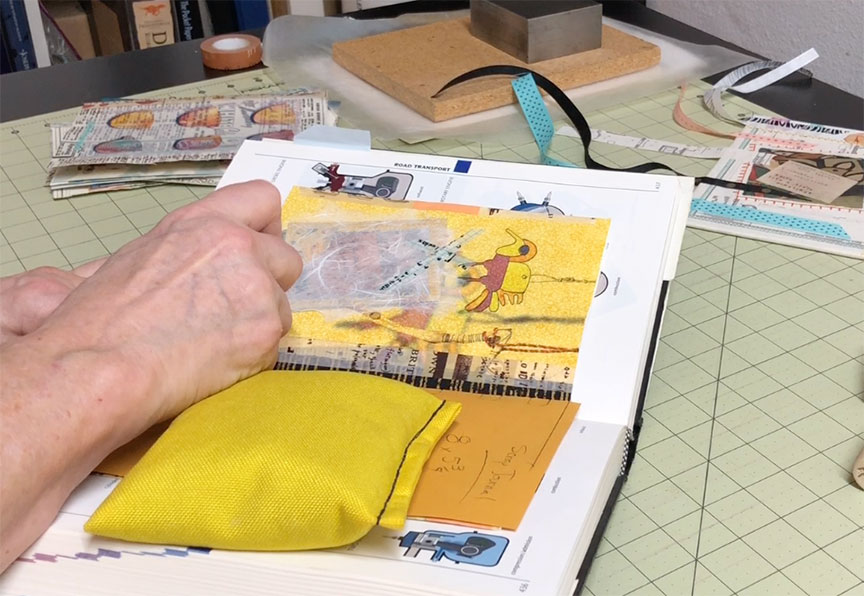
Make sure you are orienting the template correctly. I use a soft weight to hold the template and signature down while I’m punching the holes.
I also sometimes use thick foam to punch into. 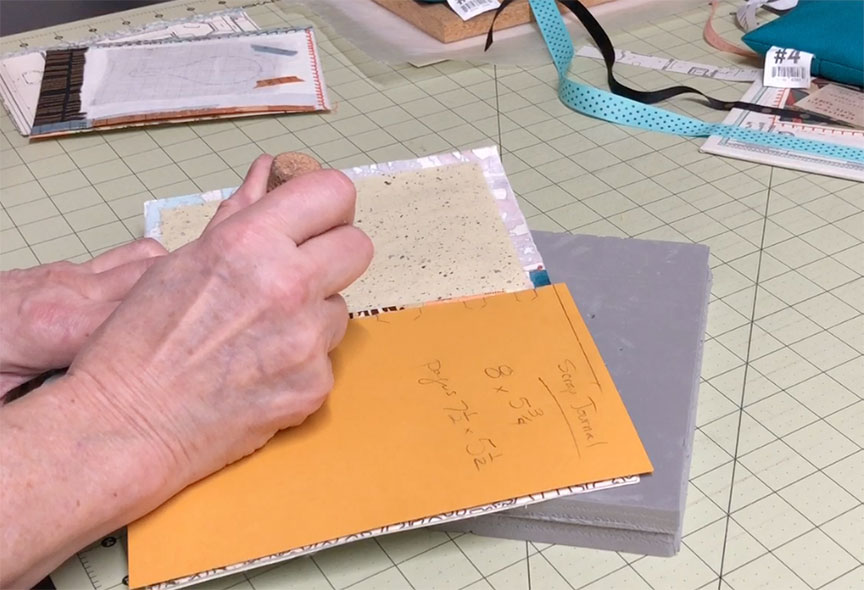
Or, use nothing at all. In the case of these single-page signatures, that’s easy to do.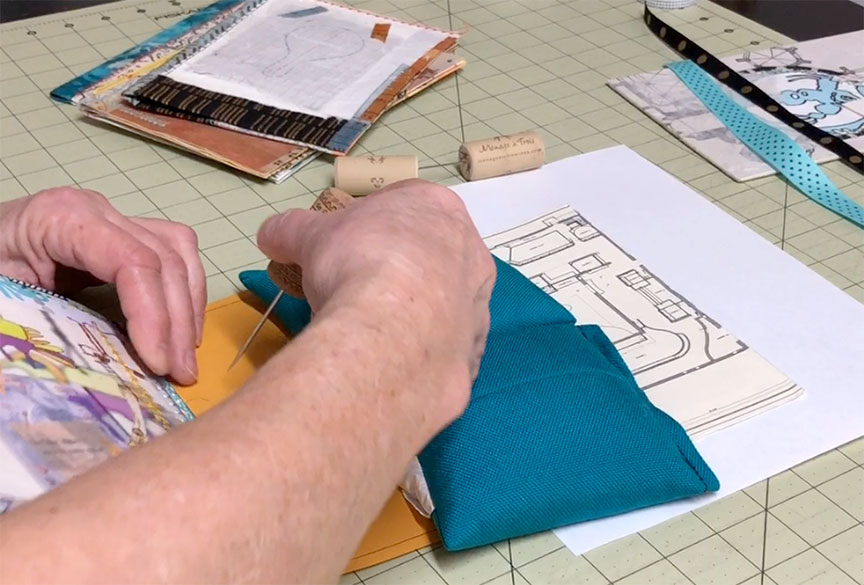
Use a needle to punch the holes
In all cases I use a needle that is a little larger than the needle I’m planning to sew with. This allows for the double thickness of thread that I’ll be pulling through each hole. I push the eye of the needle into a wine cork to use as a handle.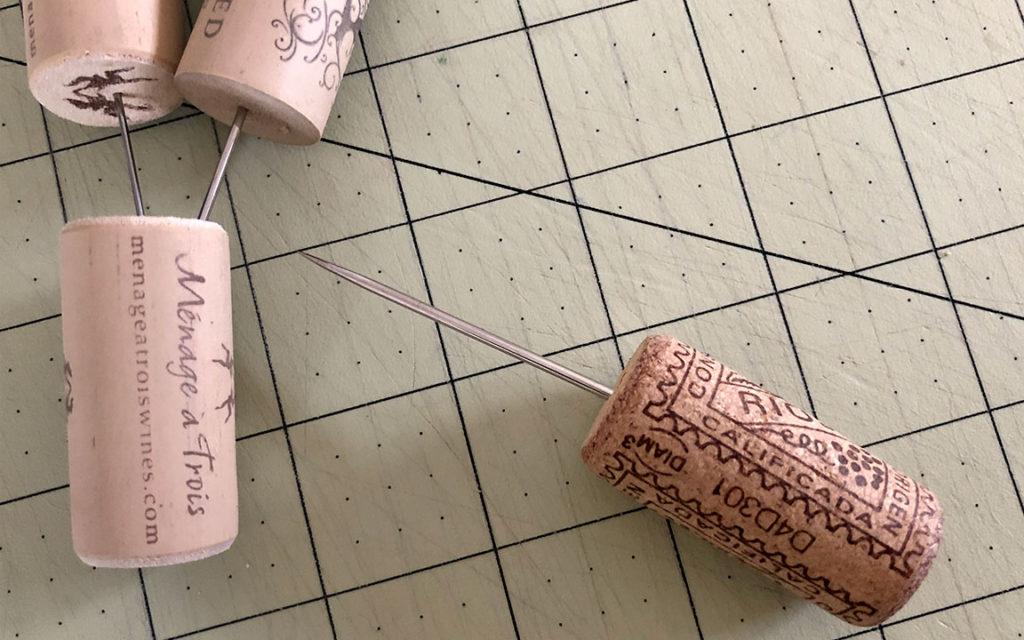
Organize your signatures
Once you have all the holes punched, organize the signatures in the order you want them to appear in your book, and then you’re ready to start sewing!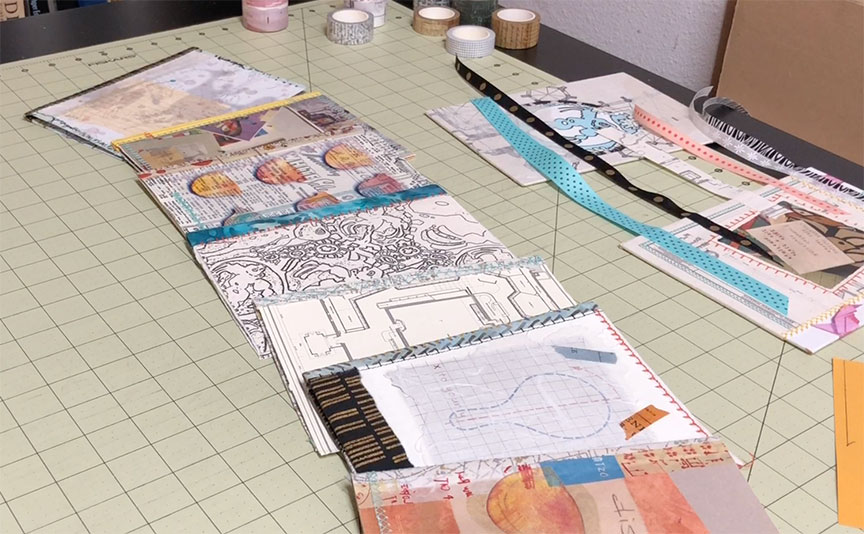
Prepare your thread
I’m using waxed thread for my binding. Since this is an exposed binding I want something thick enough to be obvious and decorative. And using waxed thread allows me to use a very long piece of thread and not worry about it tangling.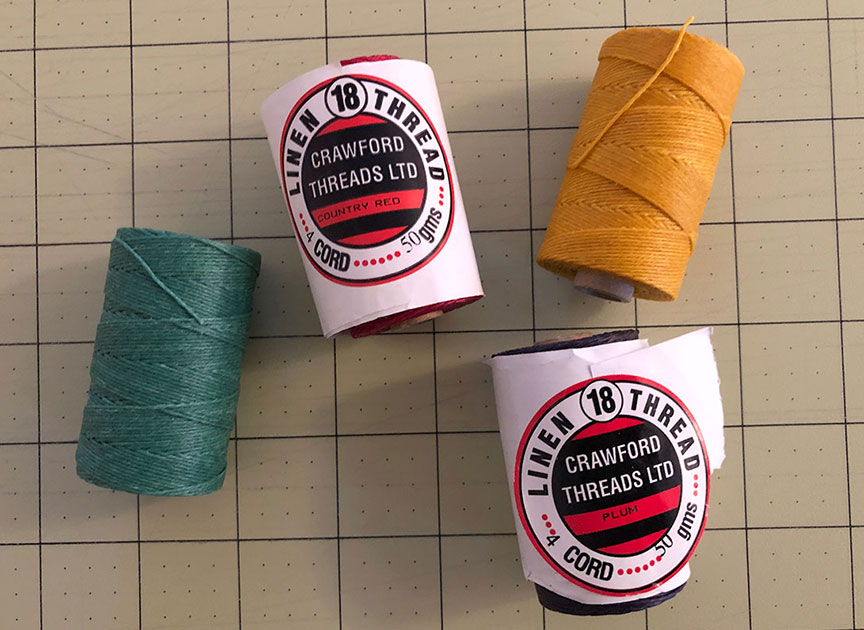
My rule of thumb for bindings like this is one book-length of thread for each signature, plus another generous helping just to be sure.It’s certainly possible to use a shorter piece of thread and tie on a new piece part way through but, if I can, I like to get through the whole binding with a single piece of thread. 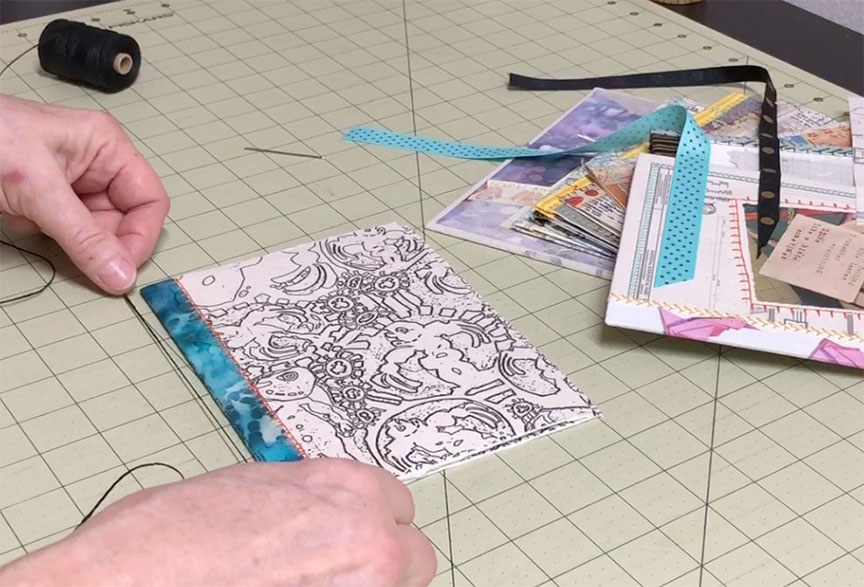
Use a blunt needle
It’s also best to use a blunt needle for this binding because you’ll be sewing back through some holes that already have thread in them and you don’t want to pierce that thread.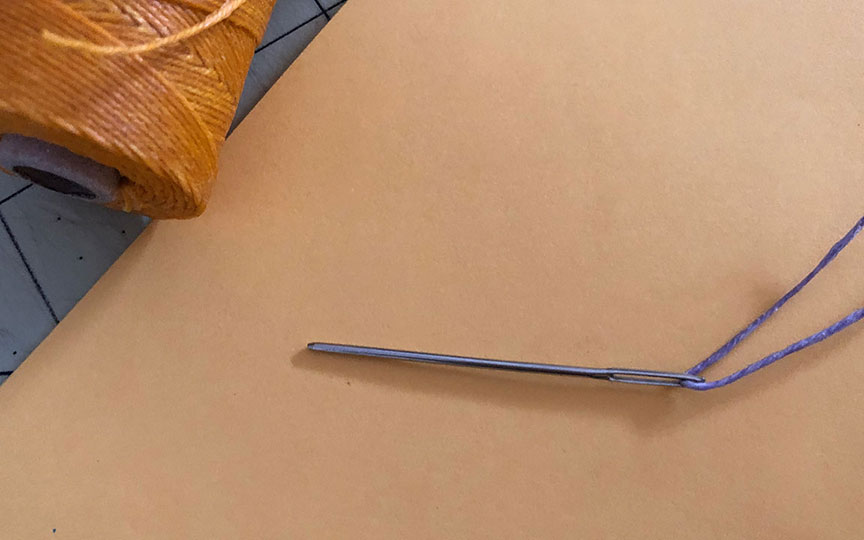
Here’s a simplified example of the binding stitch
Before I show you the binding stitch on my actual pages, I’m going to give you a really simplified look at the stitch, without any distractions.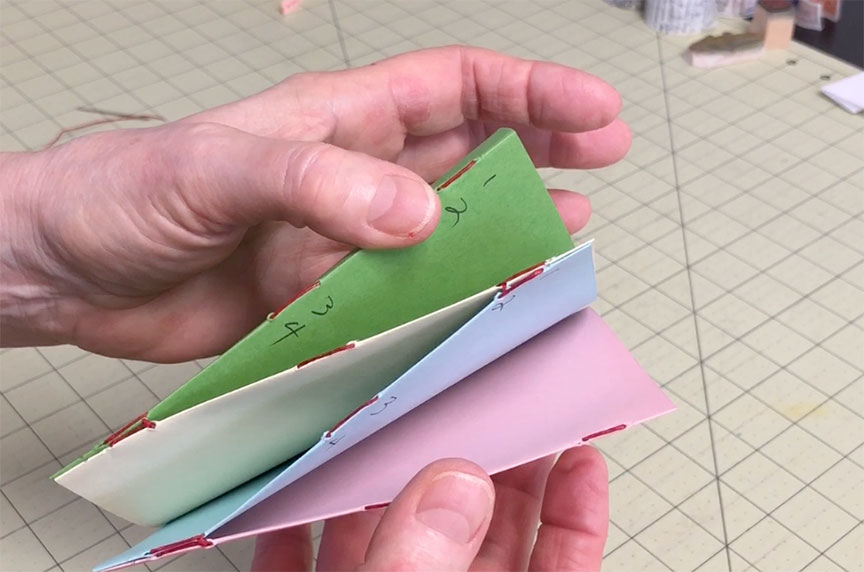
Start inside the signature by going out through the second hole from the top (1), then come back in through the first hole (2) and tie off the loose end with a square knot (3). Do a running stitch all the way down the spine of the signature (4). 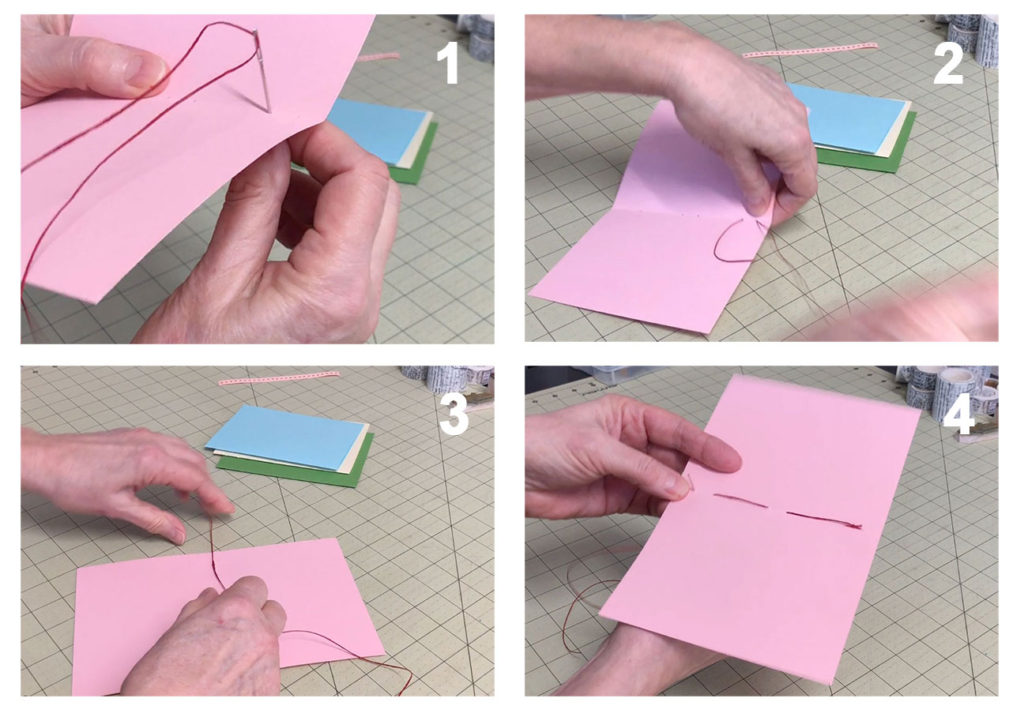
With each pair of holes there should be a loop on the outside that a ribbon can pass through.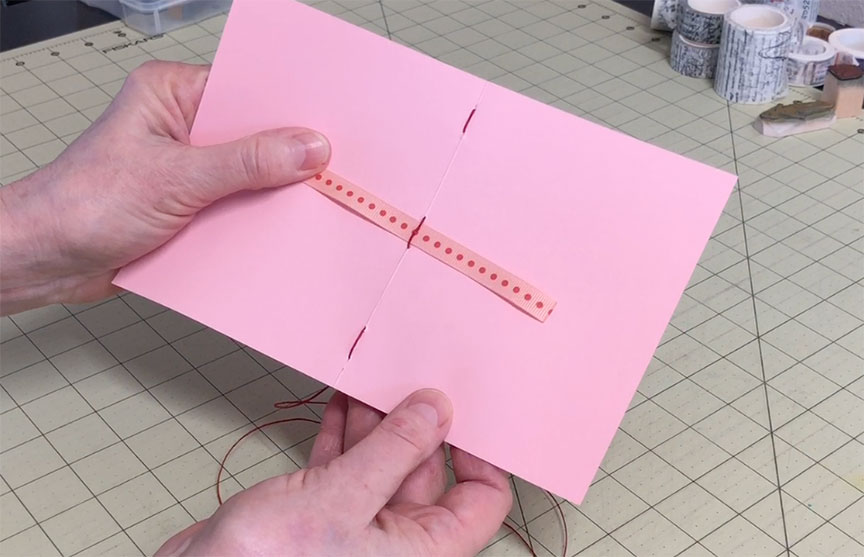
You always need to end outside a signature
When you get to the end of the pairs of holes your thread will be on the inside. Bring it back out through the second-to-last hole. This way your thread is on the outside, ready for the next signature.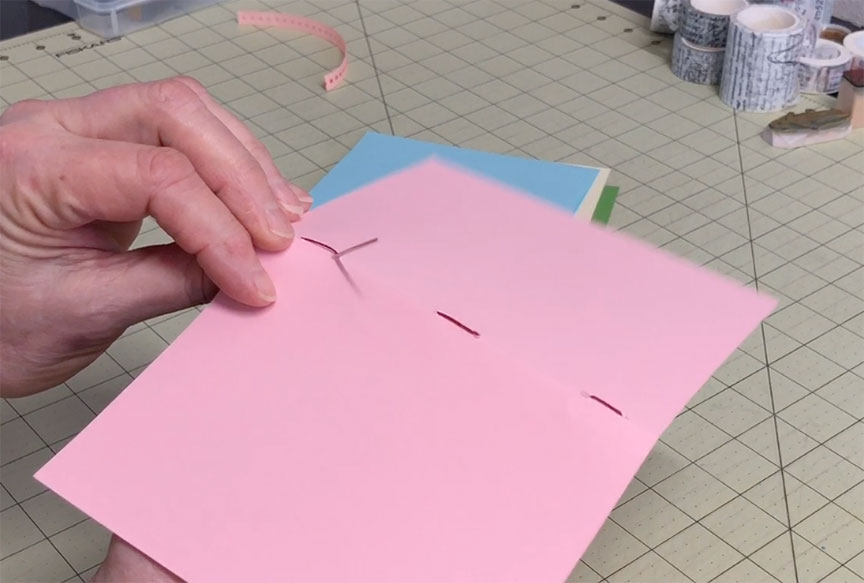
Add the next signature
Pick up the next signature and sew in through the second-to-last hole (1) and then out through the last hole (2). Sew back into the second-to-last hole so you are on the inside (3) and then complete the running stitch down the spine of the signature (4).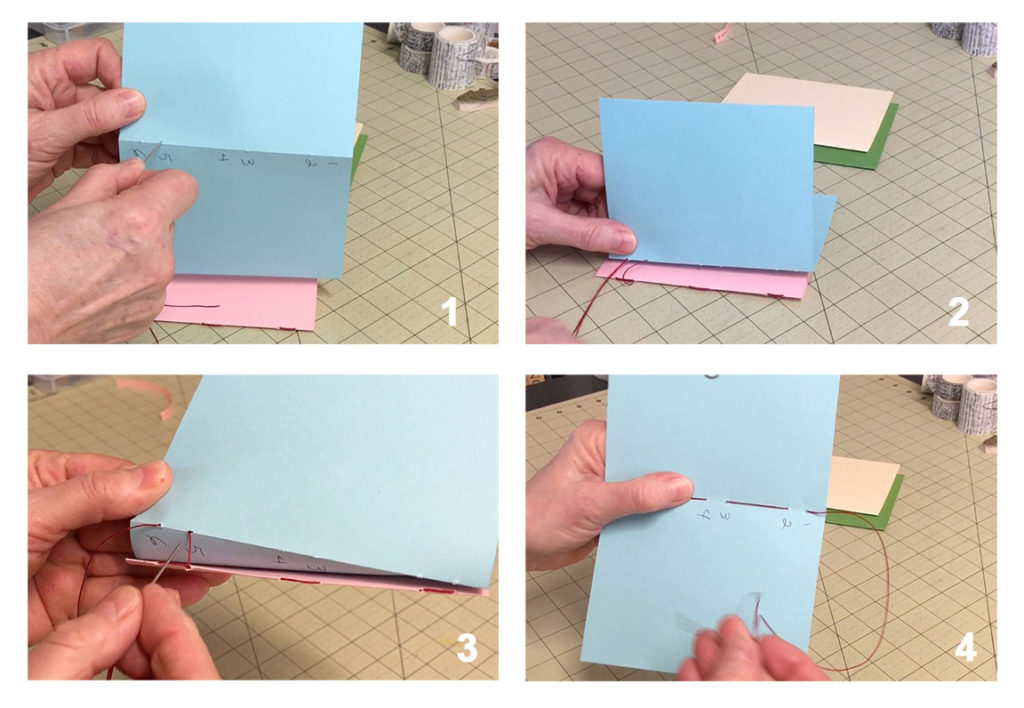
It helps to clip the signatures together so they don’t slide around.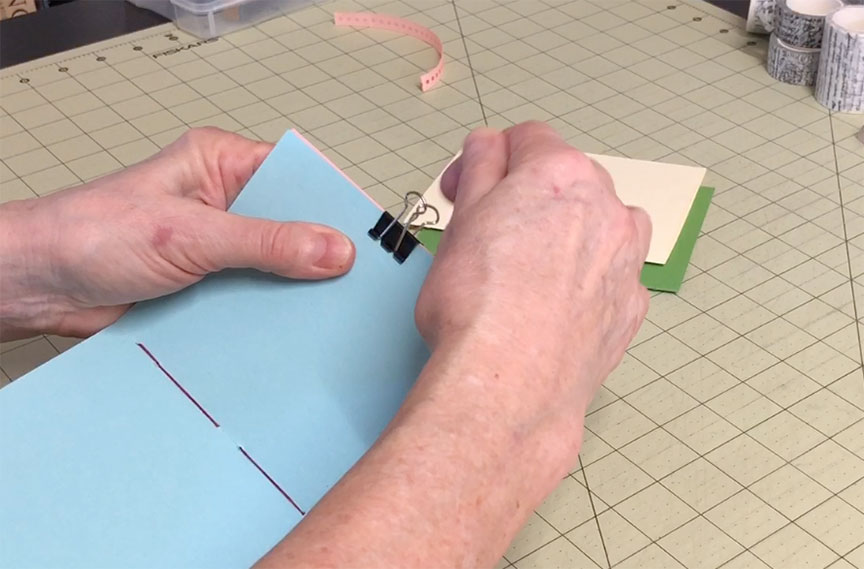
Once again, get back outside
At the end of this signature you will once again be on the inside, having sewn into the signature through the last hole. Sew back out through the second-to-last hole so you are on the outside, ready for the next signature.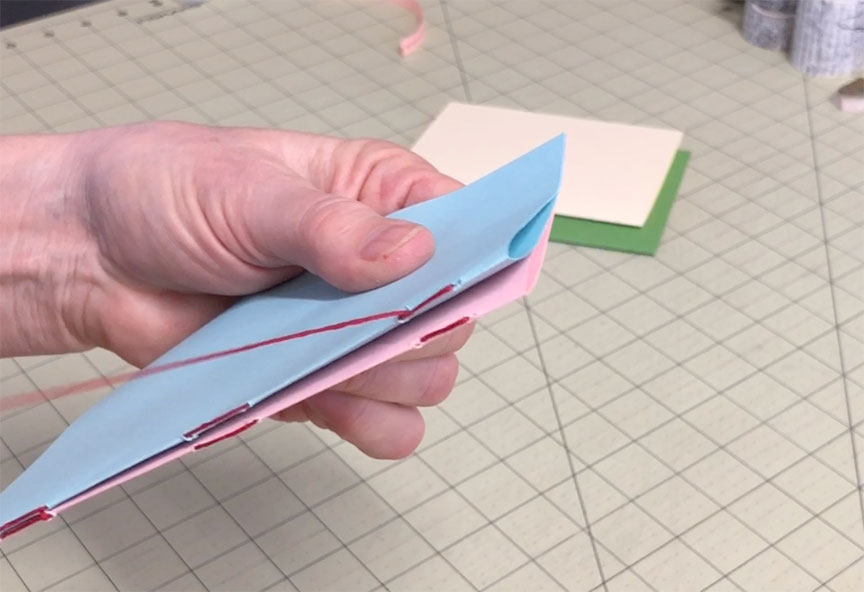
Keep going and finish it off
Continue this process with all of your signatures until you have sewn in through the last hole of the last signature. Once inside that signature, loop through the previous stitch and tie off your thread with a double knot. Then you’re done with the sewing.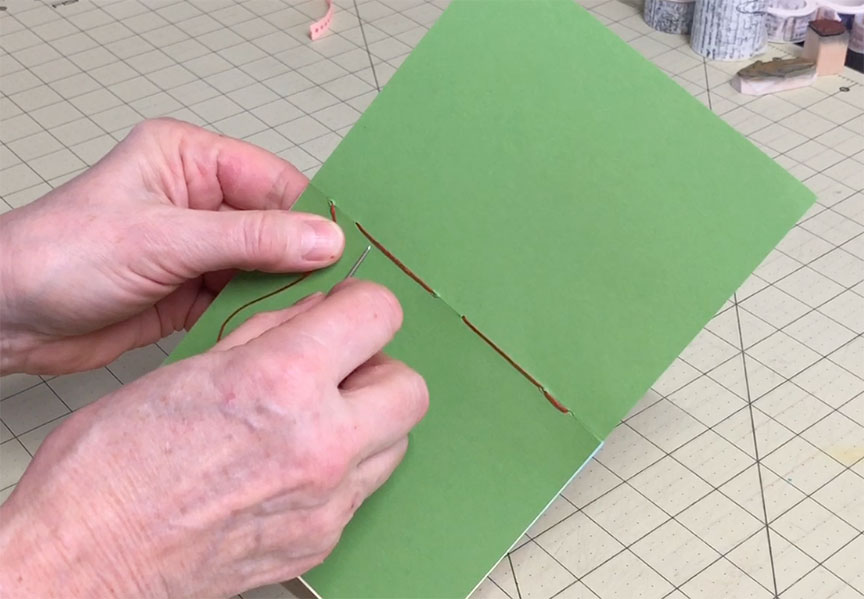
No ribbons to deal with, yet
Obviously, as you are doing this with your actual signatures and the cover, you will continue to pull the ribbons through, or sew around the ribbons, as you attach each signature. You’ll see this process in the next few minutes as I sew the real signatures to my cover.
You’ll notice in my example that the signatures are not anchored to each other on every other end. This isn’t an issue when you’re doing the actual binding though, because the ribbons that are attached to the covers keep everything nice and tight.
With your real cover you need to capture the ribbons
So, using the actual signatures and the cover, start with the front cover and the first signature. 
Begin sewing from the inside of the first signature, going out through the second hole from the top (1). This will allow you to hide the knot on the inside.
Start inside, capture the first ribbon…
Leave a tail inside the signature that’s several inches long (2). You’ll want to wrap the thread around the first ribbon and then sew back in through hole #1 at the top of the signature (3 & 4).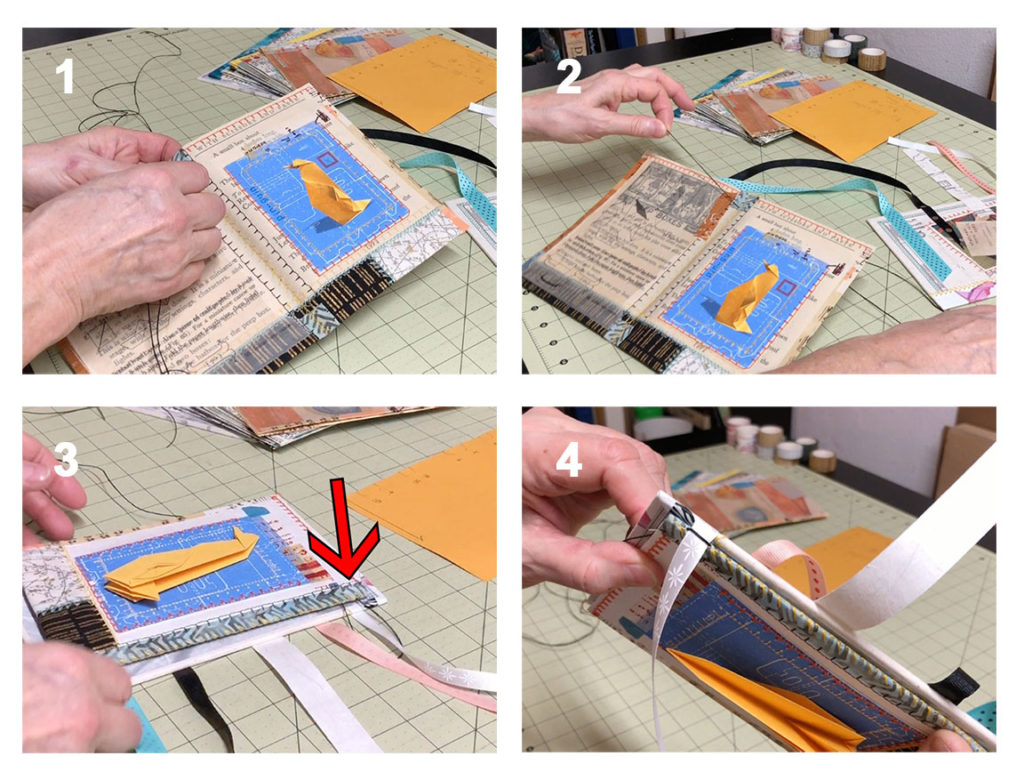
…or wait.
However, it’s actually easier and less cumbersome at first to just sew in and out of the signatures and then pull the ribbons through the loops that are created, since the ribbons are loose on one end.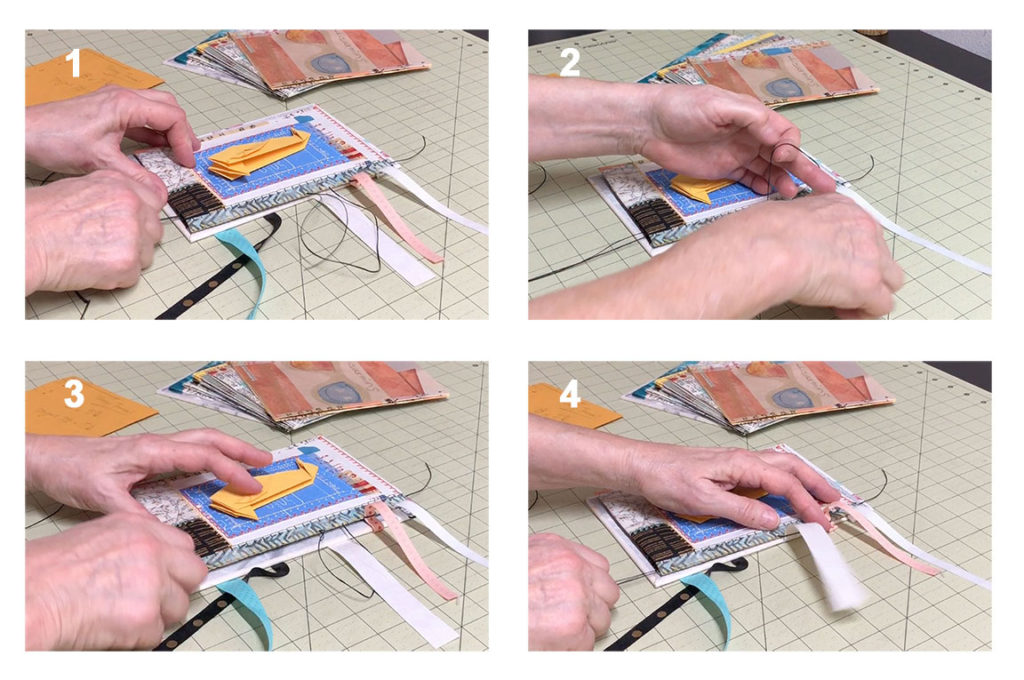
Tie off the starting thread
Once you’ve sewn back in through hole #1 tie off the loose end inside the signature.
Adjust the tension on the thread before you do this so that the thread is taught across the ribbon, but not so tight that it crushes the ribbon. A square knot is all you need here. You can trim that tail now or wait until you are done with the binding.
Sew a running stitch down the spine
Next you’ll sew out through hole #3 around the second ribbon and back in through hole #4. Here’s the full template for reference to the hole numbers.
Continue this running stitch down through the rest of the holes in the signature, out through hole 5, in through hole 6, etc, (1) being sure to pull the ribbons through the loops created by each pair of holes. Don’t worry about pulling the ribbons tight yet, just make sure they’re being captured by the thread loops (2).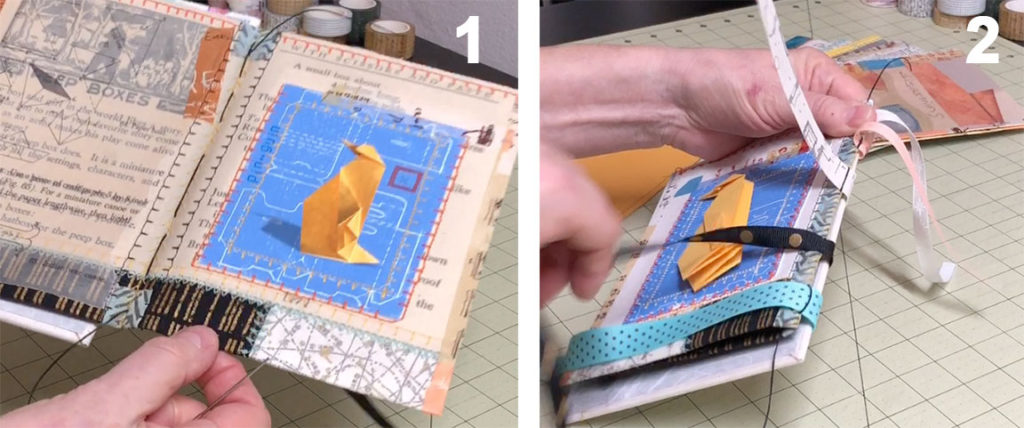
At the bottom, snug up the thread and ribbons
When you get to the bottom of the signature your thread should be on the inside after going in through hole #10. Now straighten out and tighten up your ribbons, making sure everything is straight. Snug down the thread by pulling parallel to the spine. Don’t make this so tight that you wrinkle up the ribbons; you just want it snug.
Get your thread back on the outside
Keeping everything snugged up, go back out the second hole from the bottom, hole #9 in this example, so that your thread is on the outside. 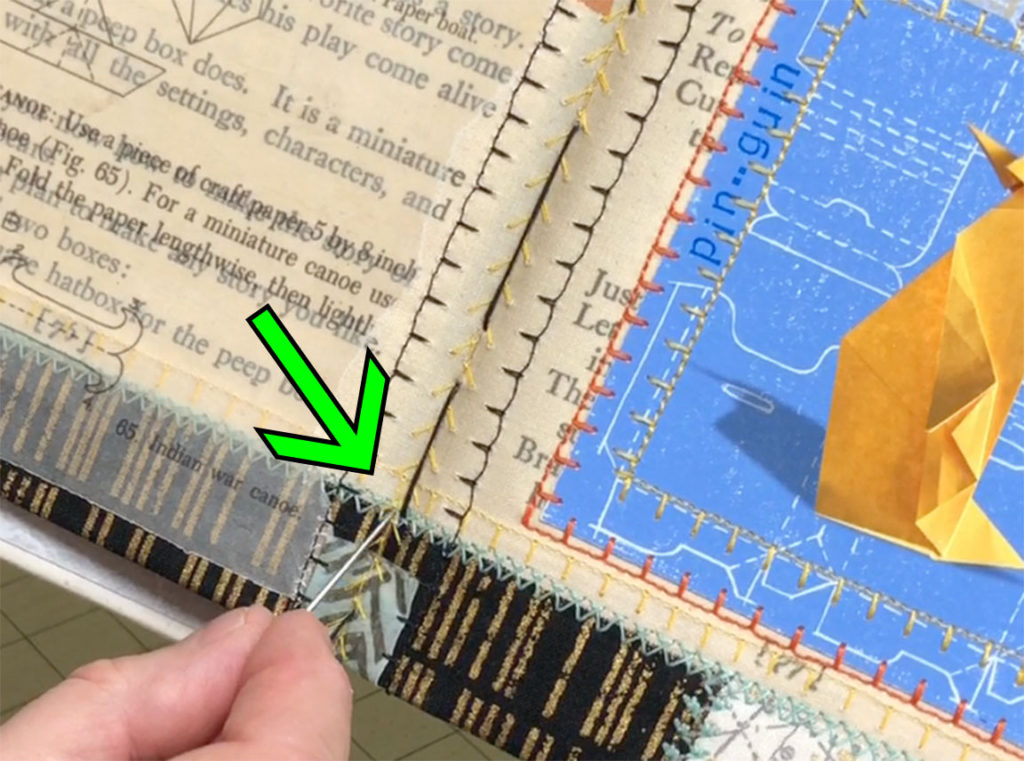
It needs to be on the outside so that you can attach the next signature. Be careful not to sew through the thread that’s already there. This is why I use a blunt needle.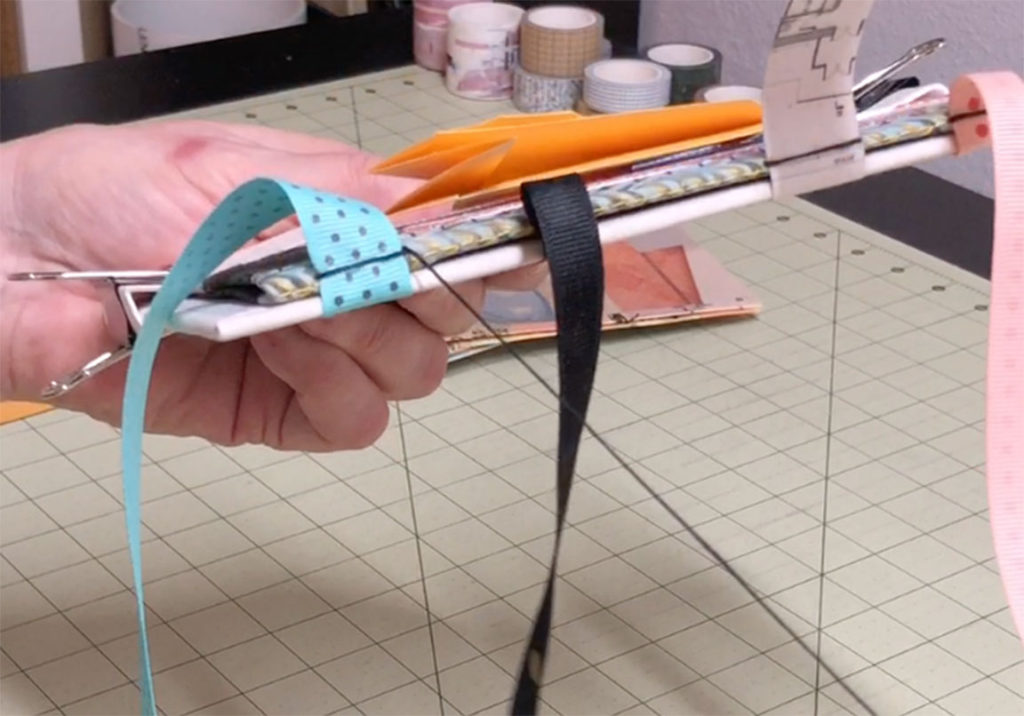
Anchor your signatures with clips
You’re now ready to attach the second signature. Before I start this I like to anchor down the previous signature so that it doesn’t move around and make attaching the next signature too loosey-goosey.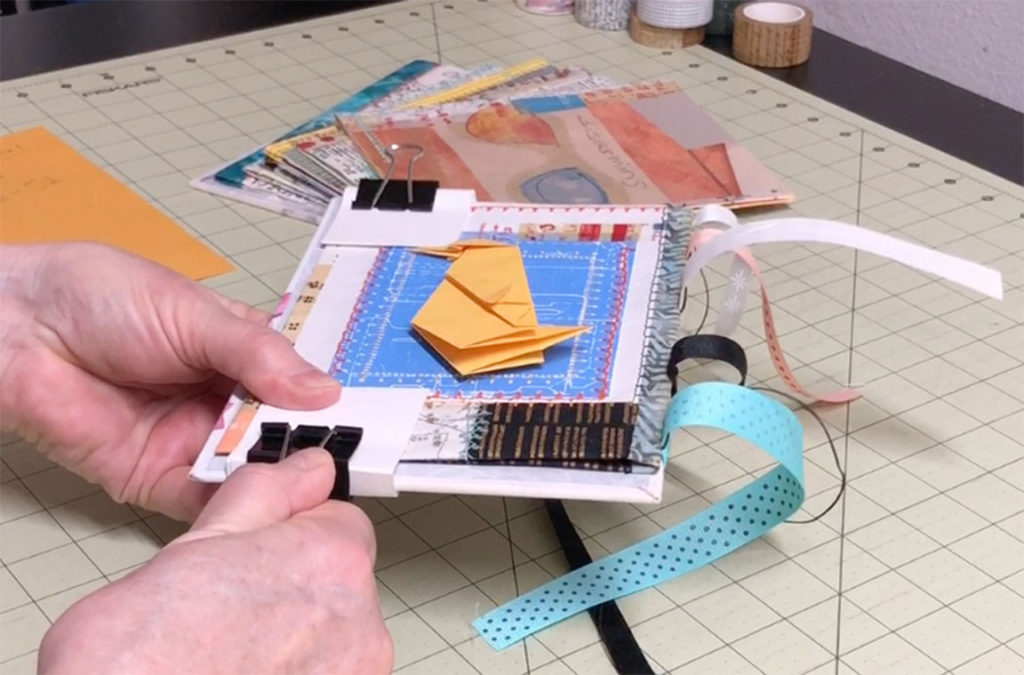
I use binder clips for this until the book gets too thick, and I protect the pages by folding up pieces of blotter paper. Any thick paper would work for this, such as folded up cardstock.
Attach the next signature
So at this point your thread should be on the outside of the first signature, coming out of the second hole from the bottom, hole #9 in my example. Place the second signature on top of the first signature and sew in through hole #9 on that new signature and then out through hole #10.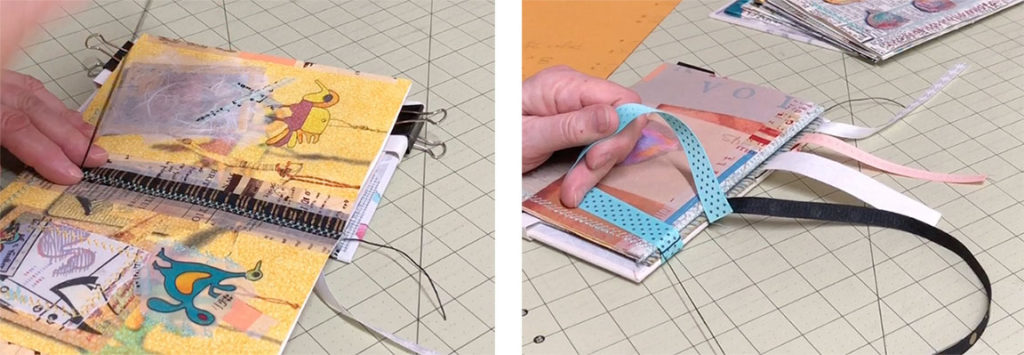
Anchor the new signature
If you are anchoring your signatures with binder clips – and I strongly urge you to do this as it will make the sewing so much easier – anchor down the first page of that second signature. You have to leave the other page loose so you can get to the inside of the signature.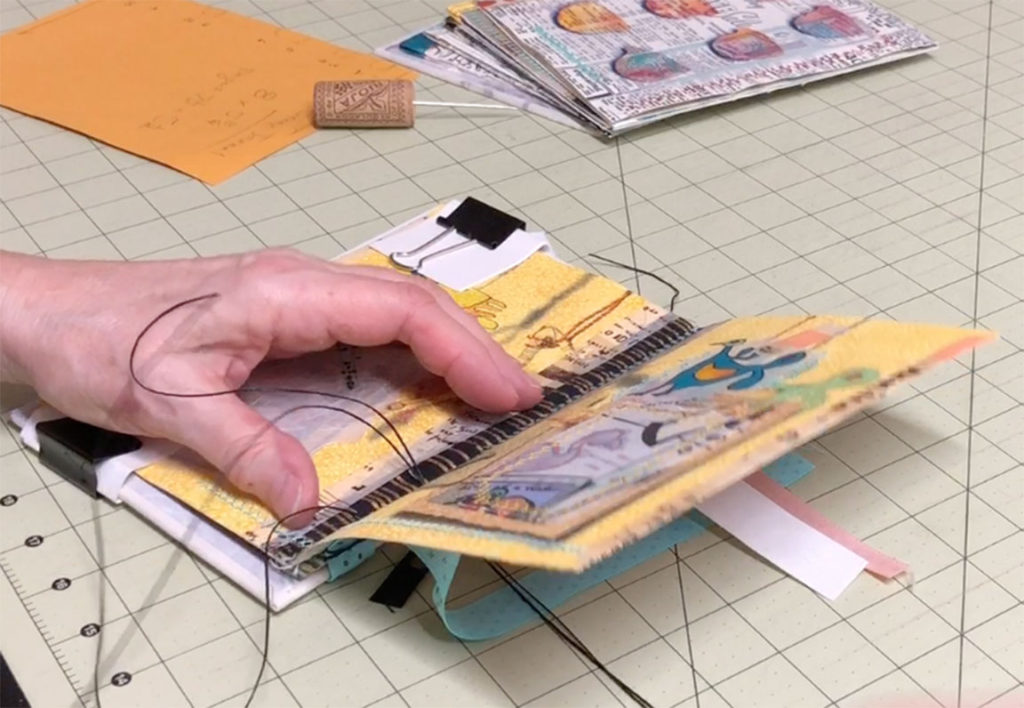
Now go back in through hole #9. Again, you want to be careful not to pierce the thread that’s already there. This stitch will go around the ribbon but, just as you did with the first signature, you can either sew around it now or pull the ribbon through the loop created by the thread after the fact.
Follow the same running stitch down the spine of the new signature
Continue with the same running stitch you used on the first signature, coming out through hole 8, back in through hole 7, out through hole 6, etc, being sure to capture the ribbons as you go. Snug up the thread and the ribbons every few stitches. When you get to hole #1 you should be on the inside of the second signature. Sew back out through hole #2 so you are on the outside of the signature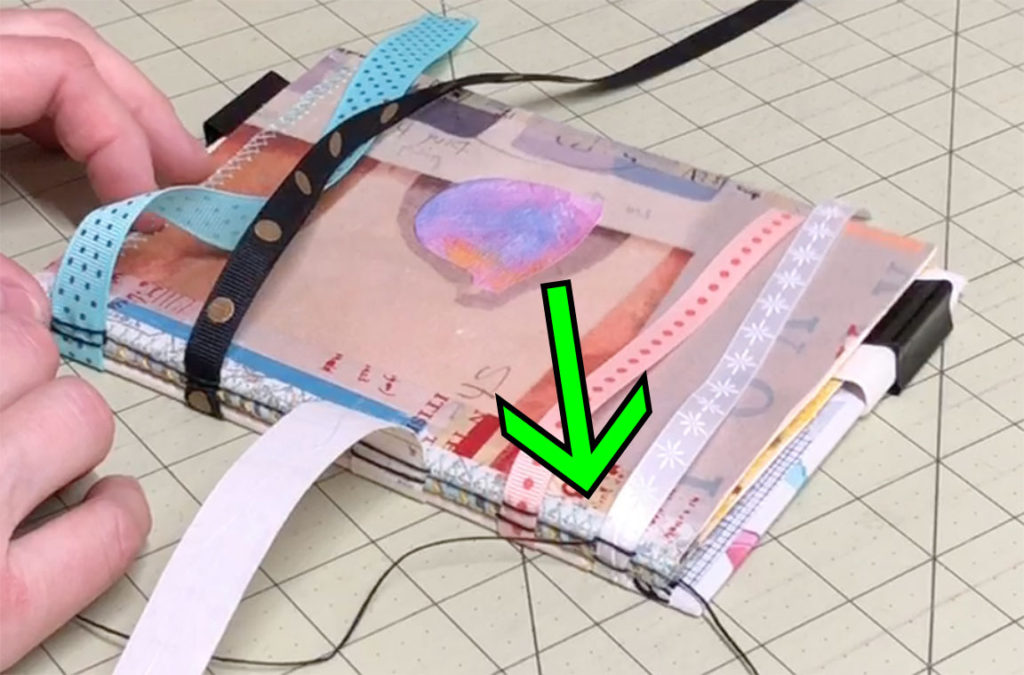
Keep going
Get your third signature in place, anchor it down with the binder clips and sew in through hole #2, out through hole #1 and back in through hole #2, just as you did before. Continue down the spine of the signature with your running stitch, capturing the ribbons as you go. Keep your stitches and ribbons reasonably snugged up.
Once you get to the end of signature 3 you should again be on the inside of the signature. Sew out through hole #9 so you are ready to attach the next signature.
Finish this process with the rest of the signatures
Continue this process with your remaining signatures. When you get to the end of each signature you will always come back out of the second-to-last hole.
 Then you are ready to go into the second-to-last hole of the next signature, come out through the first hole, sew around the ribbon and back into the second-to-last hole again, then complete the running stitch all the way down the spine until you get to the other end.
Tie off your thread
When you reach the last hole of the last signature you’ll want to tie off your thread. Just loop the thread through the previous stitch, tie a double knot and clip the thread.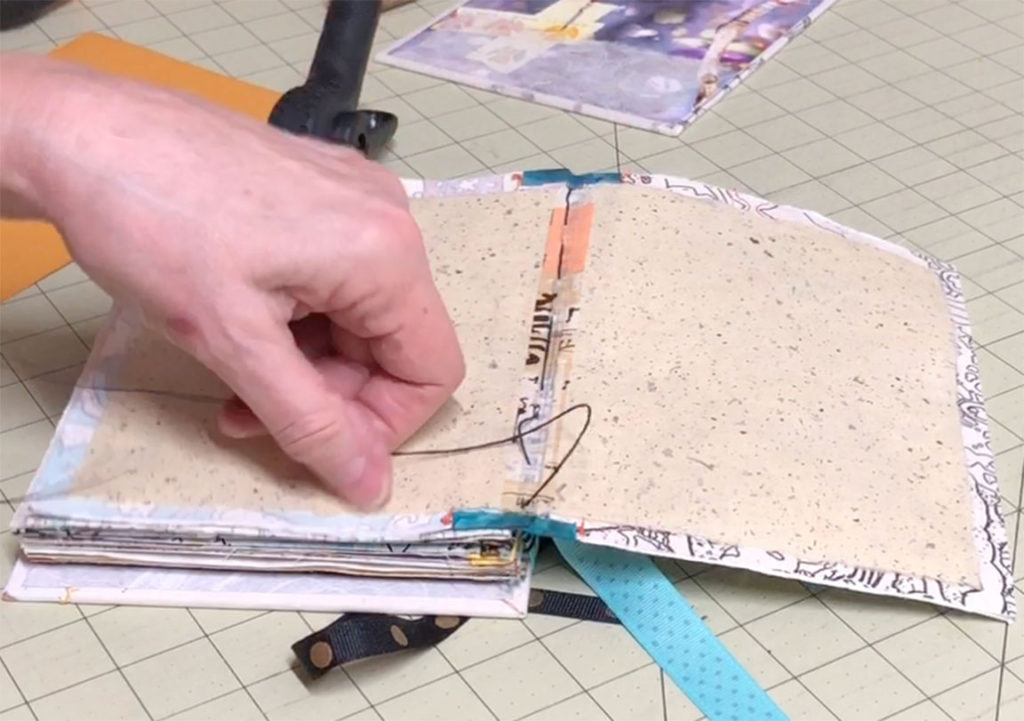
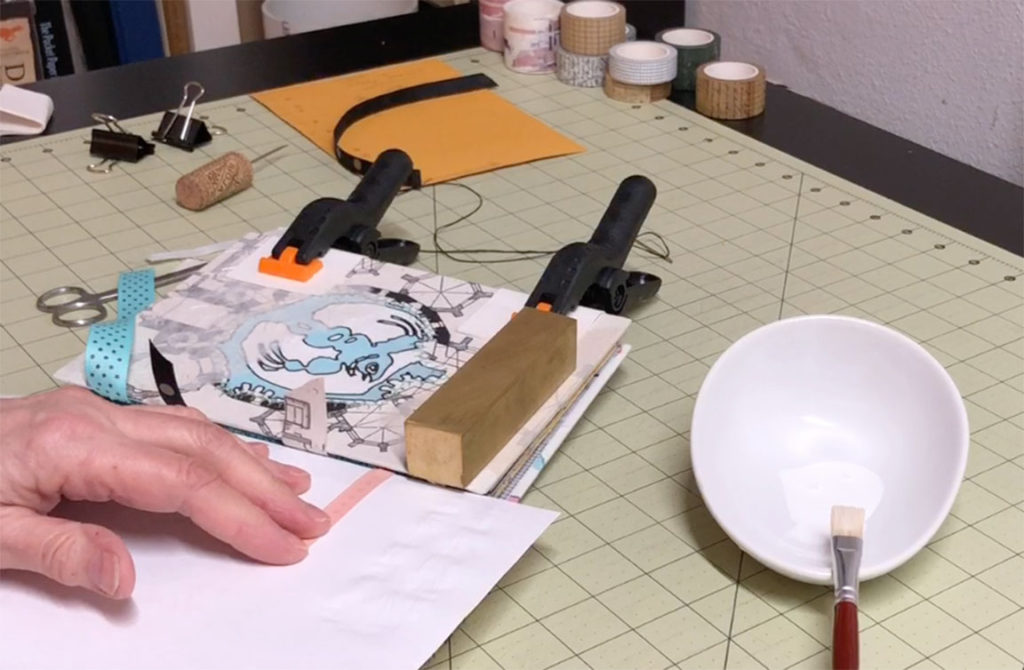
Attach the second cover
Once you’ve tied off the final signature you’re ready for the last step, which is attaching the second cover by gluing the ribbons in place. I like to clamp the whole thing together so the second cover doesn’t move around while I’m gluing the ribbons to it.
Then I make the final decision about how I want the ribbons to appear on the back cover, and I cut them accordingly.
Find something to glue on
I like to find something that is about the same thickness as the book to use as a support to apply glue on – maybe another book or a box. Use a piece of scrap paper and apply PVA glue to the ribbons and press them down onto the cover. I weight each one down as I move on to the next one.
 Once all of the ribbons are glued down, weight this down and let everything dry thoroughly. Now you’re done with this phase of the scrap journal.
Embellish the pages
The last step is to finish off the pages. This is usually an open-ended process for me, and can take anywhere from a few days to several weeks, depending on what I am trying to do with the scrap journal. 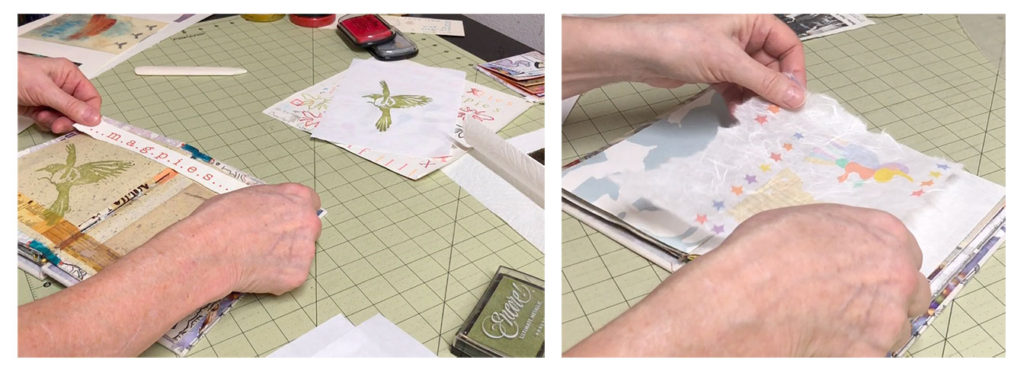
You can see more of my process with that particular step in this video: Scrap Journal Pages or follow the written instructions here.
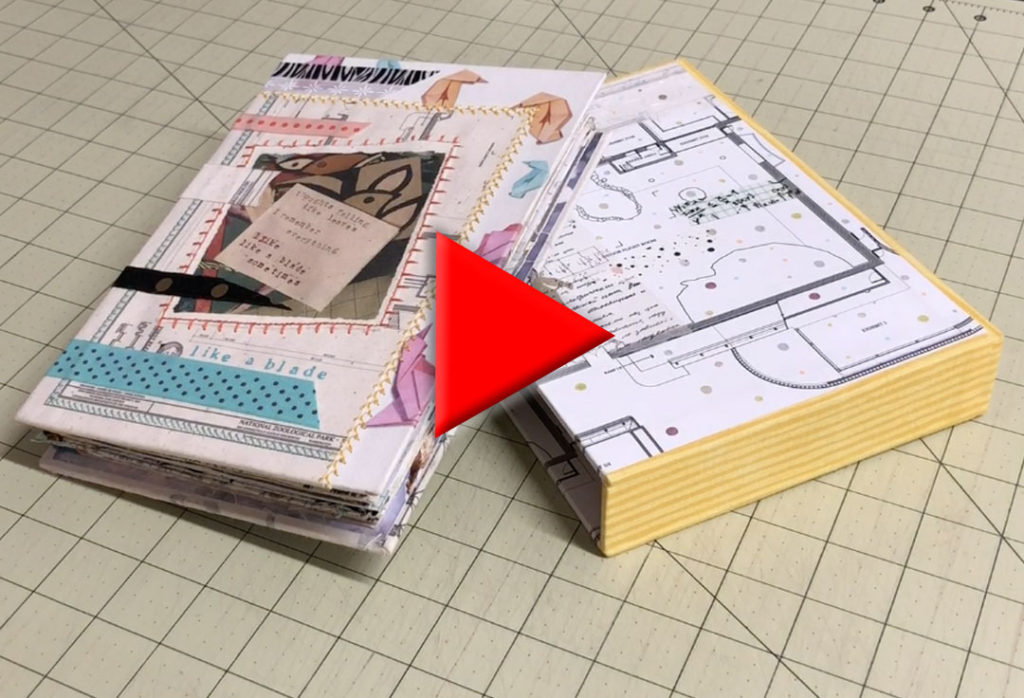
Add a slipcase
And lastly, I liked how the spine turned out on this journal and I wanted to show it off, so I also made a slipcase for it. 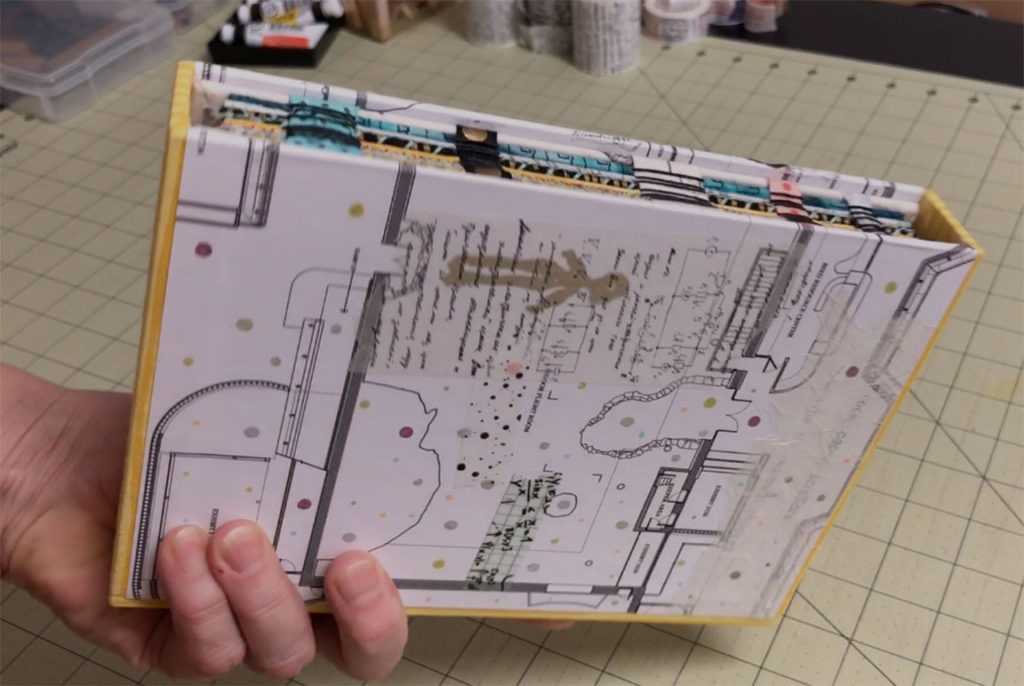
You can see how to make a slipcase in my video Making a Slipcase or follow the written instructions here.
So there you have it – one of the many ways you can make a scrap journal.