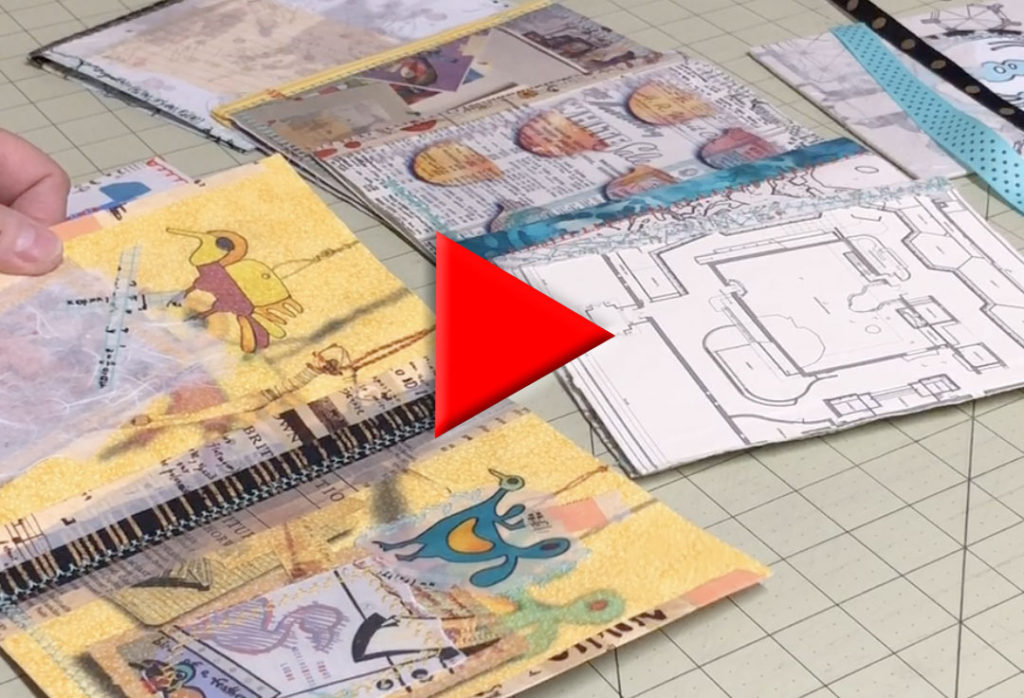
Scrap Journal Pages
This is a companion to my tutorial on creating a scrap journal, or junk journal.
These are also sometimes called fabric journals or travel journals, depending on the contents.
Click to Watch the Scrap Journal Pages Video Tutorial
You can see the complete written tutorial on binding a scrap journal with ribbon binding here: Scrap Journal with Ribbon Binding
Or watch that video tutorial here: Scrap Journal Video Tutorial.
This particular tutorial will show some of the details of the techniques I use in the initial creation of the signatures before I bind them together. I also share other techniques that I use once the pages are bound.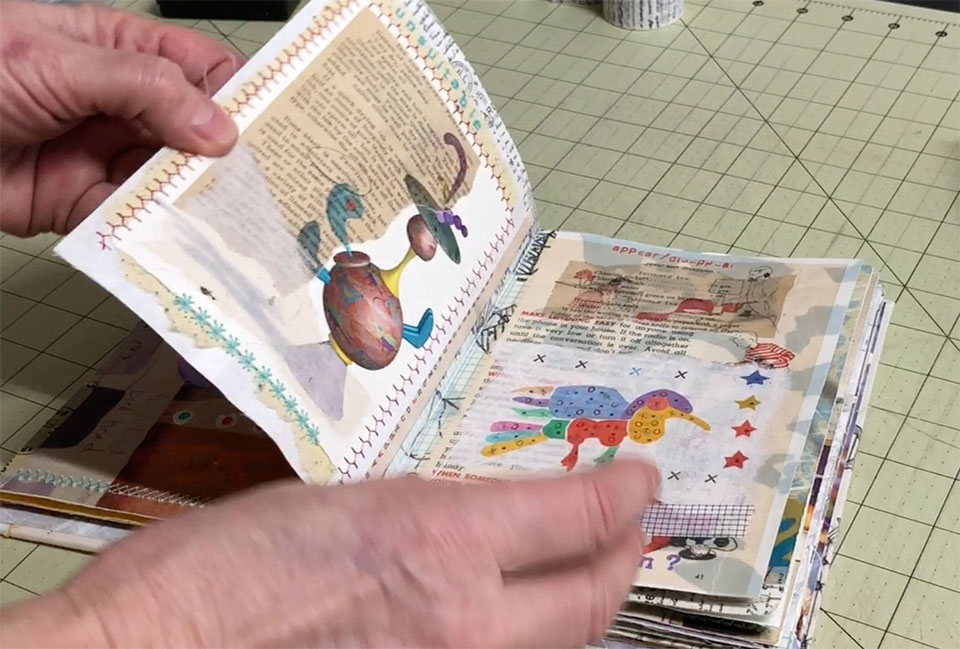
Making the Signatures
The pages I created for this particular scrap journal (junk journal) are fairly thick and substantial, so each signature is a single folded piece. This is known as a folio. Most of these consist of combinations of bookcloth and paper that have been sewn and glued together.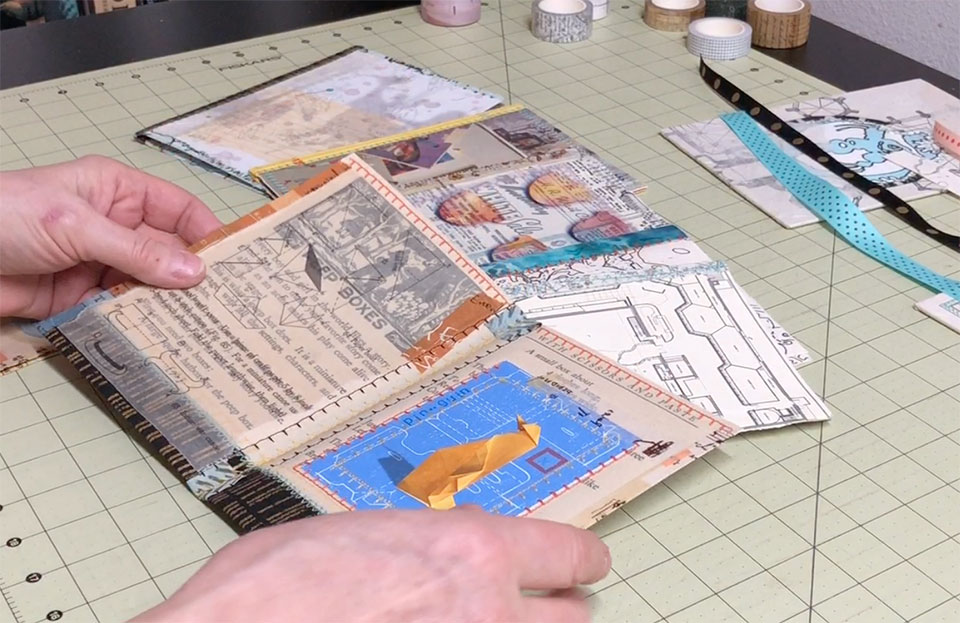
In all cases the base layer was either bookcloth, which has been backed with rice paper, heavy paper or paper that has been glued together. I like this because these materials all give the pages more body than if they were just made from plain fabric with no backing. However, there is certainly no rule saying you can’t use plain fabric – it will just give your book a different look and feel.
Start with a base layer
Here’s an example of the process I went through with one of the signatures for my scrap journal. It started with a piece of bookcloth that I had printed an image from an old book on.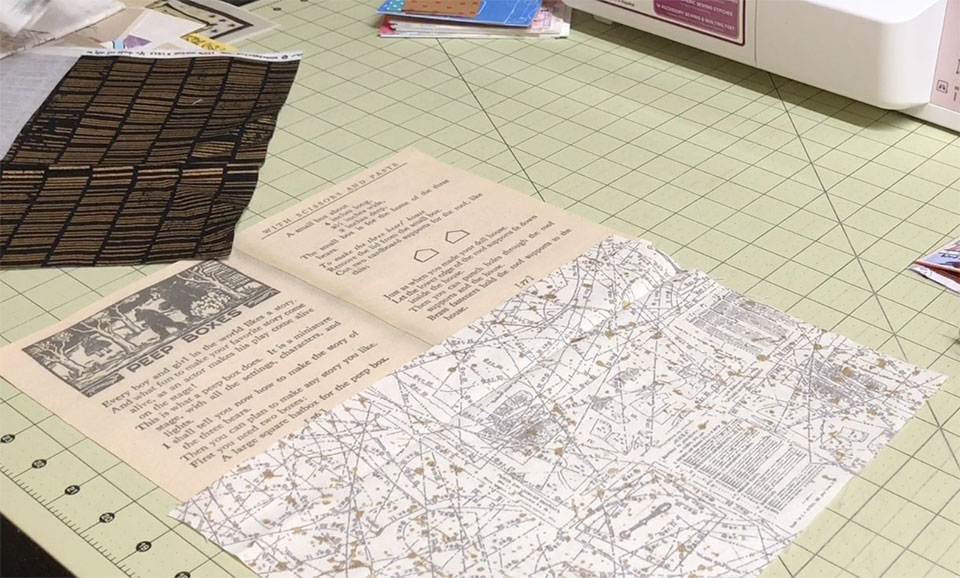
Add to it
It wasn’t big enough for the size signature I was making so I needed to add to it in some way. I decided to sew other fabric onto the bottom of the page to get to the 11 x 7 ½ size that I needed. I chose a couple of pieces of regular fabric that I sewed together and then sewed to the bookcloth to make it bigger, as well as more interesting.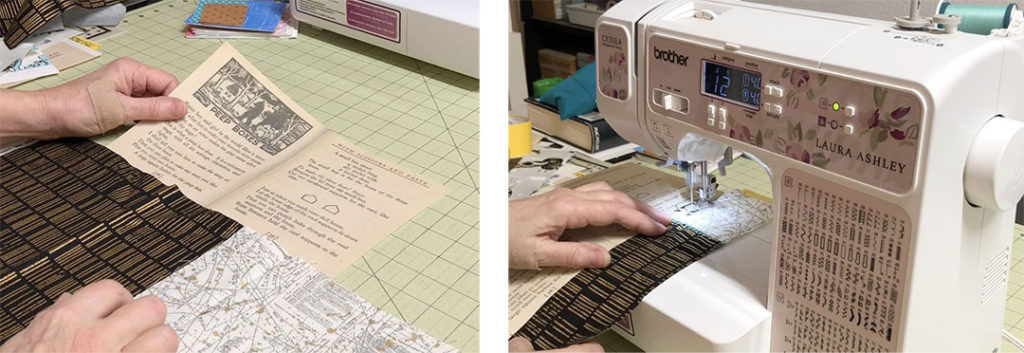
Add other elements to the pages
Before sewing up the other side of that additional fabric I decided to sew some paper images onto the page, both front and back. You can see how it’s much easier doing this kind of work before any binding takes place.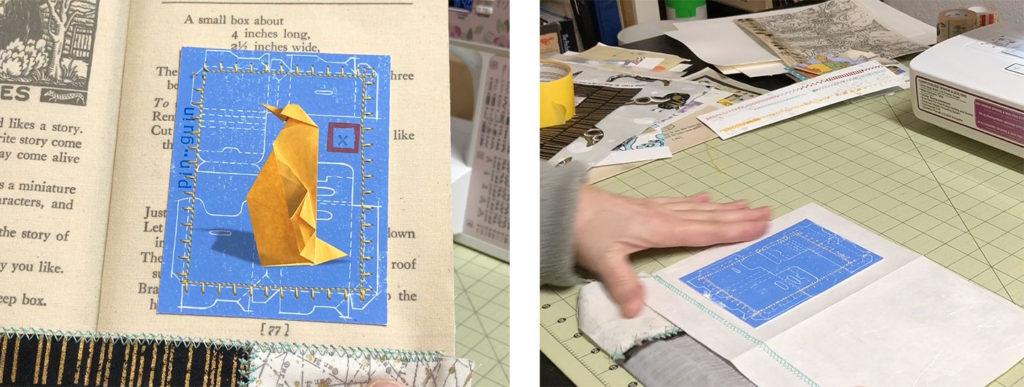
Keep adding elements
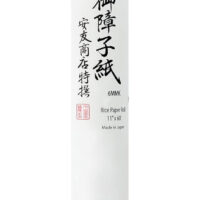
Next I constructed a piece for the outside of this signature. This consisted of an image that I covered with a piece of translucent rice paper. You can buy lots of beautiful rice paper for this kind of work at very reasonable prices on amazon. I’ll put a link in my description below.
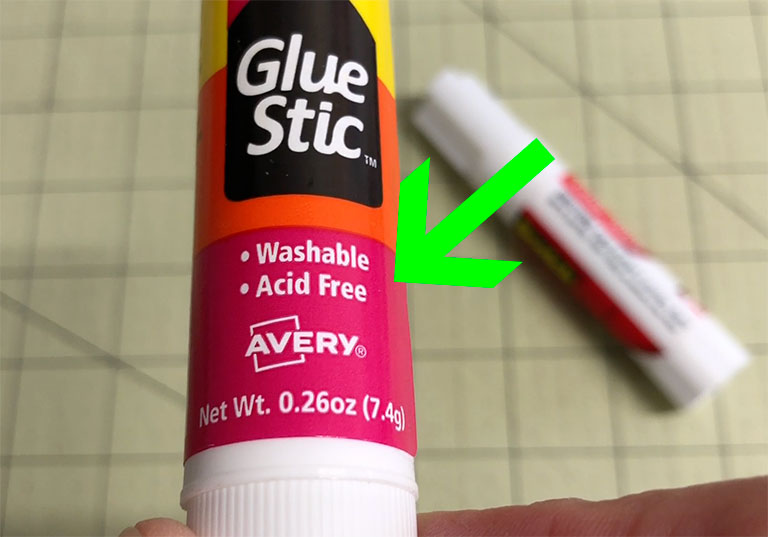
Use an acid-free glue stick
I usually use a glue stick for this kind of work because it dries quickly and doesn’t curl the paper as badly as PVA glue. I do make sure the glue stick is archival, or acid-free. Some are and some aren’t. If it doesn’t say right on the stick that it’s acid-free then assume that it isn’t.
 When I’m gluing a thin paper to another piece I will sometimes do this one-half at a time, particularly if the piece I’m gluing is fairly large or if I want the placement to be exact, as was the case here.
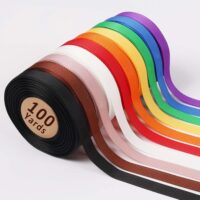
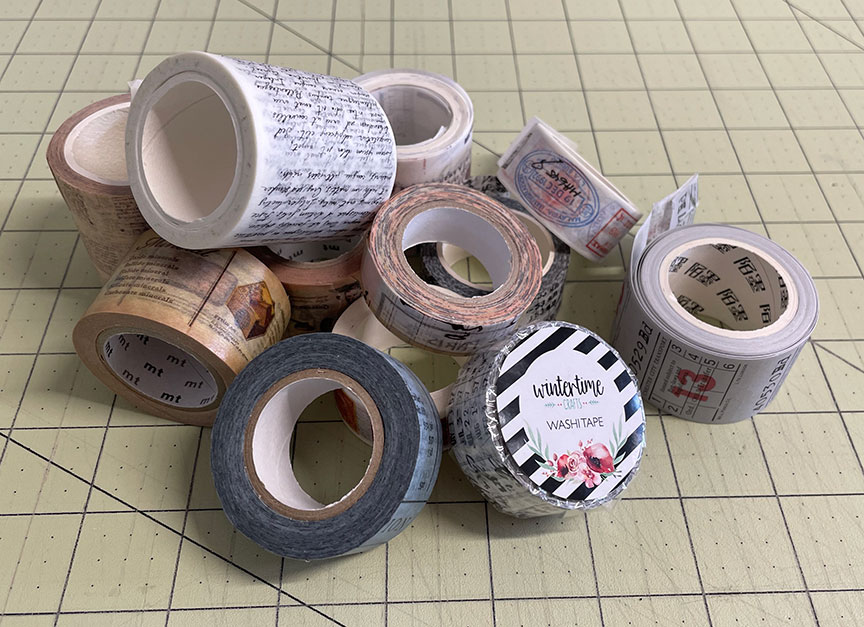
Using Washi tape
I like to use Washi tapes on my scrap journals. These come in a wide variety of widths and a huge variety of patterns. I can always find ones that suit my aesthetic. They are like a light version of masking tape, and they are archival, both the rice paper they are printed on and the adhesive.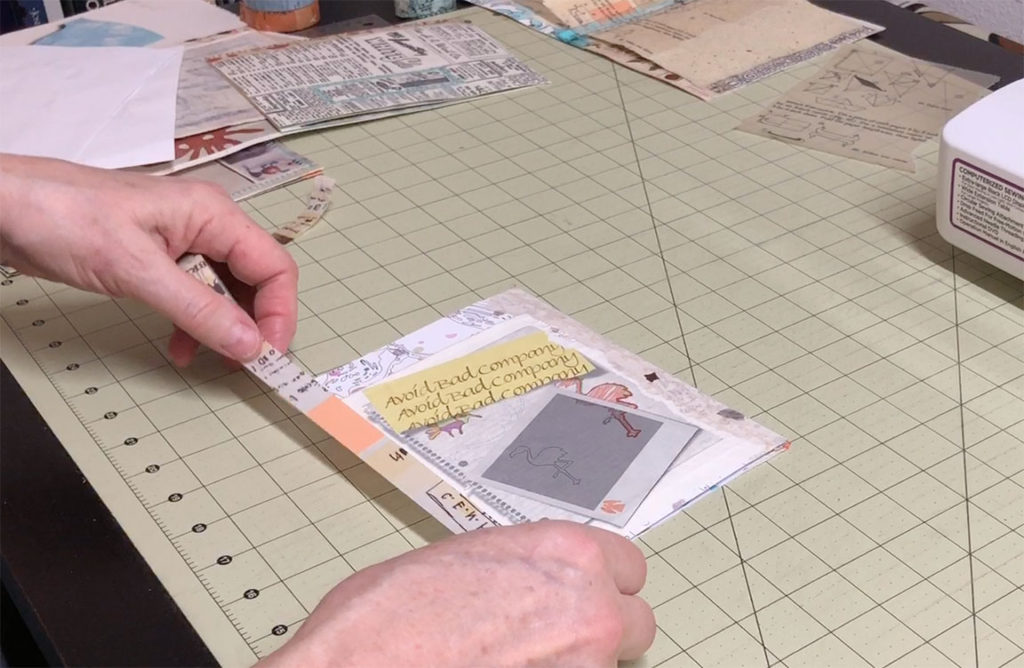
One of the many cool things about Washi tape is that the adhesive is not so strong that you can’t pull up a piece of tape and reposition it. I’m careful when I do this on delicate paper, though, like rice paper, because it will sometimes pick up fibers from that paper. This is seldom a big deal when I’m working on my scrap journals.
This is my very favorite source for archival Washi tape:
wintertimecrafts.etsy.com. She also has a lot of other great items that are particularly useful if you are making a Scrap Journal.
Adding fabric to the spine
For the spine edges I often reinforce a fold with plain fabric that hasn’t been backed with rice paper. I will also use regular fabric to create a hinge if I have two pieces of paper that I want to join together. Or sometimes I do this just for the decorative nature of it. I have a sewing machine that has a lot of different stitch choices, so I take advantage of those as well.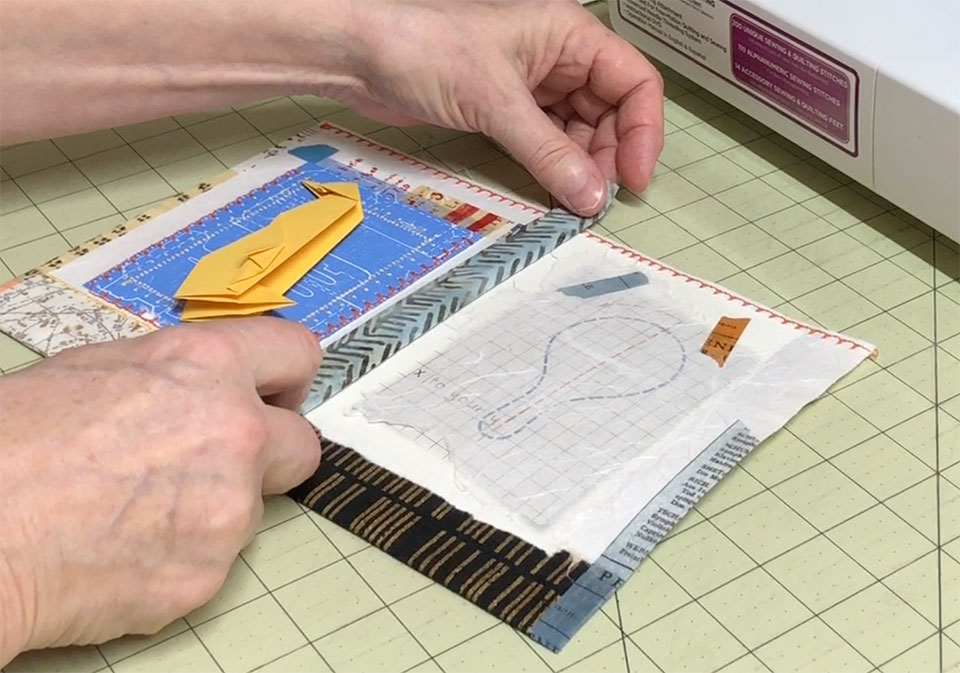
And yet another use for Washi tape
And here’s another great use for Washi tape – since the adhesive isn’t super-strong and it doesn’t leave any residue behind, I use it to temporarily tape down things that I want to sew, like this piece of fabric for the spine. That might seem like a wasteful use for Washi tape but I have enough rolls of the stuff to last me several lifetimes, so I don’t worry too much about that.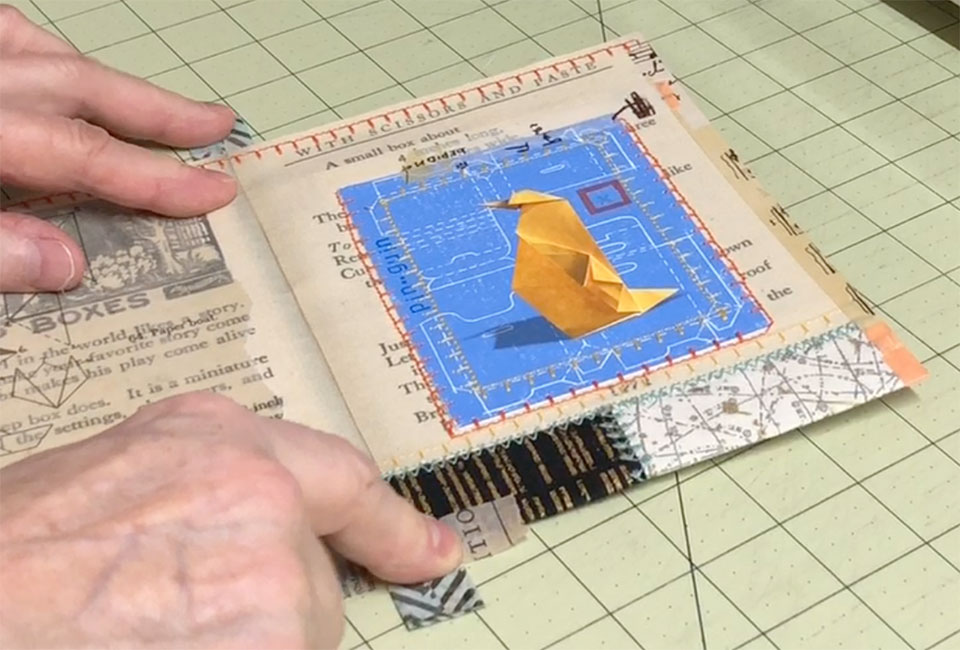
Be careful sewing through the Washi tape
One word of warning, though, when you are sewing pieces that have been taped together – if you sew over the tape, be aware that you may end up with gummy adhesive on your needle. I sew over this tape on purpose on occasion but I am cautious about it and I clean my needle off immediately after so as not to gum up the bobbin area of my machine. If you do sew over your Washi tape, do it understanding the risk.
Take risks!
Don’t be afraid to take risks with your pages, particularly before you’ve bound them, and don’t be afraid to give up on something you’ve spent a lot of time on. If something you try goes completely south then you can always jettison a page.
This is an example of a page that I kept trying to salvage but finally gave up on because the structure was getting harder and harder to fold and manage. I had created a problem by trying to use a heavy ribbon sewn into the spine, and it just kept getting worse from there. I did like the basic page a lot, though, so I recreated the parts that worked.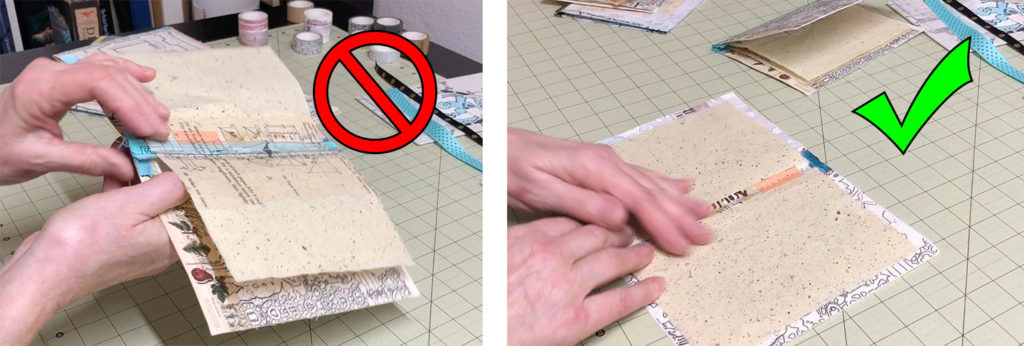
One way to make sure the Washi tape is permanent
Additionally, the thing that makes Washi tape so easy to use, its ability to be so easily repositioned, is also a bit of a detriment for something like a scrap journal where you want some permanence to the objects that you place.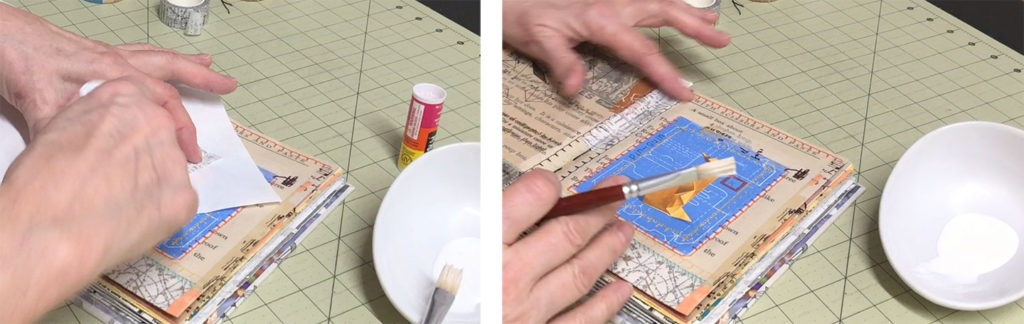
So, once I am sure I know where I want to place my tape I will almost always then glue it down more permanently with a glue stick, applying glue to the adhesive side of the tape.
Sometimes I will even cover it with a very light coating of PVA glue, particularly if the tape is running down the center of a fold. The PVA glue helps it to stay put and is flexible when it dries, so it’s perfect for this purpose. If you use too heavy of a coat of PVA it will end up with a shine to it, but if you put it on very thinly this won’t happen.
Lots of ways to add elements to pages
As far as embellishing the pages after they’ve been bound, I do a lot of rubber stamping with alphabet stamps. I also use my own stamps that I’ve carved from a rubbery material that is perfect for this process. You can see how to carve your own stamps in my video here: *How to Make Your Own Rubber Stamps*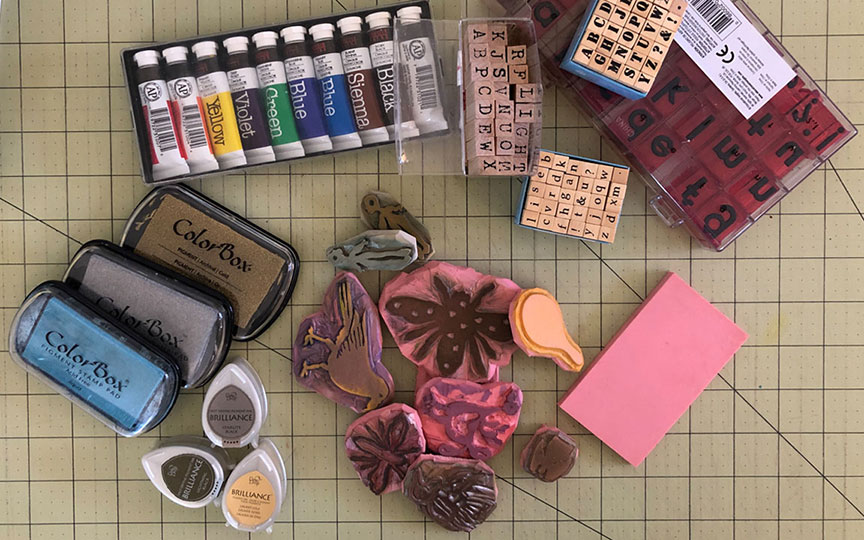
Using stamp pads
I use stamp pads for this part of the process and I also use paint. Sometimes I will even use printing ink, the kind that I use when I print my linotypes. It depends on the effect I want.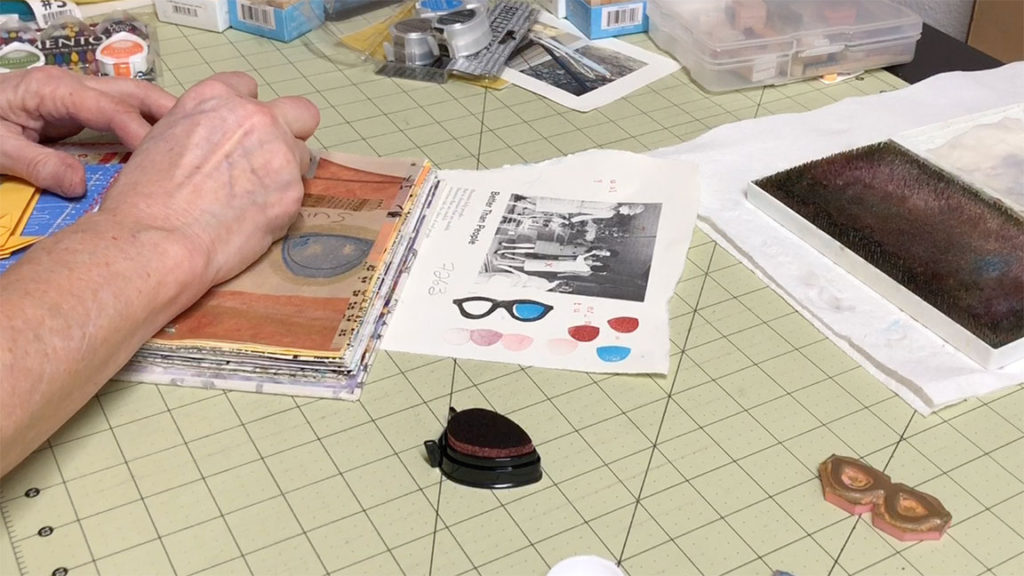
The ink from the stamp pads, as a rule, tends to be rather transparent and allows the background to show through somewhat.
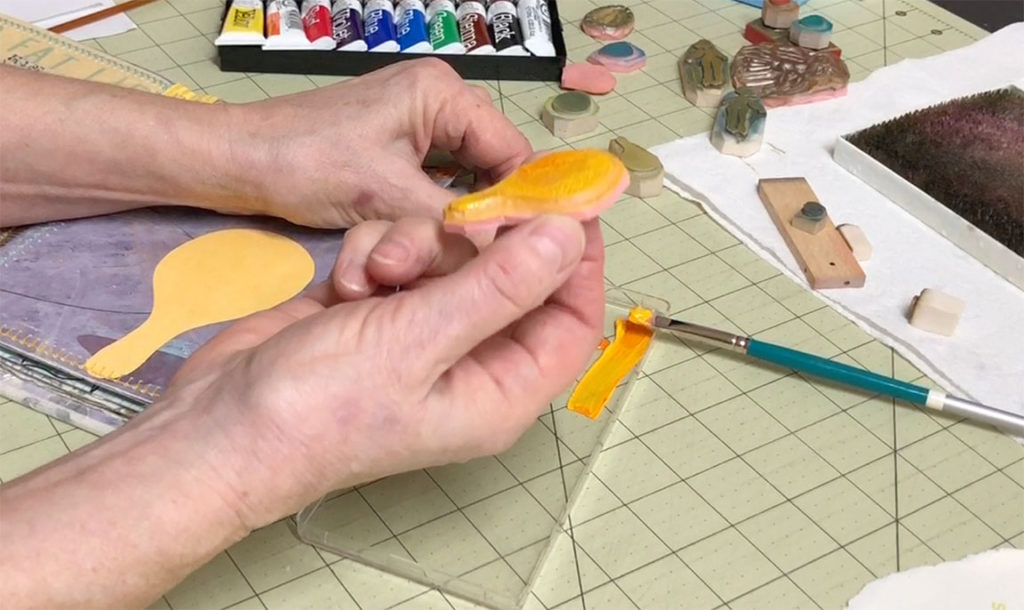
Using Gouache paint
When I use paint I like to use Gouache paint because it is very opaque, water-soluble and I can mix exactly the color I want.
 I can’t do that with stamp pads. It cleans up easily with water and whatever I don’t use I allow to dry. Then I just reconstitute it with water later on. This is something you can’t do with acrylic paint. I like that it is very opaque, much more so than regular watercolors. It is also very thick, so I can get a little texture or dimension to what I’m stamping if I want that effect.
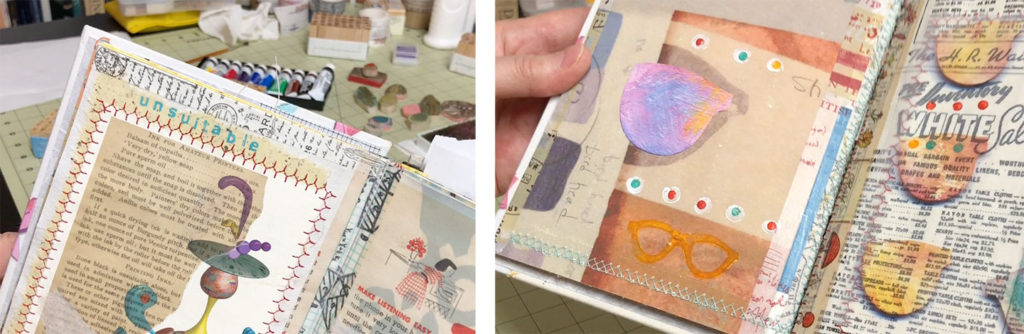
The color white is a good example of when I might use gouache instead of ink. White is nearly impossible to get from a stamp pad but gouache gives you a nice bright opaque white. Gouache works with large stamps and also works with small alphabet stamps.
Use a glue stick when adding images
I almost always use a glue stick when adding images or rice paper to the book. It tends to curl less than PVA glue, which has a lot more moisture in it, and it dries faster, too, for the same reason. I always weight freshly glued areas down briefly just to make sure they’re firmly stuck down. Soft weights are perfect for this.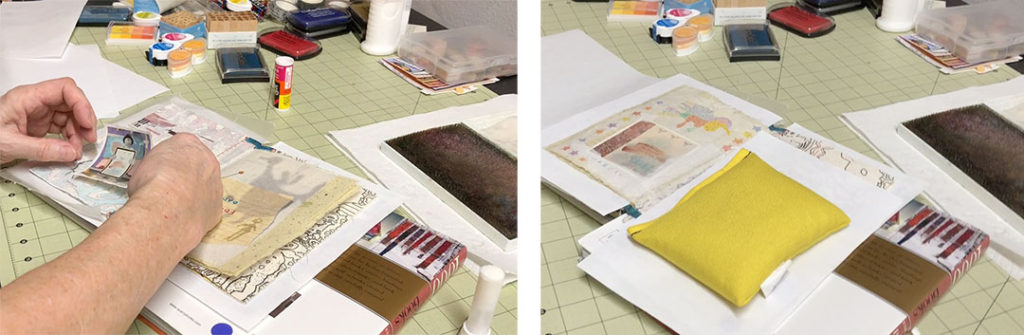
Glue rice paper across pages
Don’t be afraid to glue paper down across pages. This works particularly well with light papers like rice paper. Lighter papers should fold quite easily and not force your book to spring open. 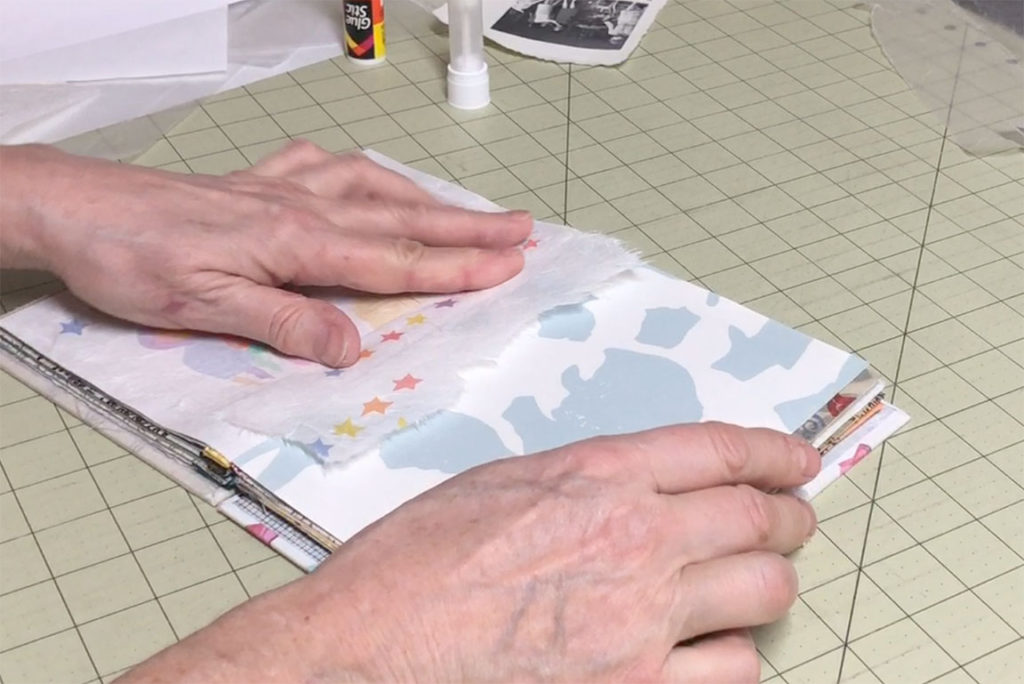
If the paper is really large I usually do this in two steps. I glue one half down first and then apply glue to the second half. This makes it easier because it gives you something to hold on to while placing the first half down without having everything stick to your fingers.
Tracing paper adds a great effect
I also like to print images on tracing paper. You can get some very interesting effects from the combination of the top image and the background. 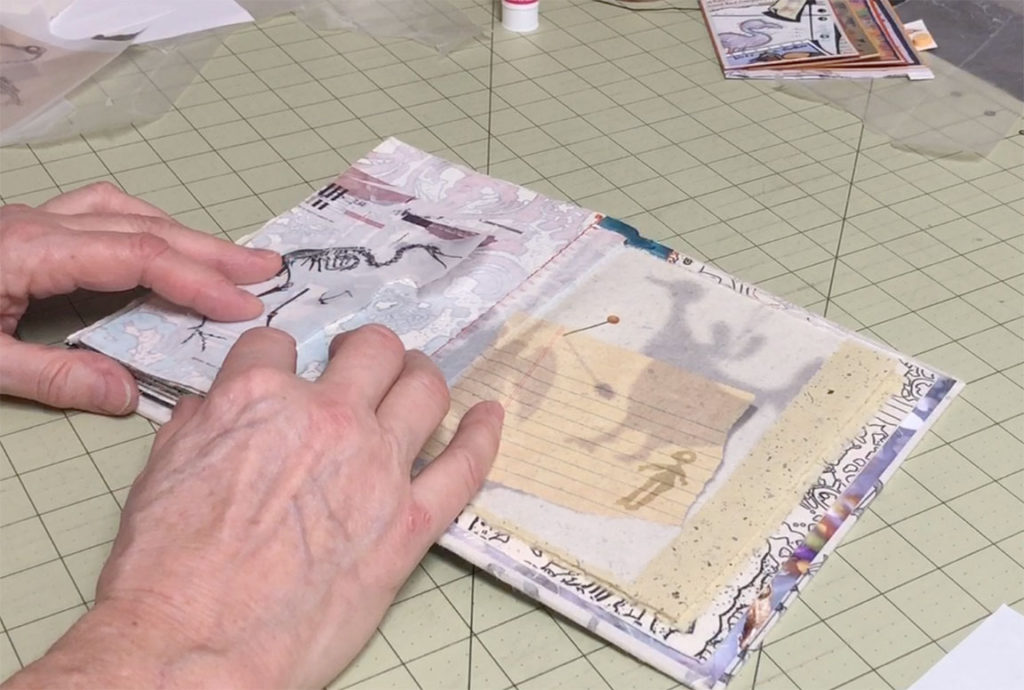
Tracing paper curls up immediately when it gets damp so gluing it can be a little tricky. This is another instance when gluing down a half at a time can be very useful in terms of handling the paper.
So, those are just a few of the many different techniques you can use when constructing your scrap journal.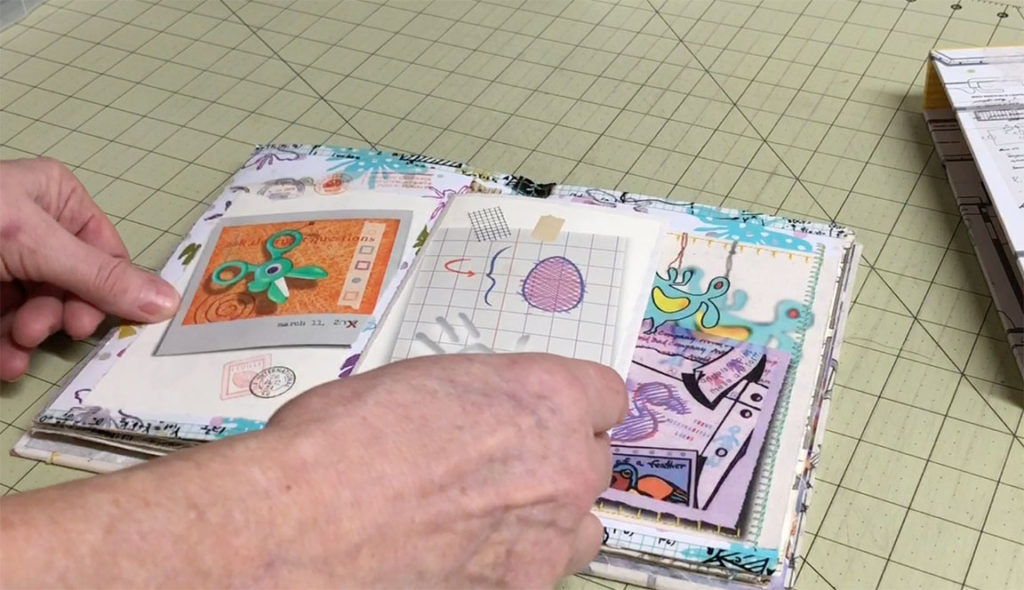
Links to Materials
Here are a couple of links for the rubber material that you can use for carving your own rubber stamps. You can find lots of different sets of gouache paint, as well as many types of Washi tape. I’ve also added a link for the decorative rice paper.
Washi Tape
This is the best source for archival Washi tape:
wintertimecrafts.etsy.com.
Rubber stamp carving blocks
Or these, which are thicker and cheaper, because you get a lot more for the price:
Carving Tools:
You’ll want something to carve the stamps with.