Making Simple Covers
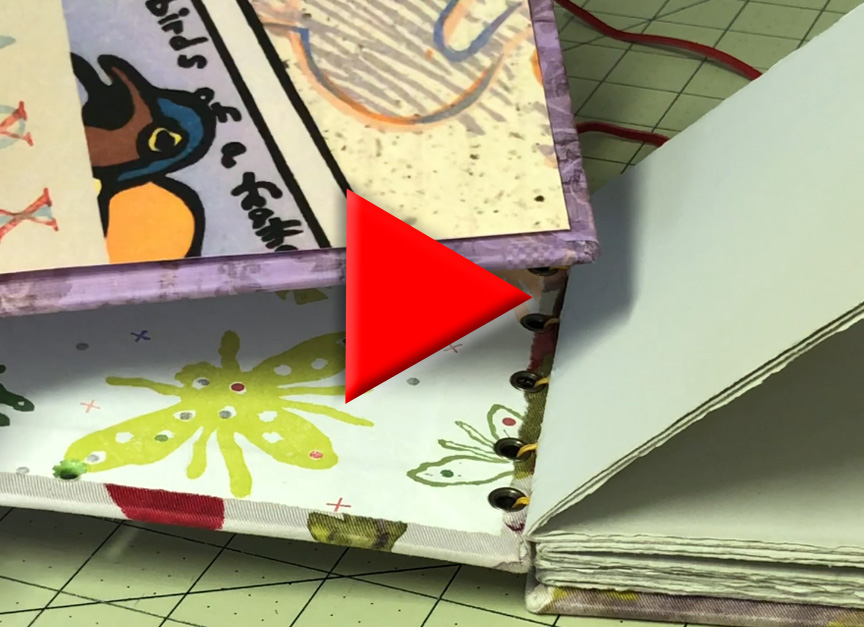
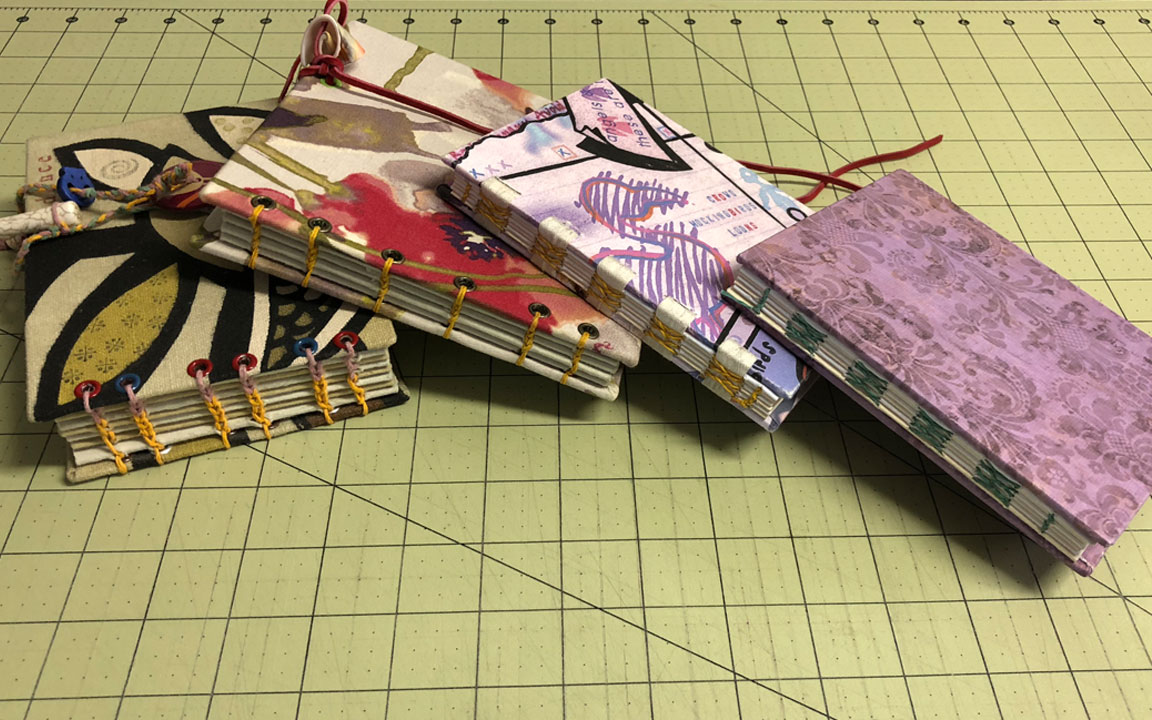
For books with exposed spine bindings, such as those sewn with a Coptic stitch or the French Link stitch, you will often want to make simple hard covers. You just need a few simple materials — some good bookboard, of course, like Davey board, and whatever paper or bookcloth you are going to cover it with, some PVA adhesive and a brush. You can use regular chipboard and any sort paste, but the advantage of bookboard and PVA glue is that they are PH neutral, and won’t yellow and degrade over time.
Once you have your board and paper cut to size, being sure to leave a generous margin of paper to fold over, start applying glue to one board. Be liberal with the glue but try to keep it spread fairly evenly on the surface of the board. Be sure to cover the entire surface.
Once you have the glue applied, carefully place it on the wrong side of your paper or bookcloth. You can eyeball the placement because this step doesn’t have to be perfect. If you do need precision on the placement because of the pattern on the other side you can always draw guidelines to help with the placement.
Press the bookboard down firmly and put it under a weight while you work on the second side. When you’re pressing the bookboard down onto the paper you can also roll over it with a brayer to ensure that it is firmly and evenly stuck down.
Once you have both sides done put them under a heavy weight to ensure that they are firmly glued. You don’t have to wait until they are dry for the next step, just let them sit under the weight for 10 or 15 minutes.
The next step is to miter the corners so you can fold the edges in on each side without gathering too much bulk in the corners. I use the 45 degree marking on my cutting mat to do this. Again, you can probably eyeball this step if you don’t have a cutting mat with this measurement on it, but try to be as accurate as you can so you aren’t folding paper over on top of paper or, even worse, leaving a big gap where the bookboard is exposed.
When you trim the corners, don’t trim right up to the corner of the board. Cut about a quarter of an inch away. This gives you a little extra in the corners that you can fold over the corner of the board, making sure you get all of the bookboard covered. You don’t want the bookboard poking out through the corners.
Once all the corners are trimmed, I like to pre-fold the flaps over the bookboard if I’m using a stiff paper. This isn’t necessary, it just makes it a bit easier once the flaps have glue on them. Again, if the paper is stiff, I might crimp in the corners a bit before I apply glue.
For the glue application I usually use a piece of scrap paper to glue on. This gives me the opportunity to really cover the entire flap with glue without having to be too careful. When applying the glue, brush from the bookboard out, rather than the other direction. This will help you keep from getting glue on the underside of the flap. Be sure to get glue right up to the corners.
Once you have good glue coverage, fold the flaps over and press the pieces together. Push the excess at the corners over the corners of the bookboard and hold to make sure you get a good seal. Continue this process with the other flaps. When gluing the next flap be sure not to place the cover back down on the area of the scrap paper where you glued previously.
Whenever I’m gluing I always keep a wet paper towel near by to wipe any excess glue off of my fingers. This keeps things from getting too messy and sticky. Again, pay special attention to the corners, making sure they are evenly and smoothly covered. Continue this process until you have all four flaps glued down. Place this cover under a weight while you work on the second side.
Once you have both sides glued, place them under a weight for a bit to ensure that they are firmly glued. Again, you don’t need to wait for them to thoroughly dry before starting on the next step.
Depending on what you intend to do with the covers, the next step will vary.
If you are using these covers for a book that is bound using the Coptic stich then you will want to add endpapers to the inside of each one, as those will show. If you are using these as a simple glued-on cover for a book bound with the French Link stitch then you don’t need to add endpapers since the covers will be glued directly to the first and last page of the book block.
For the latter scenario of gluing the covers to the first and last pages of a book block, first isolate the single page with a piece of scrap paper. Apply glue to the page evenly, being careful not to drag your brush down onto the spine.
Clean any glue off of your fingers and carefully remove the barrier paper, being very careful not to drag glue onto the underside of the page. Place a clean sheet of paper under that page and then place the cover on the glued page, being careful of the alignment. If you’ve done your math right you should be able to line up the spine edges leaving a quarter inch or less overlap on each of the other three sides.
Press down to achieve a firm seal. You can also use a brayer for this step.
Remove the barrier paper, replace it with a piece of waxed paper, and repeat the process on the other side. The waxed paper will keep the moisture from the glue from affecting the other pages, potentially warping and distorting them. Once you have completed both sides, put the book under weight until it dries completely.
You’ll find videos showing how to create the Coptic stitch and French link stitch bindings here.